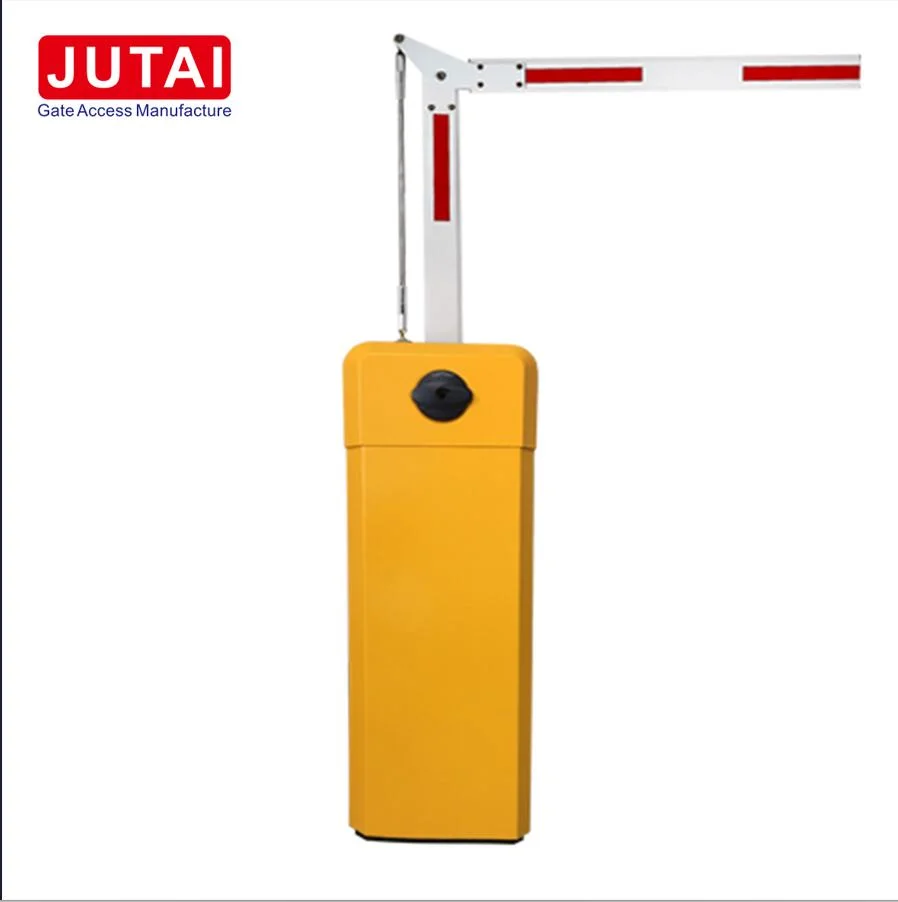
Description
JUTAI Single Channel Vehicle Detector User Guide
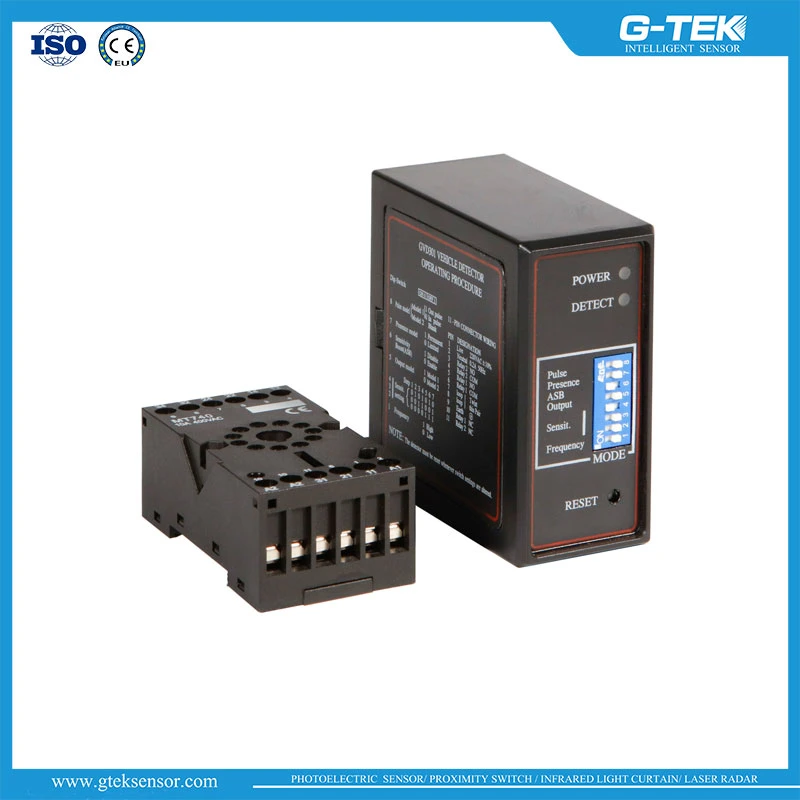
Connections
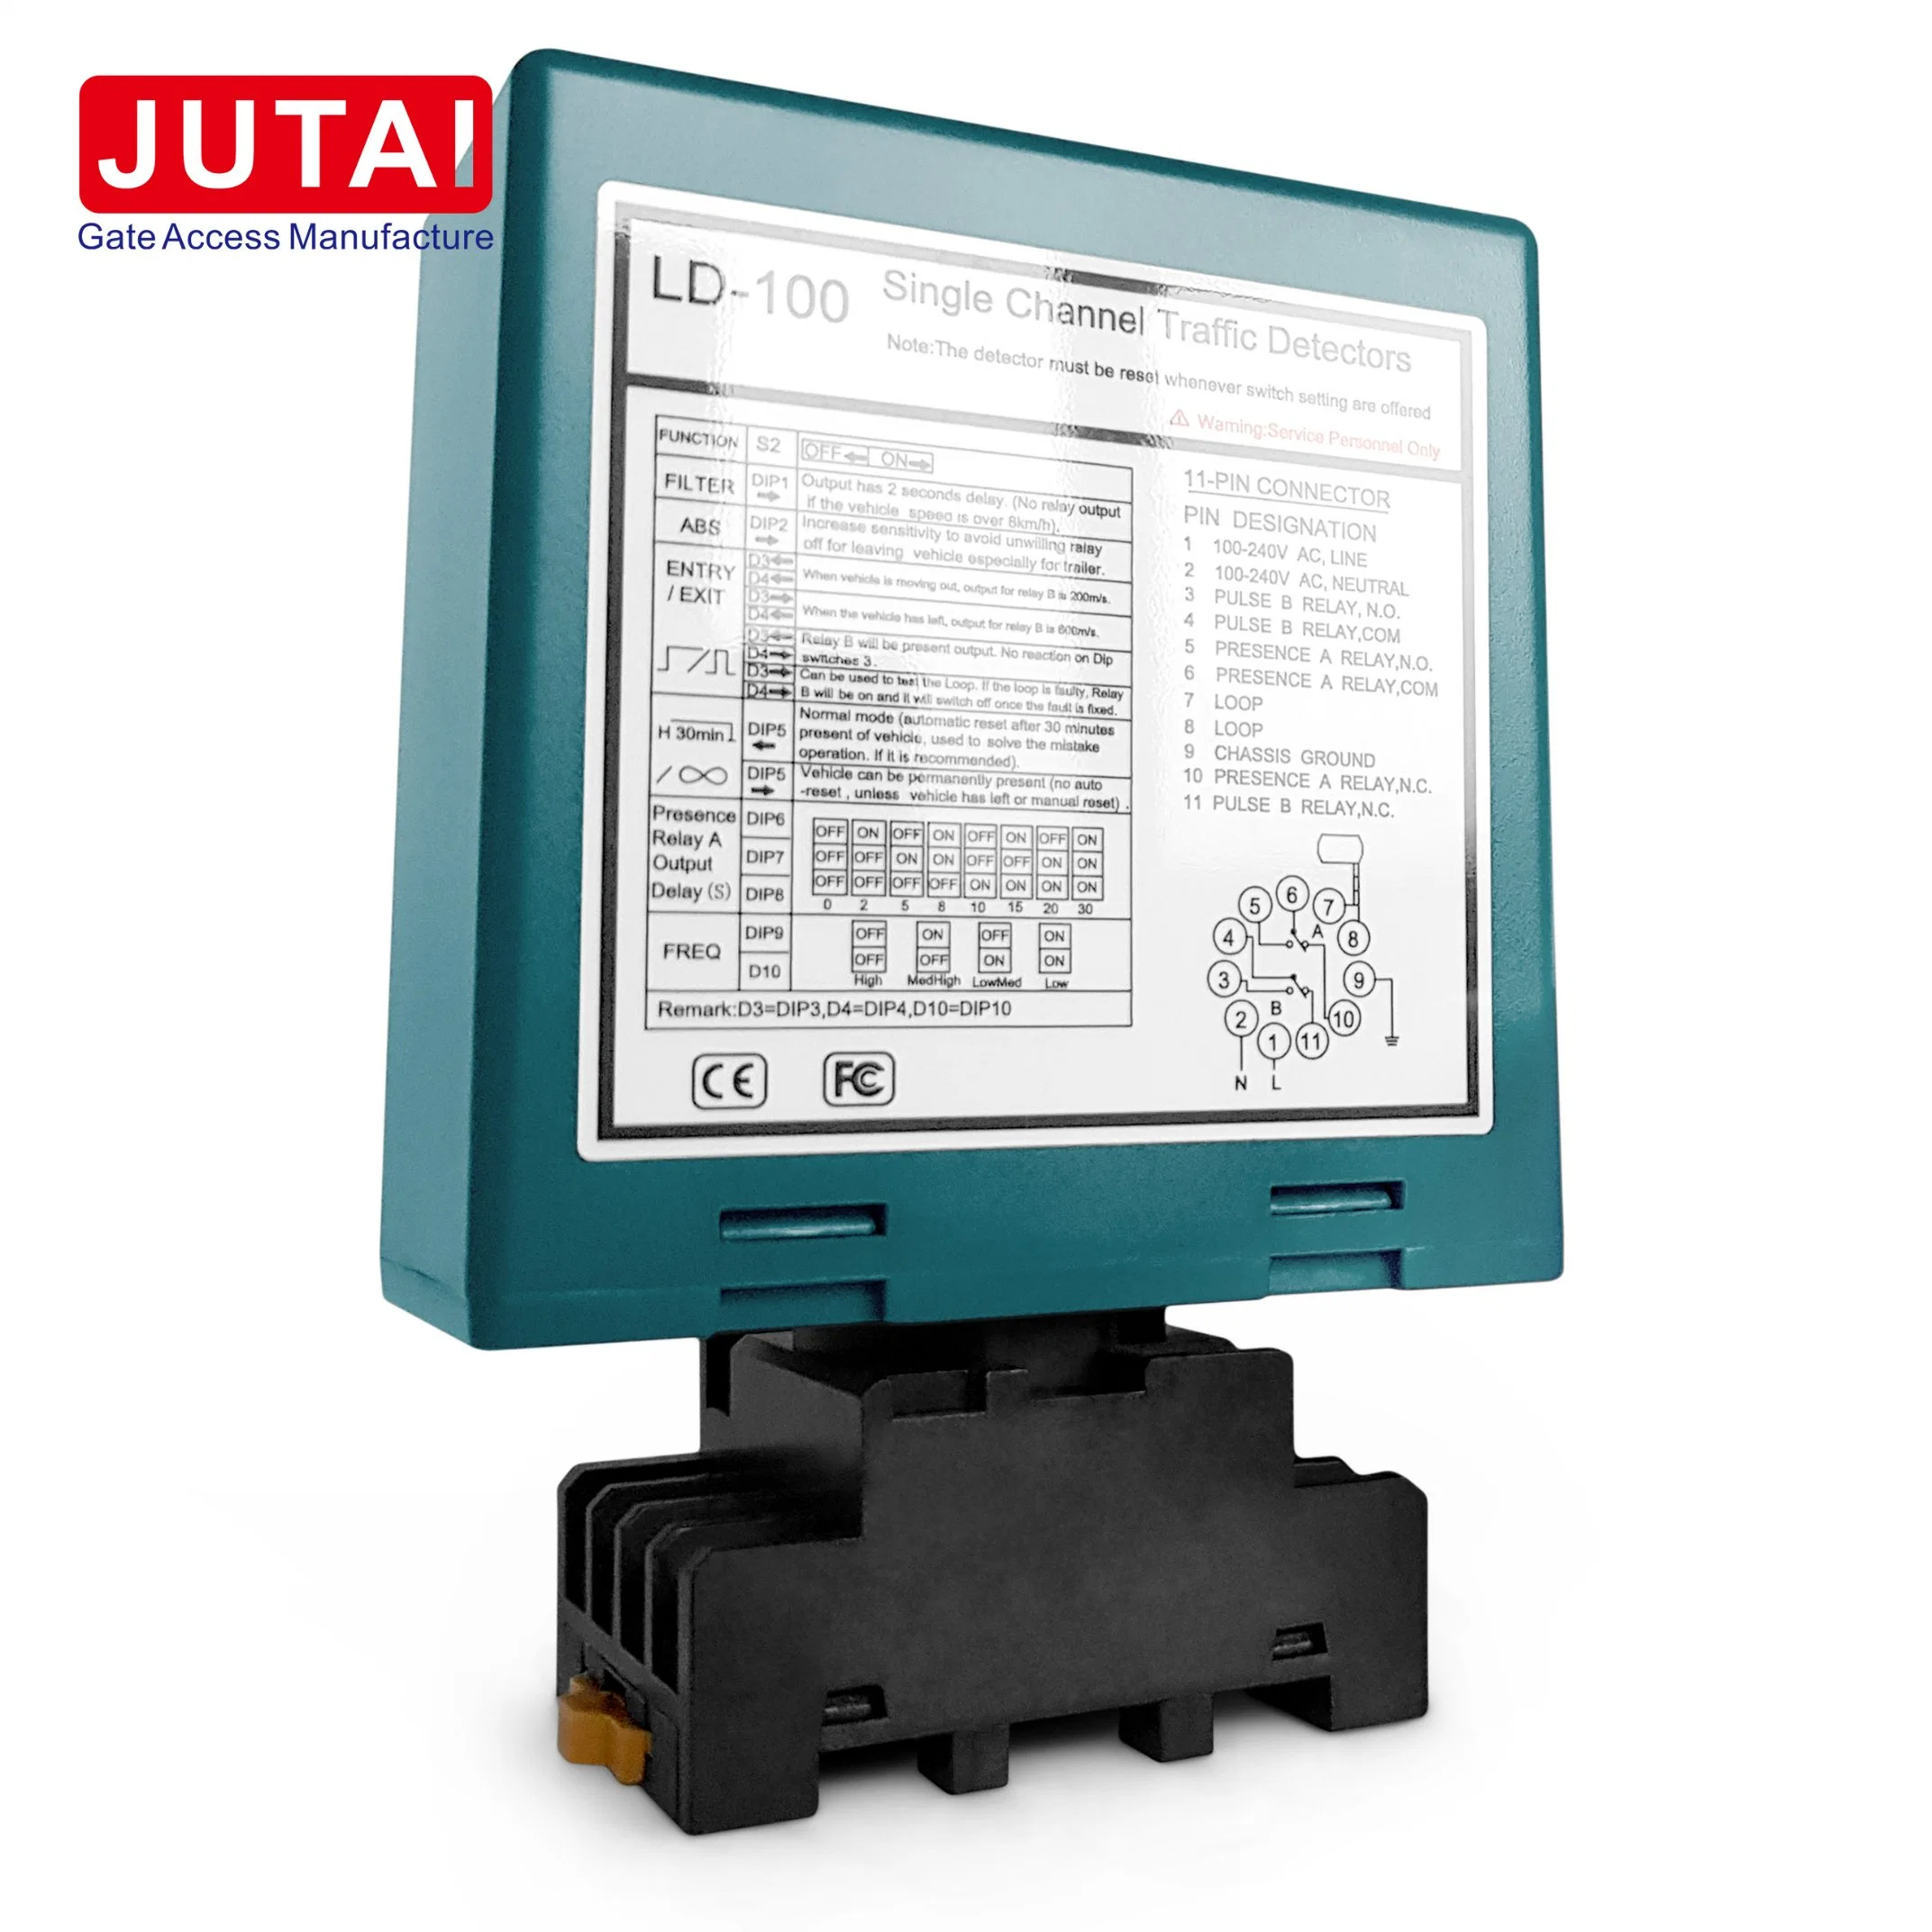
The following photo we show the details connections for JUTAI Single channel loop detector LD100 And LD102,Usually we using pin1 and pin2 connect power supply, pin8 and pin9 connect loop coils,Usually we recommed JUTAI Loop cable Mode JTHT-11;pin5 connect GND,details info refer to the following connection;
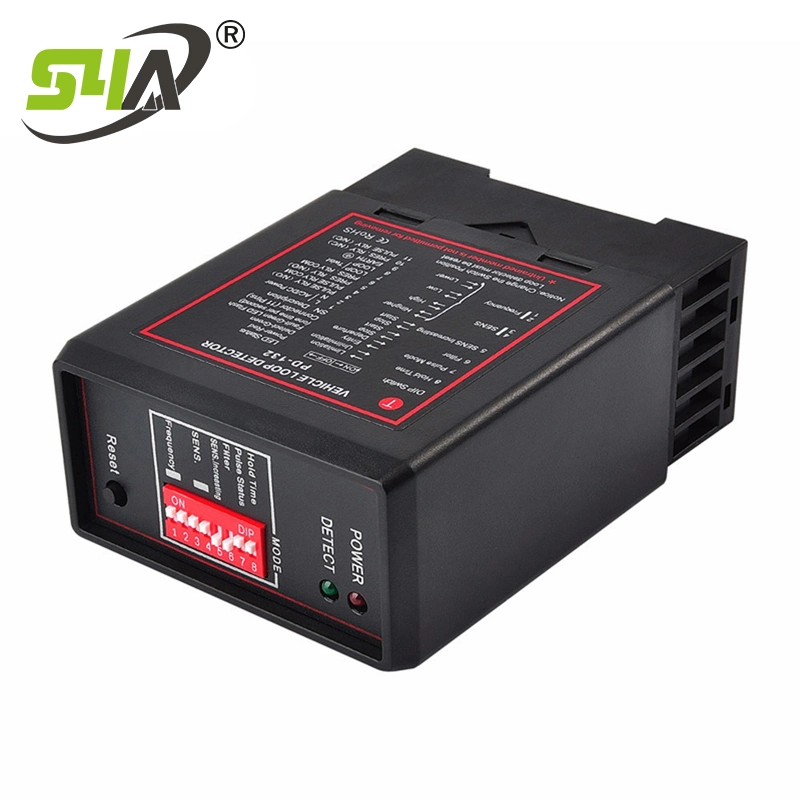
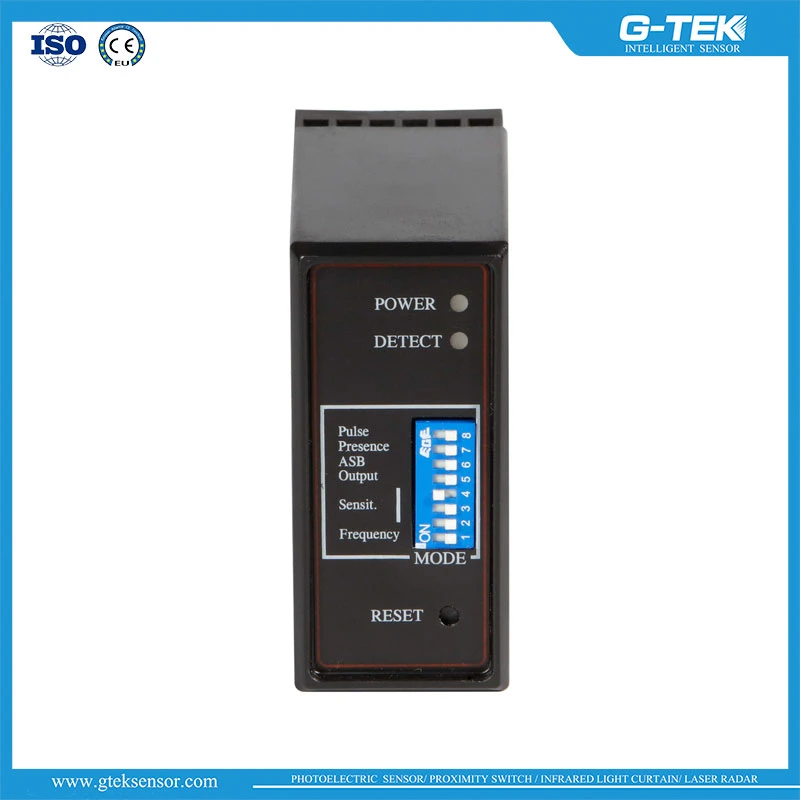
Indicates And Switch
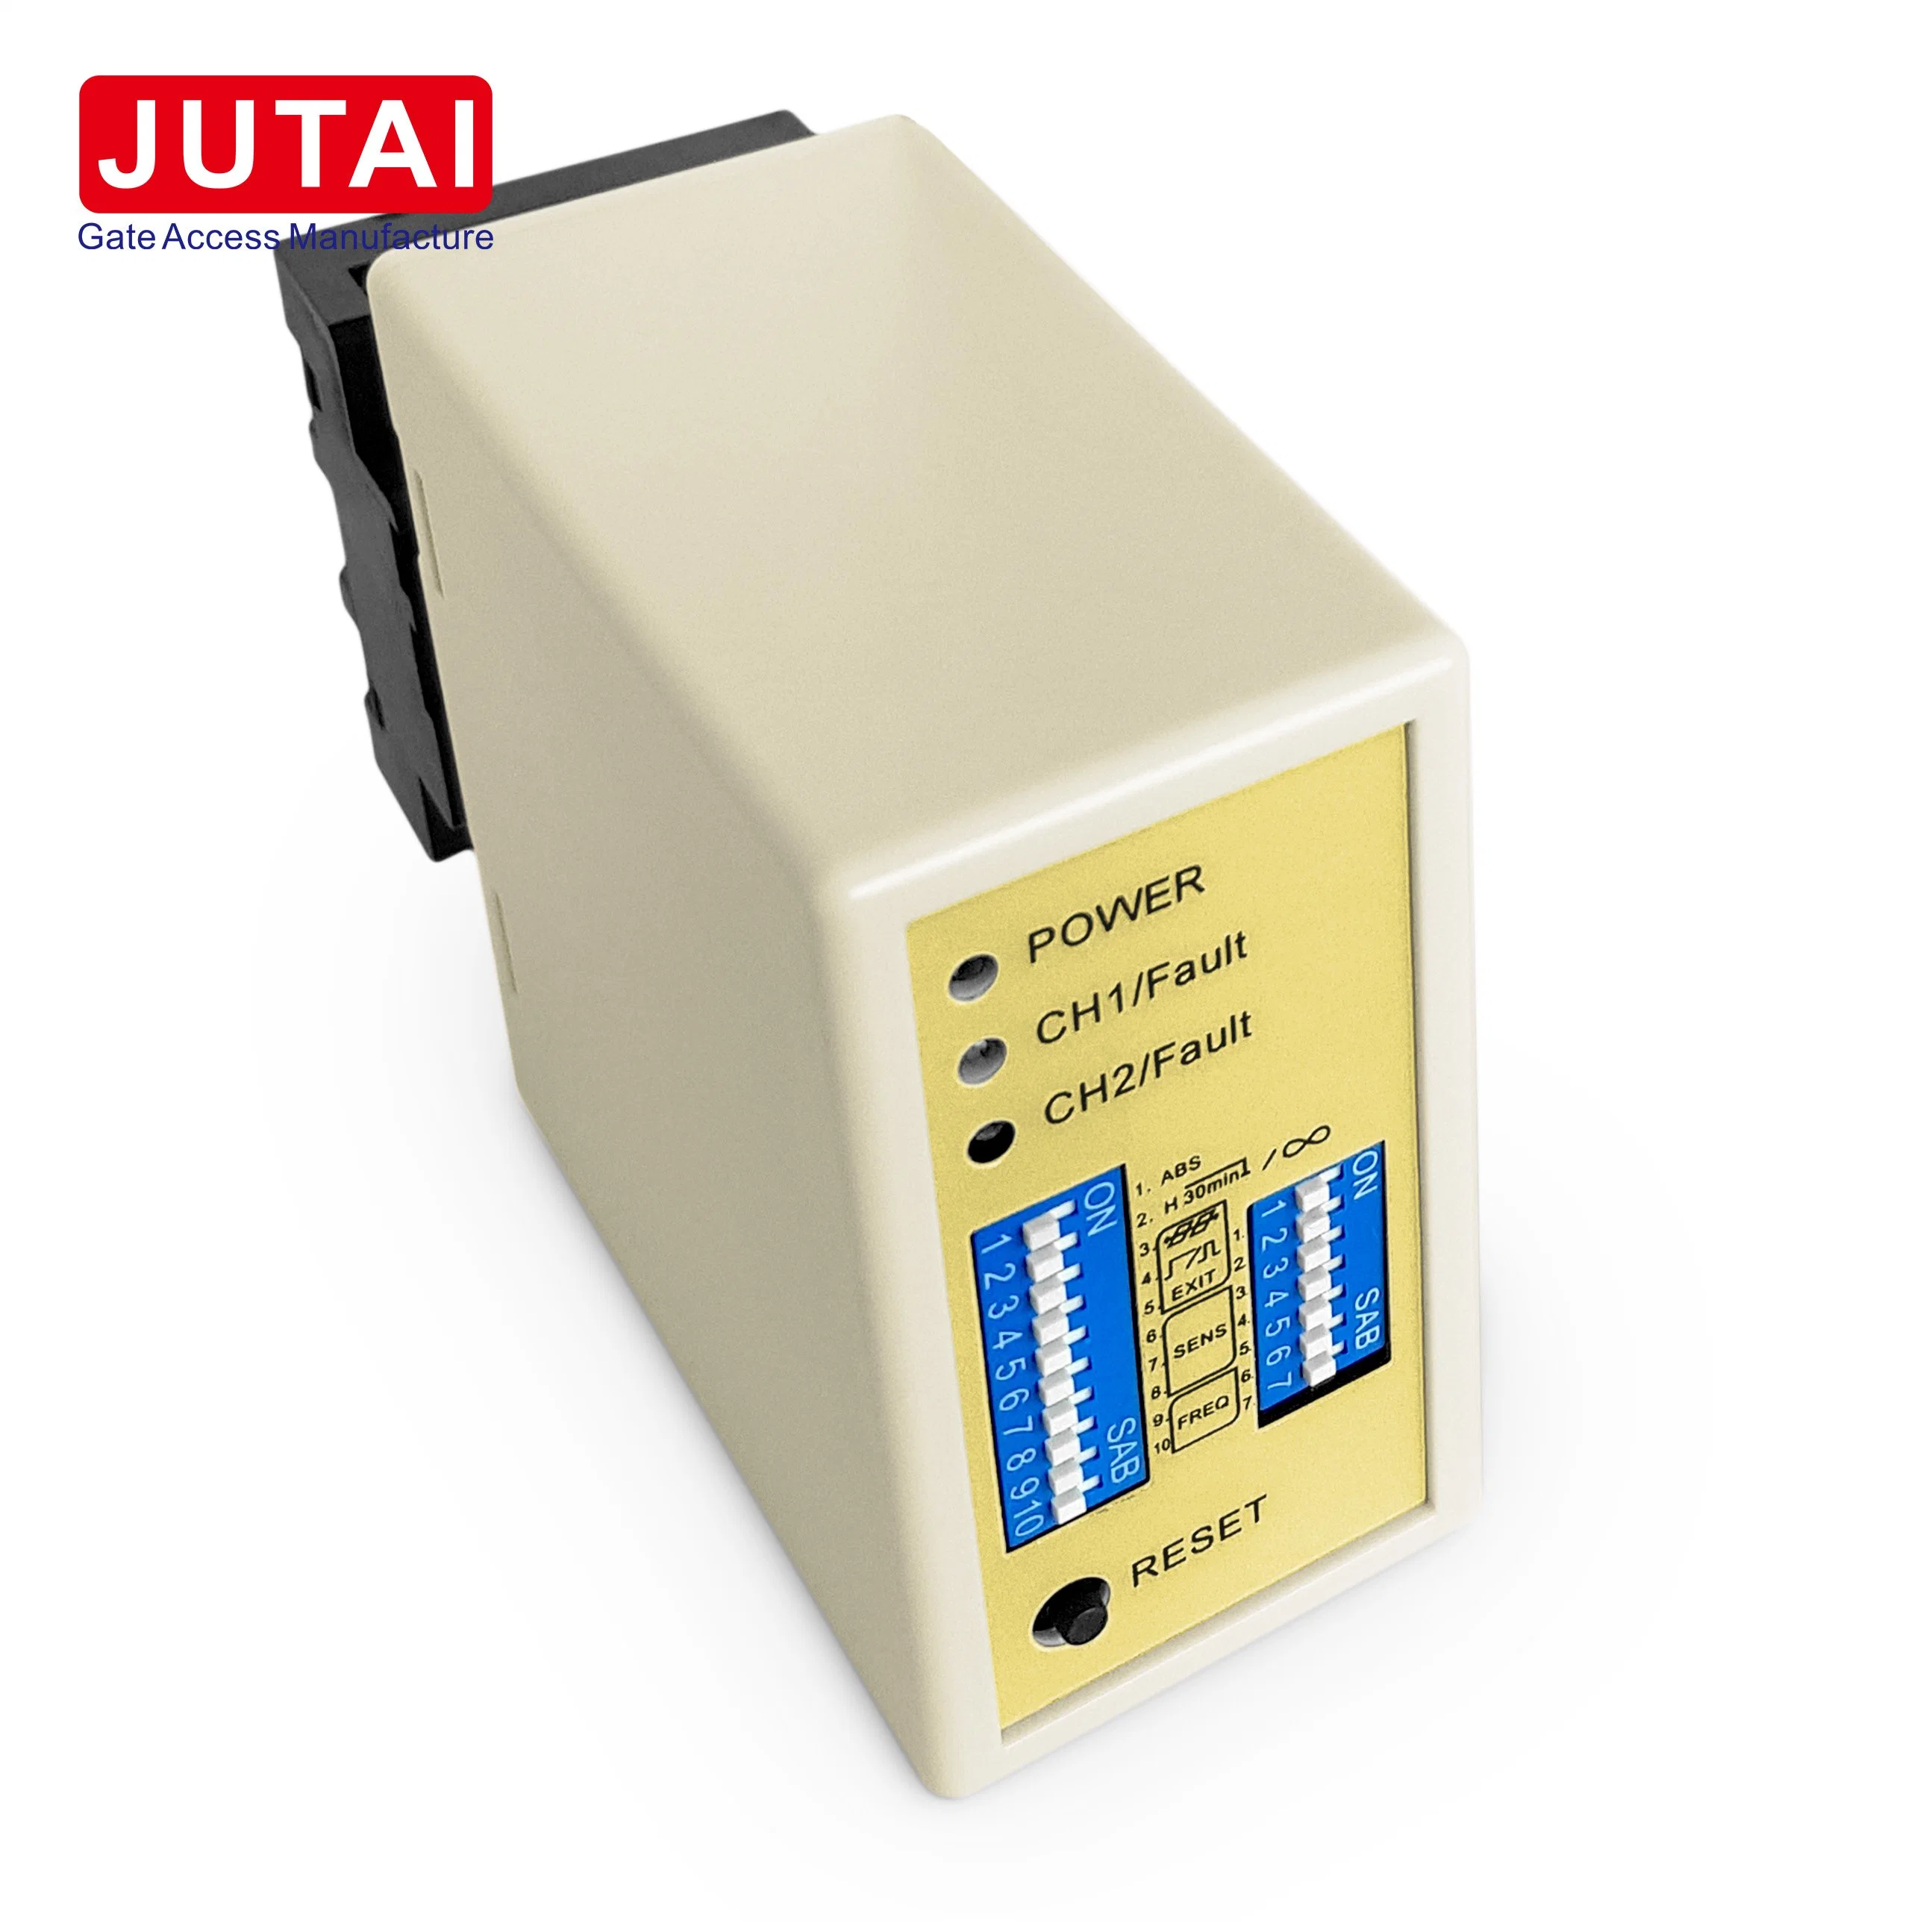
1. Power Led: RED power LED indicates "Power ON"
Detecting Led: Continuously On: Indicates vehicle detection.
Blinking slowly: Indicates loop is short circuit or the number of twists after the loop is not enough.
Blinking fast: Indicates loop is open circuit or too many twists after the loop.
2. Switch 1 (Trimpot), Sensitivity Selection
Sensitivity of the loop can be adjusted by the trimpot labeled "Sensitivity". User can select 16 different setting by turning the trimpot with 0 being the least sensitive and "F" being the most sensitive.
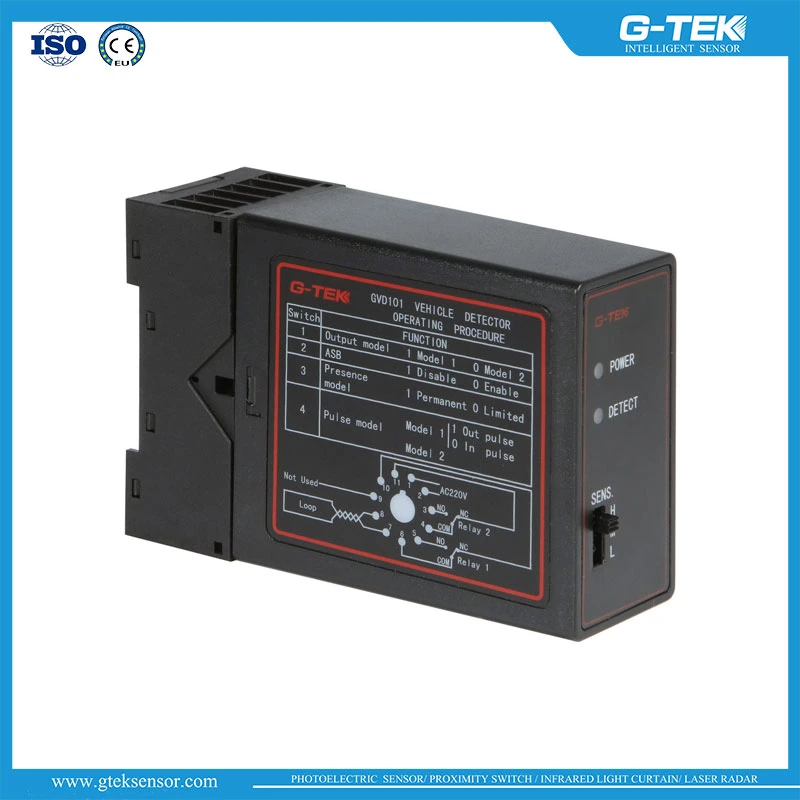
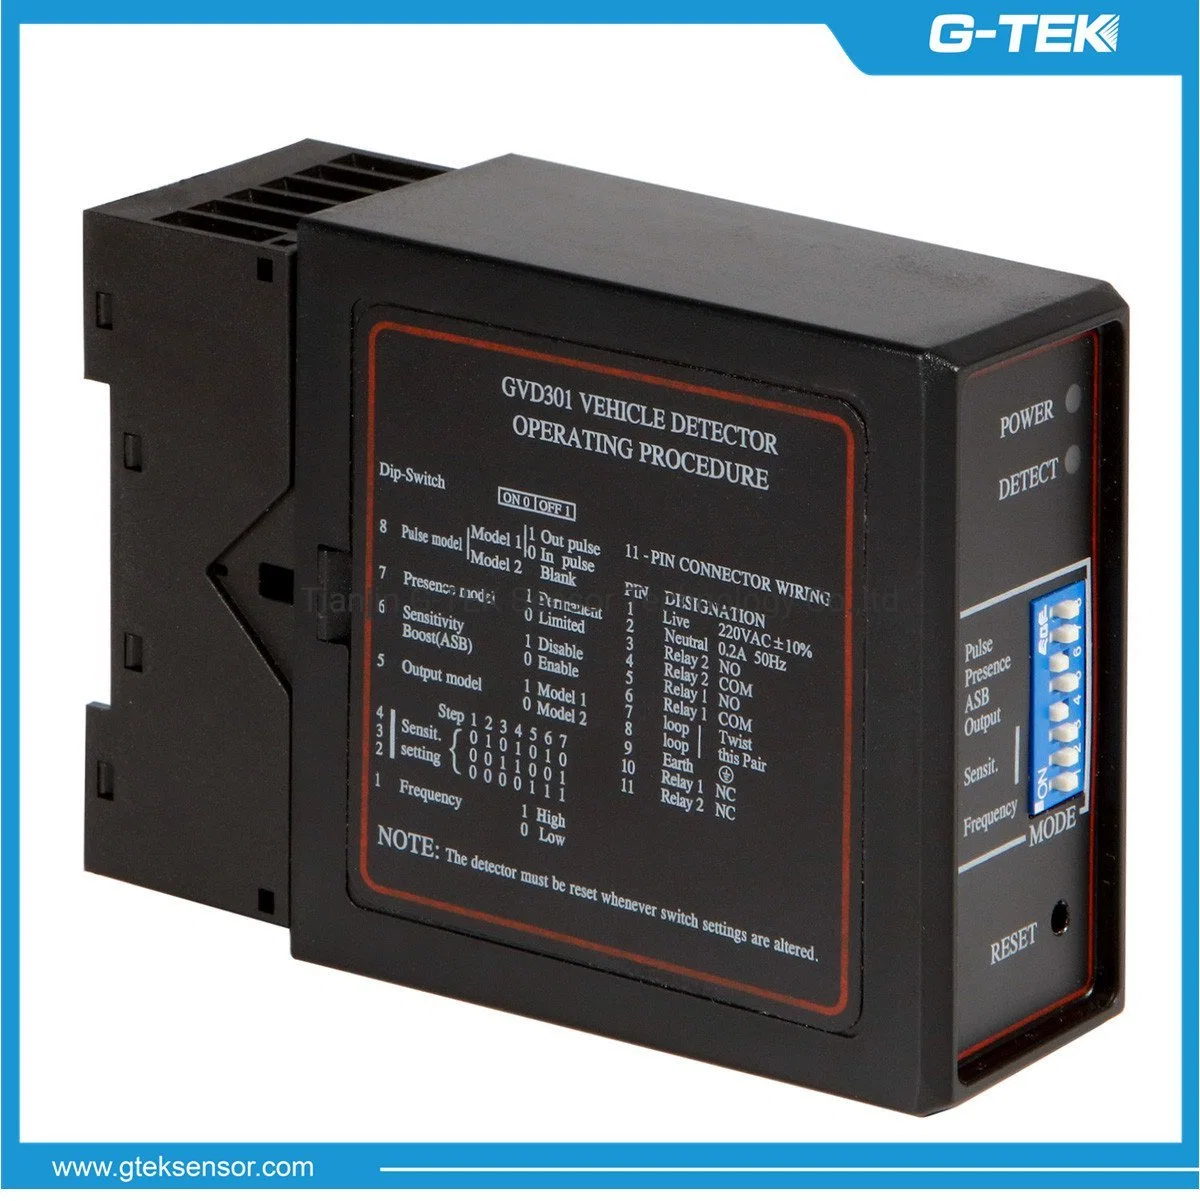
3. Switch 2 (Dipswitch Settings)
(1)DIP 1 & DIP 2 Setting Special Functions
(2)DIP 3 & DIP 4 Setting Relay B Output
(3)DIP 5 Setting Automatic Reset
(4)DIP 6 & DIP 7 & DIP 8 Setting Relay A Delay
(5)DIP 9 & DIP 10 Setting Frequency (40 K to 100 KHz). Used to avoid the interference
In the application, where two or more loop detectors and sensing loops have been installed, set one detector to high frequency and the other set to low frequency to minimize the effects of cross-talk between the two systems(The sensing loops and detectors should be positioned at least 2m apart).
4. Reset Button: Please note: The LD-100 must be reset every time a setting change is made to the Dip switchesDetector Position and Installation1. Install the detector in a weatherproof housing.
2. The detector should be as close to the sensing loop as possible.
3. The detector should always be installed away from strong magnetic fields.
4. Avoid running high voltage wires near the loop detectors.
5. Do not install the detector on vibrating objects.
6. When the control box is installed within 10 meters of the loop, normal wires can be used to connect the control box to the loop. More than 10 meters requires the use of a 2-core shielded cable. Do not exceed 30 meters distance between control box and loop.
Loop Installation
The loops are sealed using a "quick-set" black epoxy compound or hot bitumen mastic to blend with the roadway surface.
Trouble Shooting
JUTAI LD-100/102 series vehicle detectors have a large sensing range, and the adaptive sensing range is 15 uh to 2000 uh; this can easily detect various large and small type vehicles, such as small and electric vehicles, Motorcycles, conventional cars, cars, trucks, trailers, trailers, etc.; but if we use the loop coils value reach to 2000 uh, then we need a lot of high temperature wire (Model:JTHT-11), which will cause material Waste, increase the hardware cost of the project, and the actual application does not need so many wires, usually we set the inductance in the range of 300 uh, and take the coil size of 1 meter wide and 2 meters long as an example , We suggest do 8-10 turns, which inductive value can easily detect all kinds of car models, then if we want to do the fast installation , first we do a loop coils, 1m wide, 2m long, assuming 10 turns, We use a multimeter to measure the inductance value of these 10 turns, and then according the parking entry/exit channel size is different, we can flexibly set the size of the coil within this inductance value range. If the diameter of the coil is smaller, then we do more turns; If the diameter of the coil is larger, we do less; so that it can be flexibly applied to entrances and exits of various sizes, and the overall installation efficiency is improved. For detailed operations, please refer to the projects reference.

 Complaint