| Specifications |
| Parameters | EchoLife EG8546M |
| Dimensions (H x W x D) | 156 x 125 x 28 mm |
| Gross Weight | 210g |
| Operating Temperature | 0°C to 50°C |
| Operating Humidity | 5% RH to 95% RH (non-condensing) |
| Power Adapter Input | 100 V to 240 V AC, 50 Hz/60 Hz |
| System Power Supply | 11 V to 14 V DC, 0.5 A |
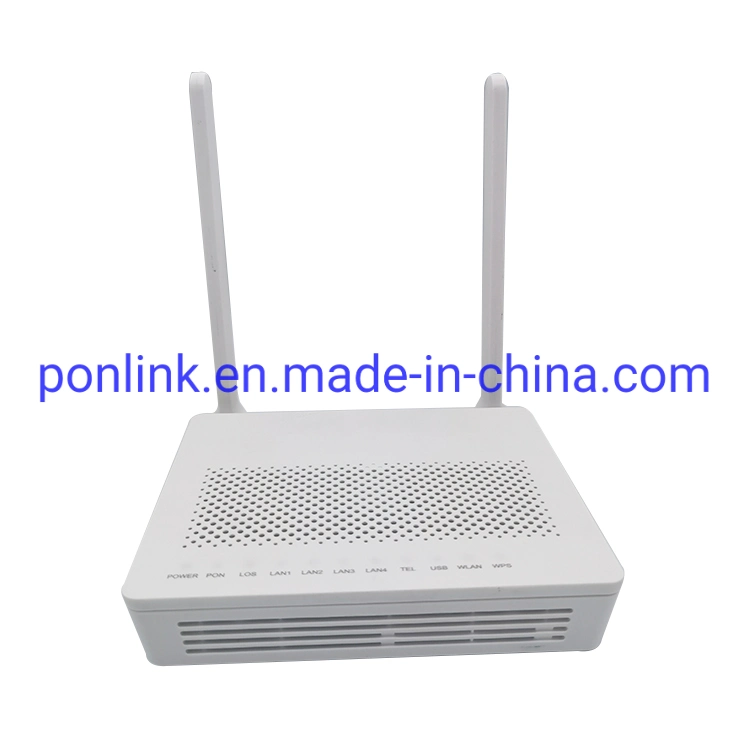
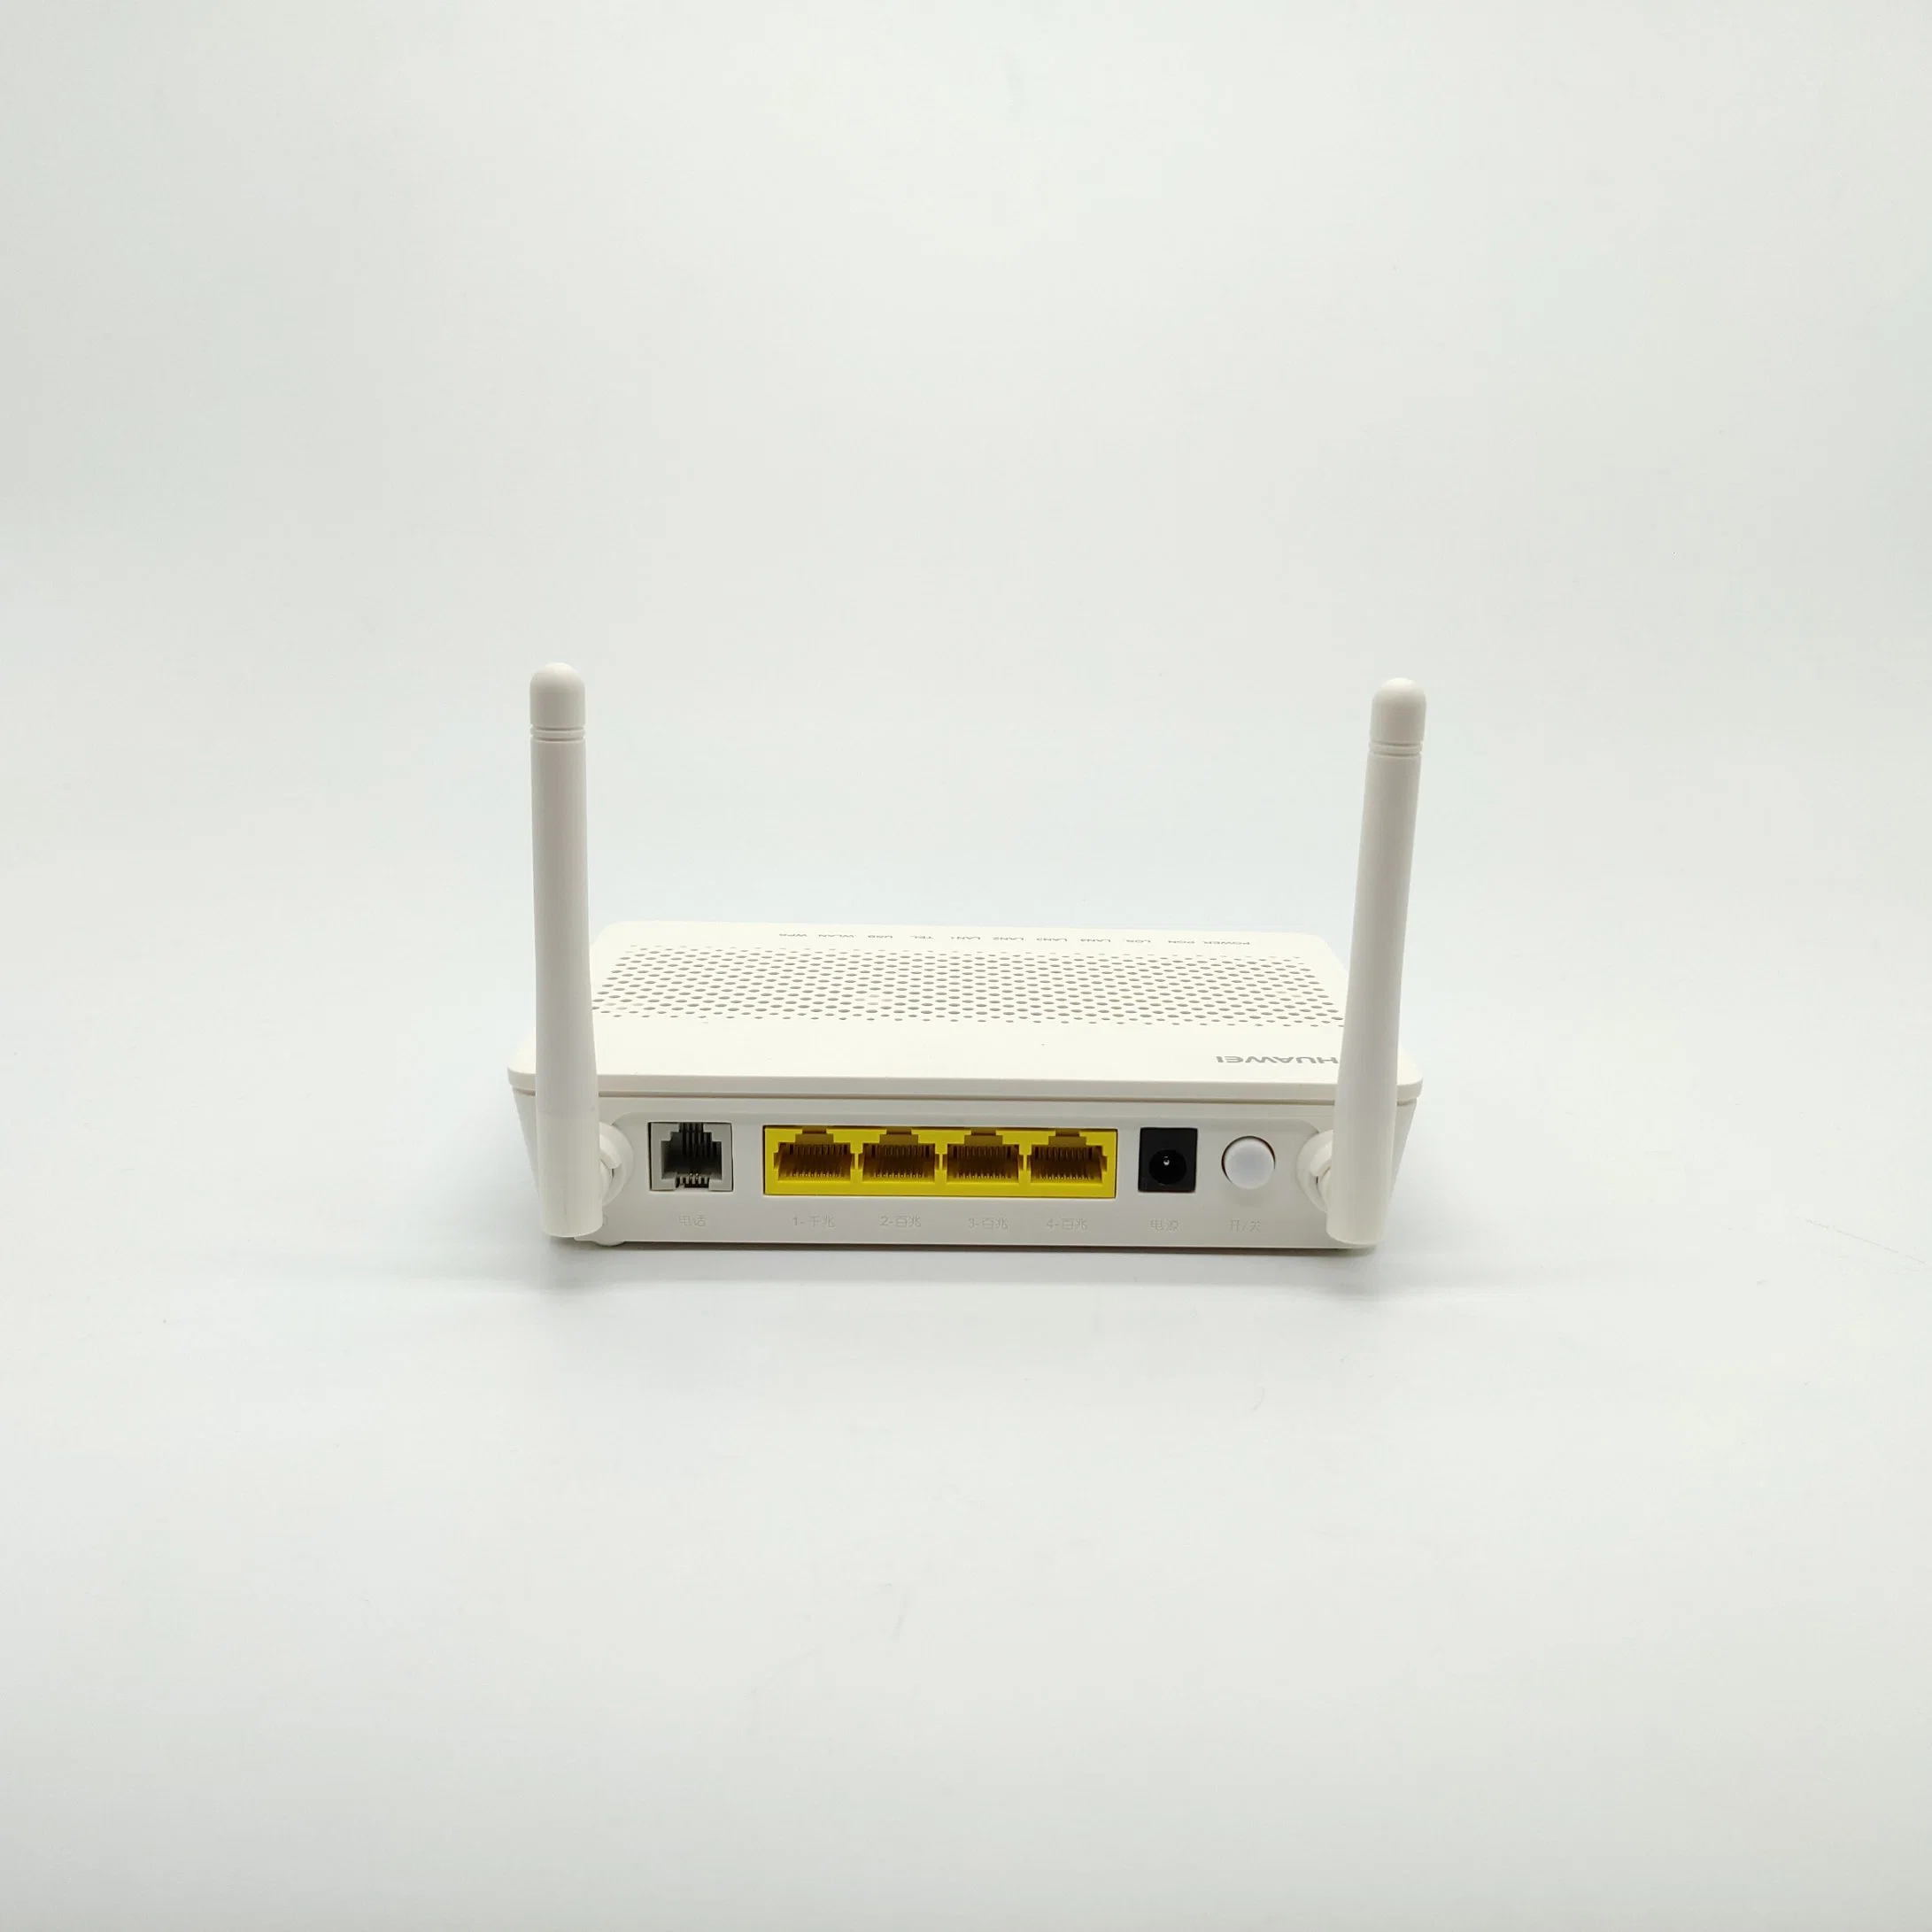
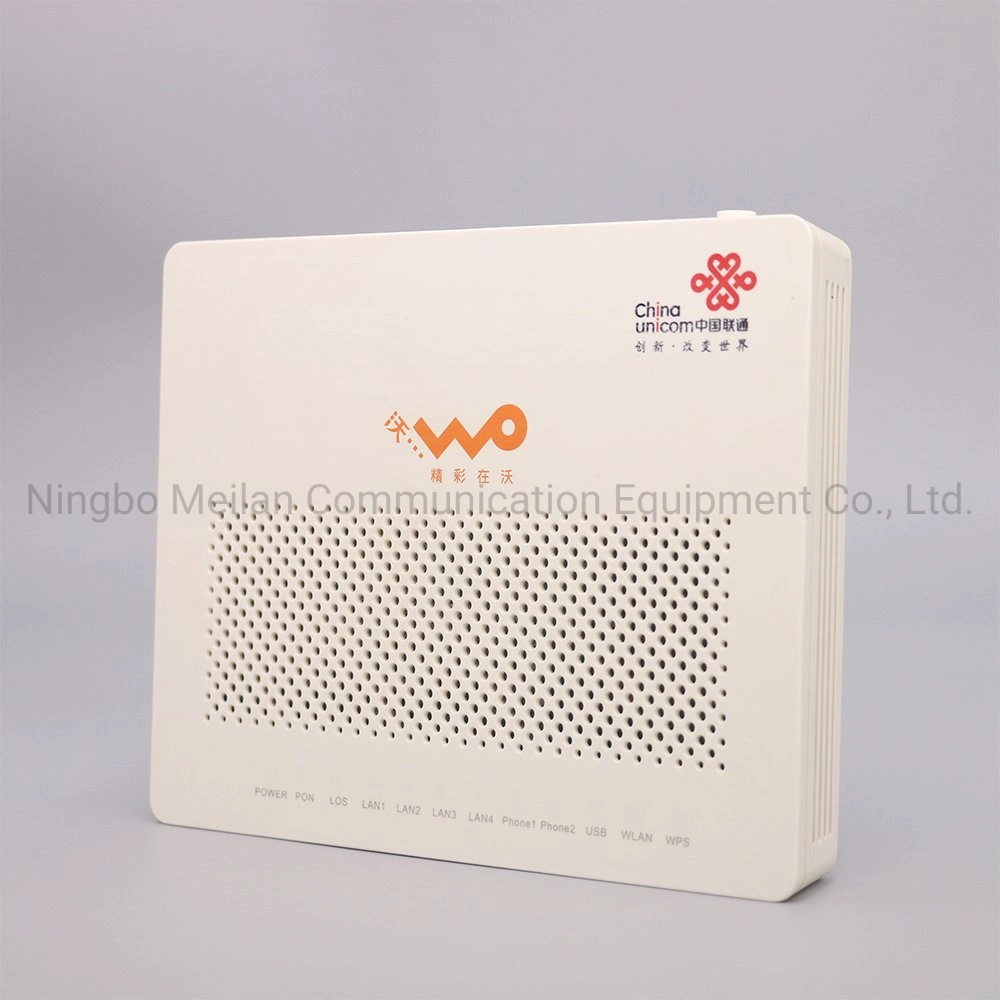
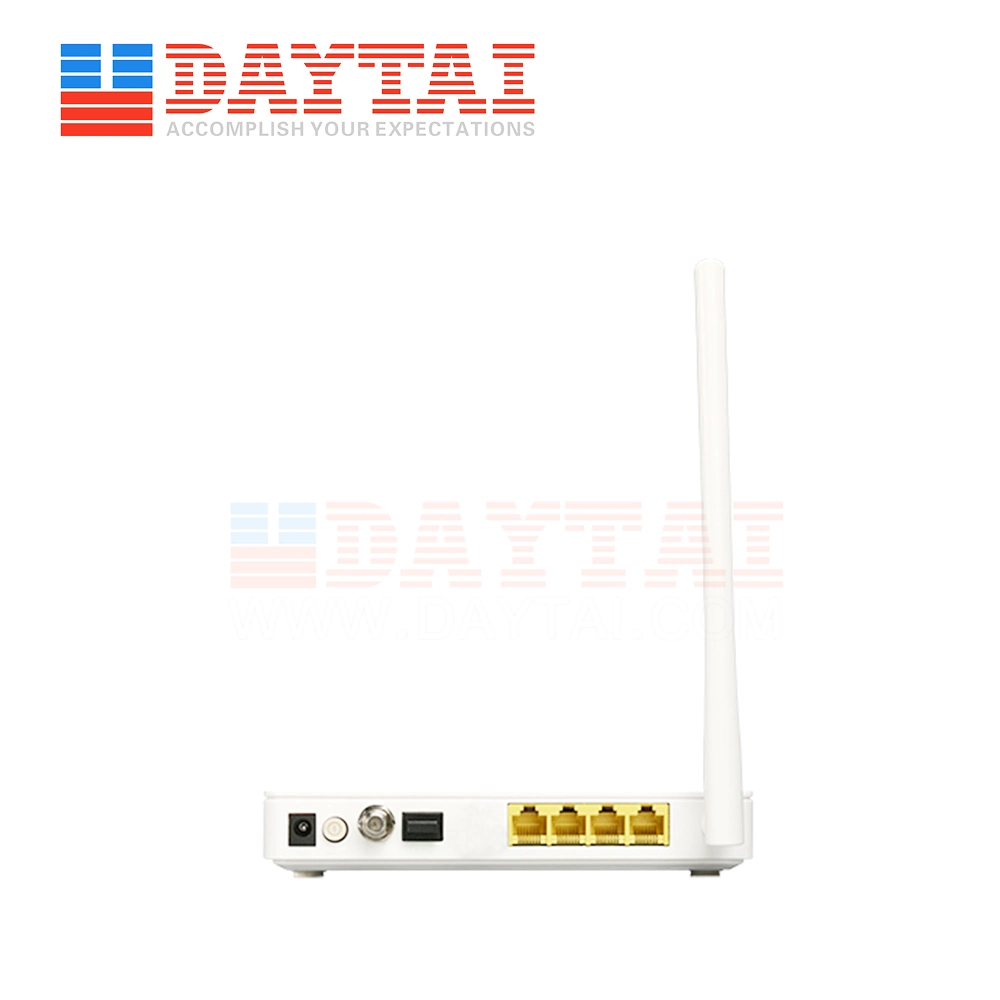
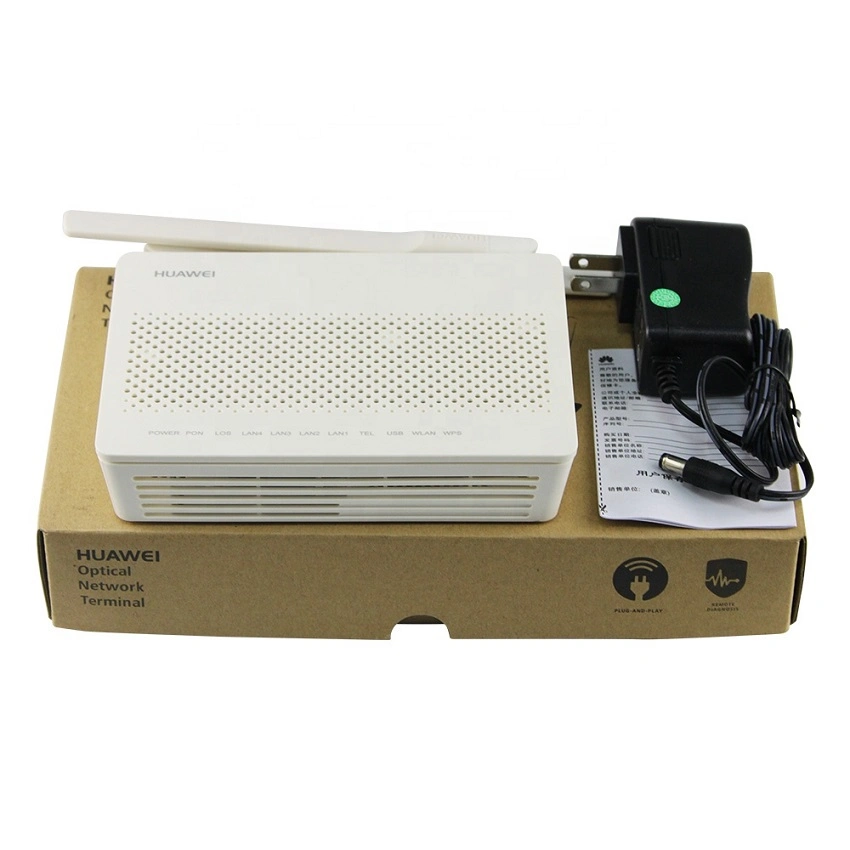
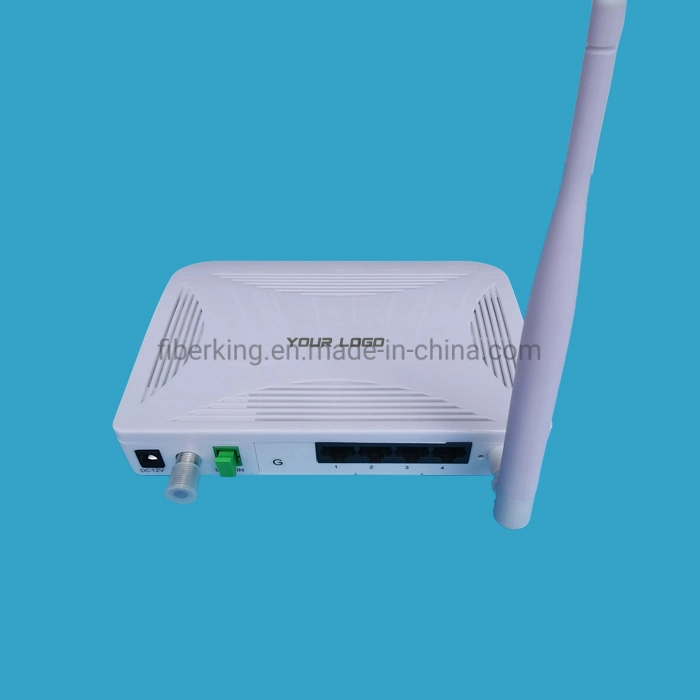
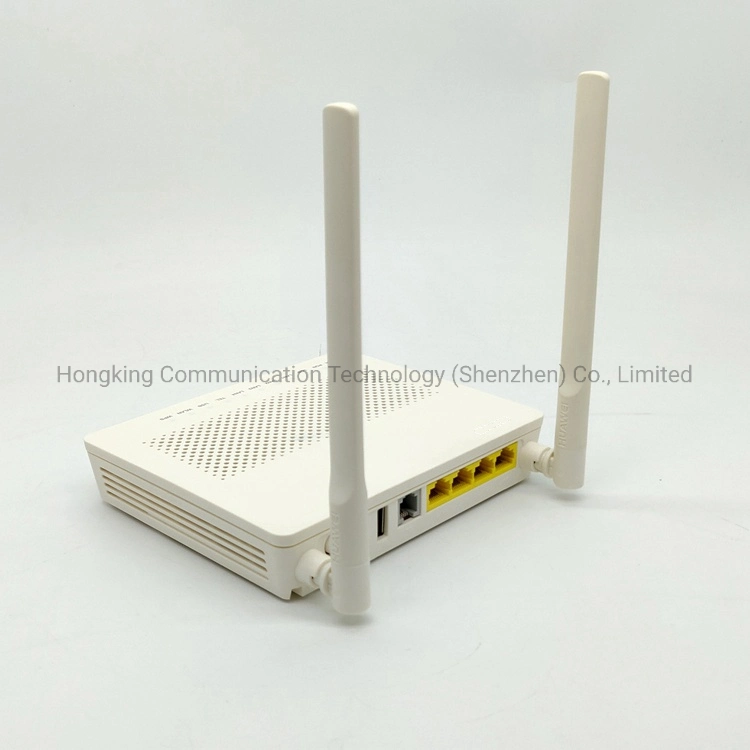
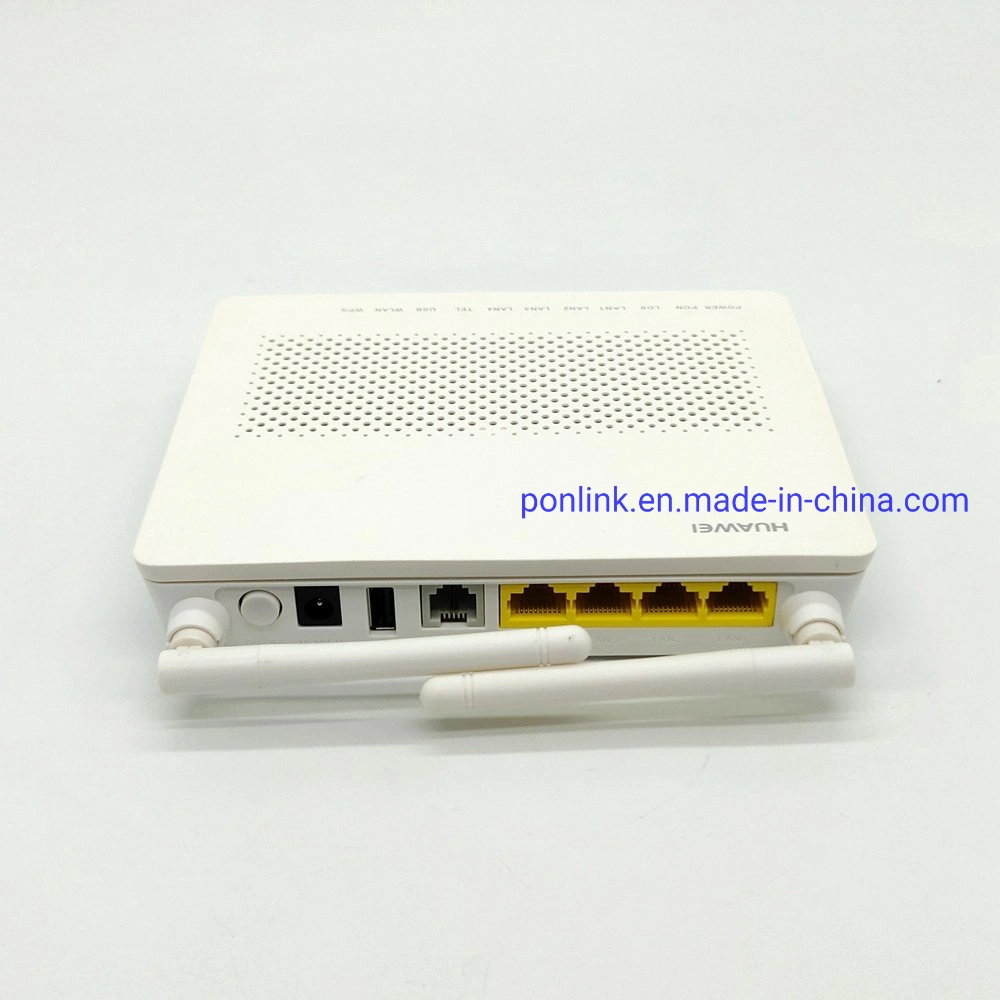
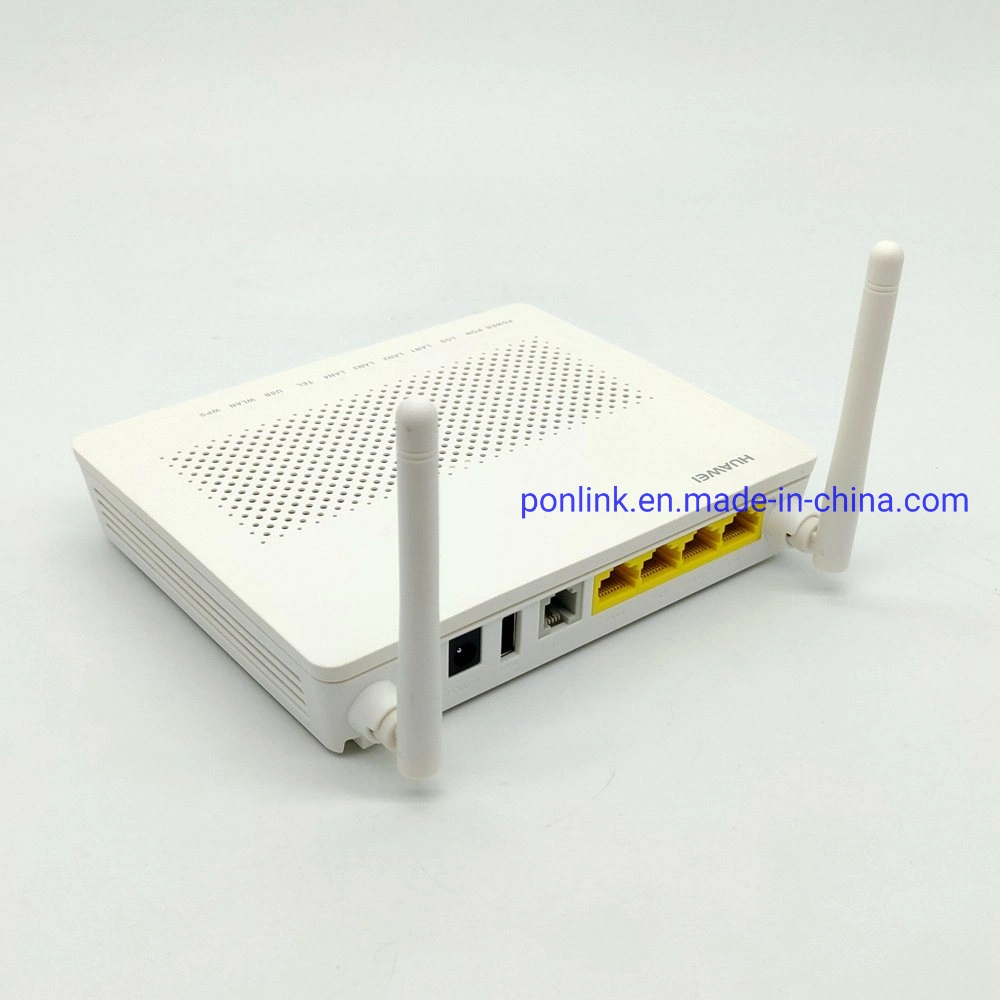
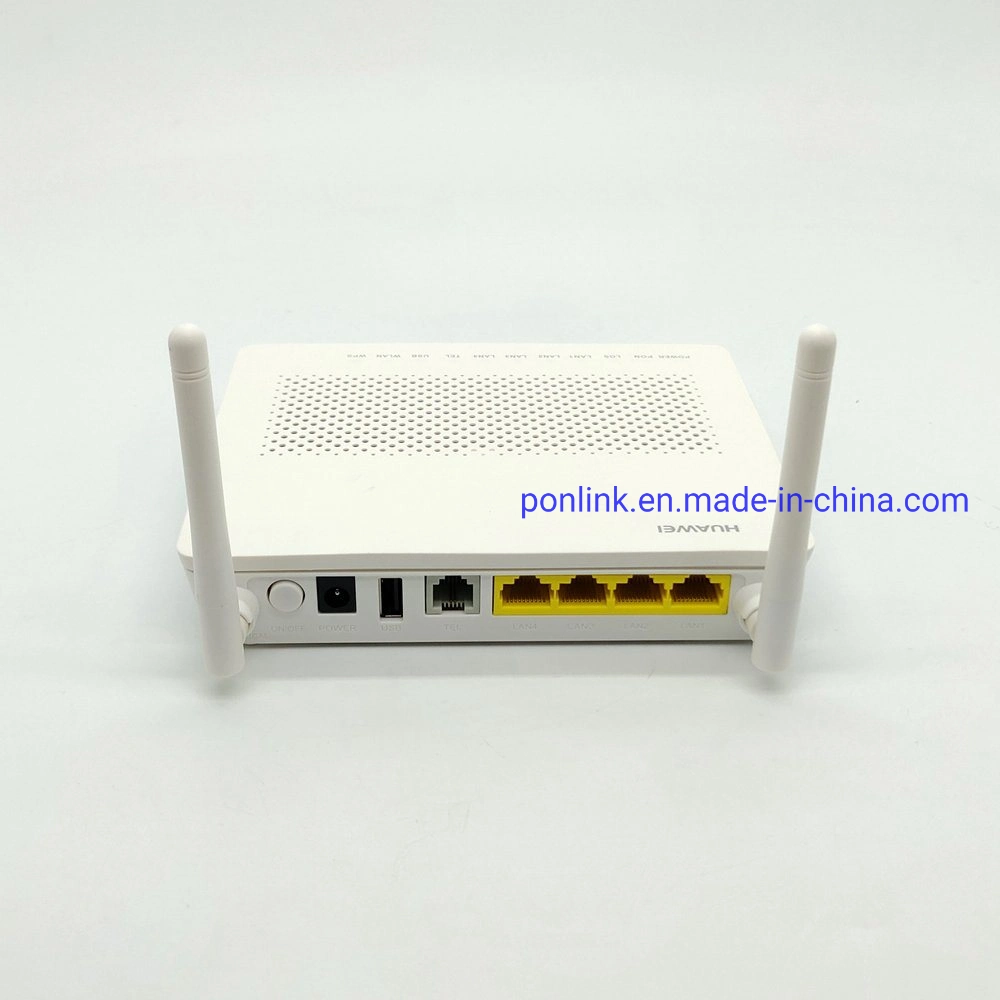
| Ports | 4FE+2POTS+1USB+2.4G Wi-Fi |
| Optical Connector | SC/UPC |
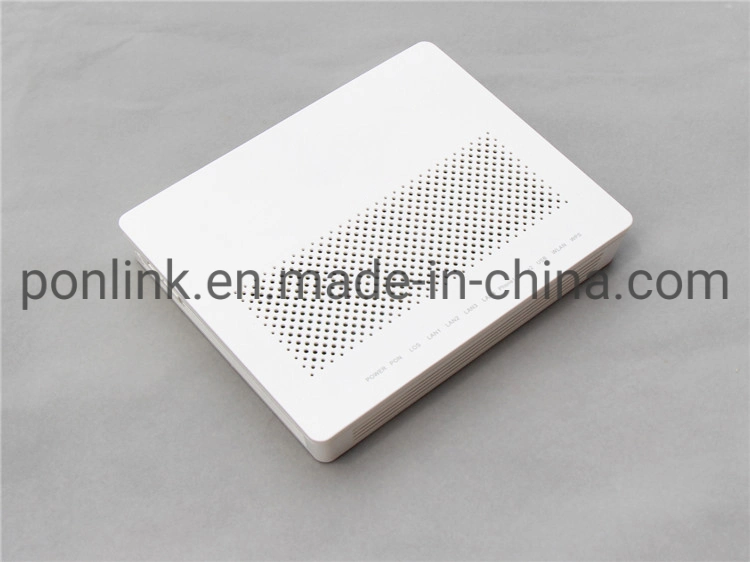
| Indicators | Power/PON/LOS/LAN/TEL/USB/WLAN/WPSSpecifications | Parameters | EchoLife EG8546M | | Dimensions (H x W x D) | 156 x 125 x 28 mm | | Gross Weight | 210g | | Operating Temperature | 0°C to 50°C | | Operating Humidity | 5% RH to 95% RH (non-condensing) | | Power Adapter Input | 100 V to 240 V AC, 50 Hz/60 Hz | | System Power Supply | 11 V to 14 V DC, 0.5 A | | Ports | 4FE+2POTS+1USB+2.4G Wi-Fi | | Optical Connector | SC/UPC | | Indicators | Power/PON/LOS/LAN/TEL/USB/WLAN/WPS |
|
| Parameters | EchoLife EG8546M |
| Dimensions (H x W x D) | 156 x 125 x 28 mm |
| Gross Weight | 210g |
| Operating Temperature | 0°C to 50°C |
| Operating Humidity | 5% RH to 95% RH (non-condensing) |
| Power Adapter Input | 100 V to 240 V AC, 50 Hz/60 Hz |
| System Power Supply | 11 V to 14 V DC, 0.5 A |
| Ports | 4FE+2POTS+1USB+2.4G Wi-Fi |
| Optical Connector | SC/UPC |
| Indicators | Power/PON/LOS/LAN/TEL/USB/WLAN/WPS |


 Complaint