 Complaint

| Size | 06 | 08 | 10 | 12 | 14 | 16 | 18 | 20 | 25 | |
| Rotor diameter, mm | 60 | 77 | 95 | 115 | 124 | 149 | 174 | 206 | 254 | |
| Rotor thickness (new), mm | 6.0 | 7.0 | 9.0 | 10.0 | 10.0 | 11.5 | 13.0 | 16.0 | 20.0 | |
| Minimum rotor thickness, mm | 4.5 | 5.5 | 7.5 | 8.0 | 7.5 | 8.0 | 10.0 | 12.0 | 15.5 | |
| Rated airgap, SLü, mm | 0.2 | 0.3 | 0.4 | 0.5 | ||||||
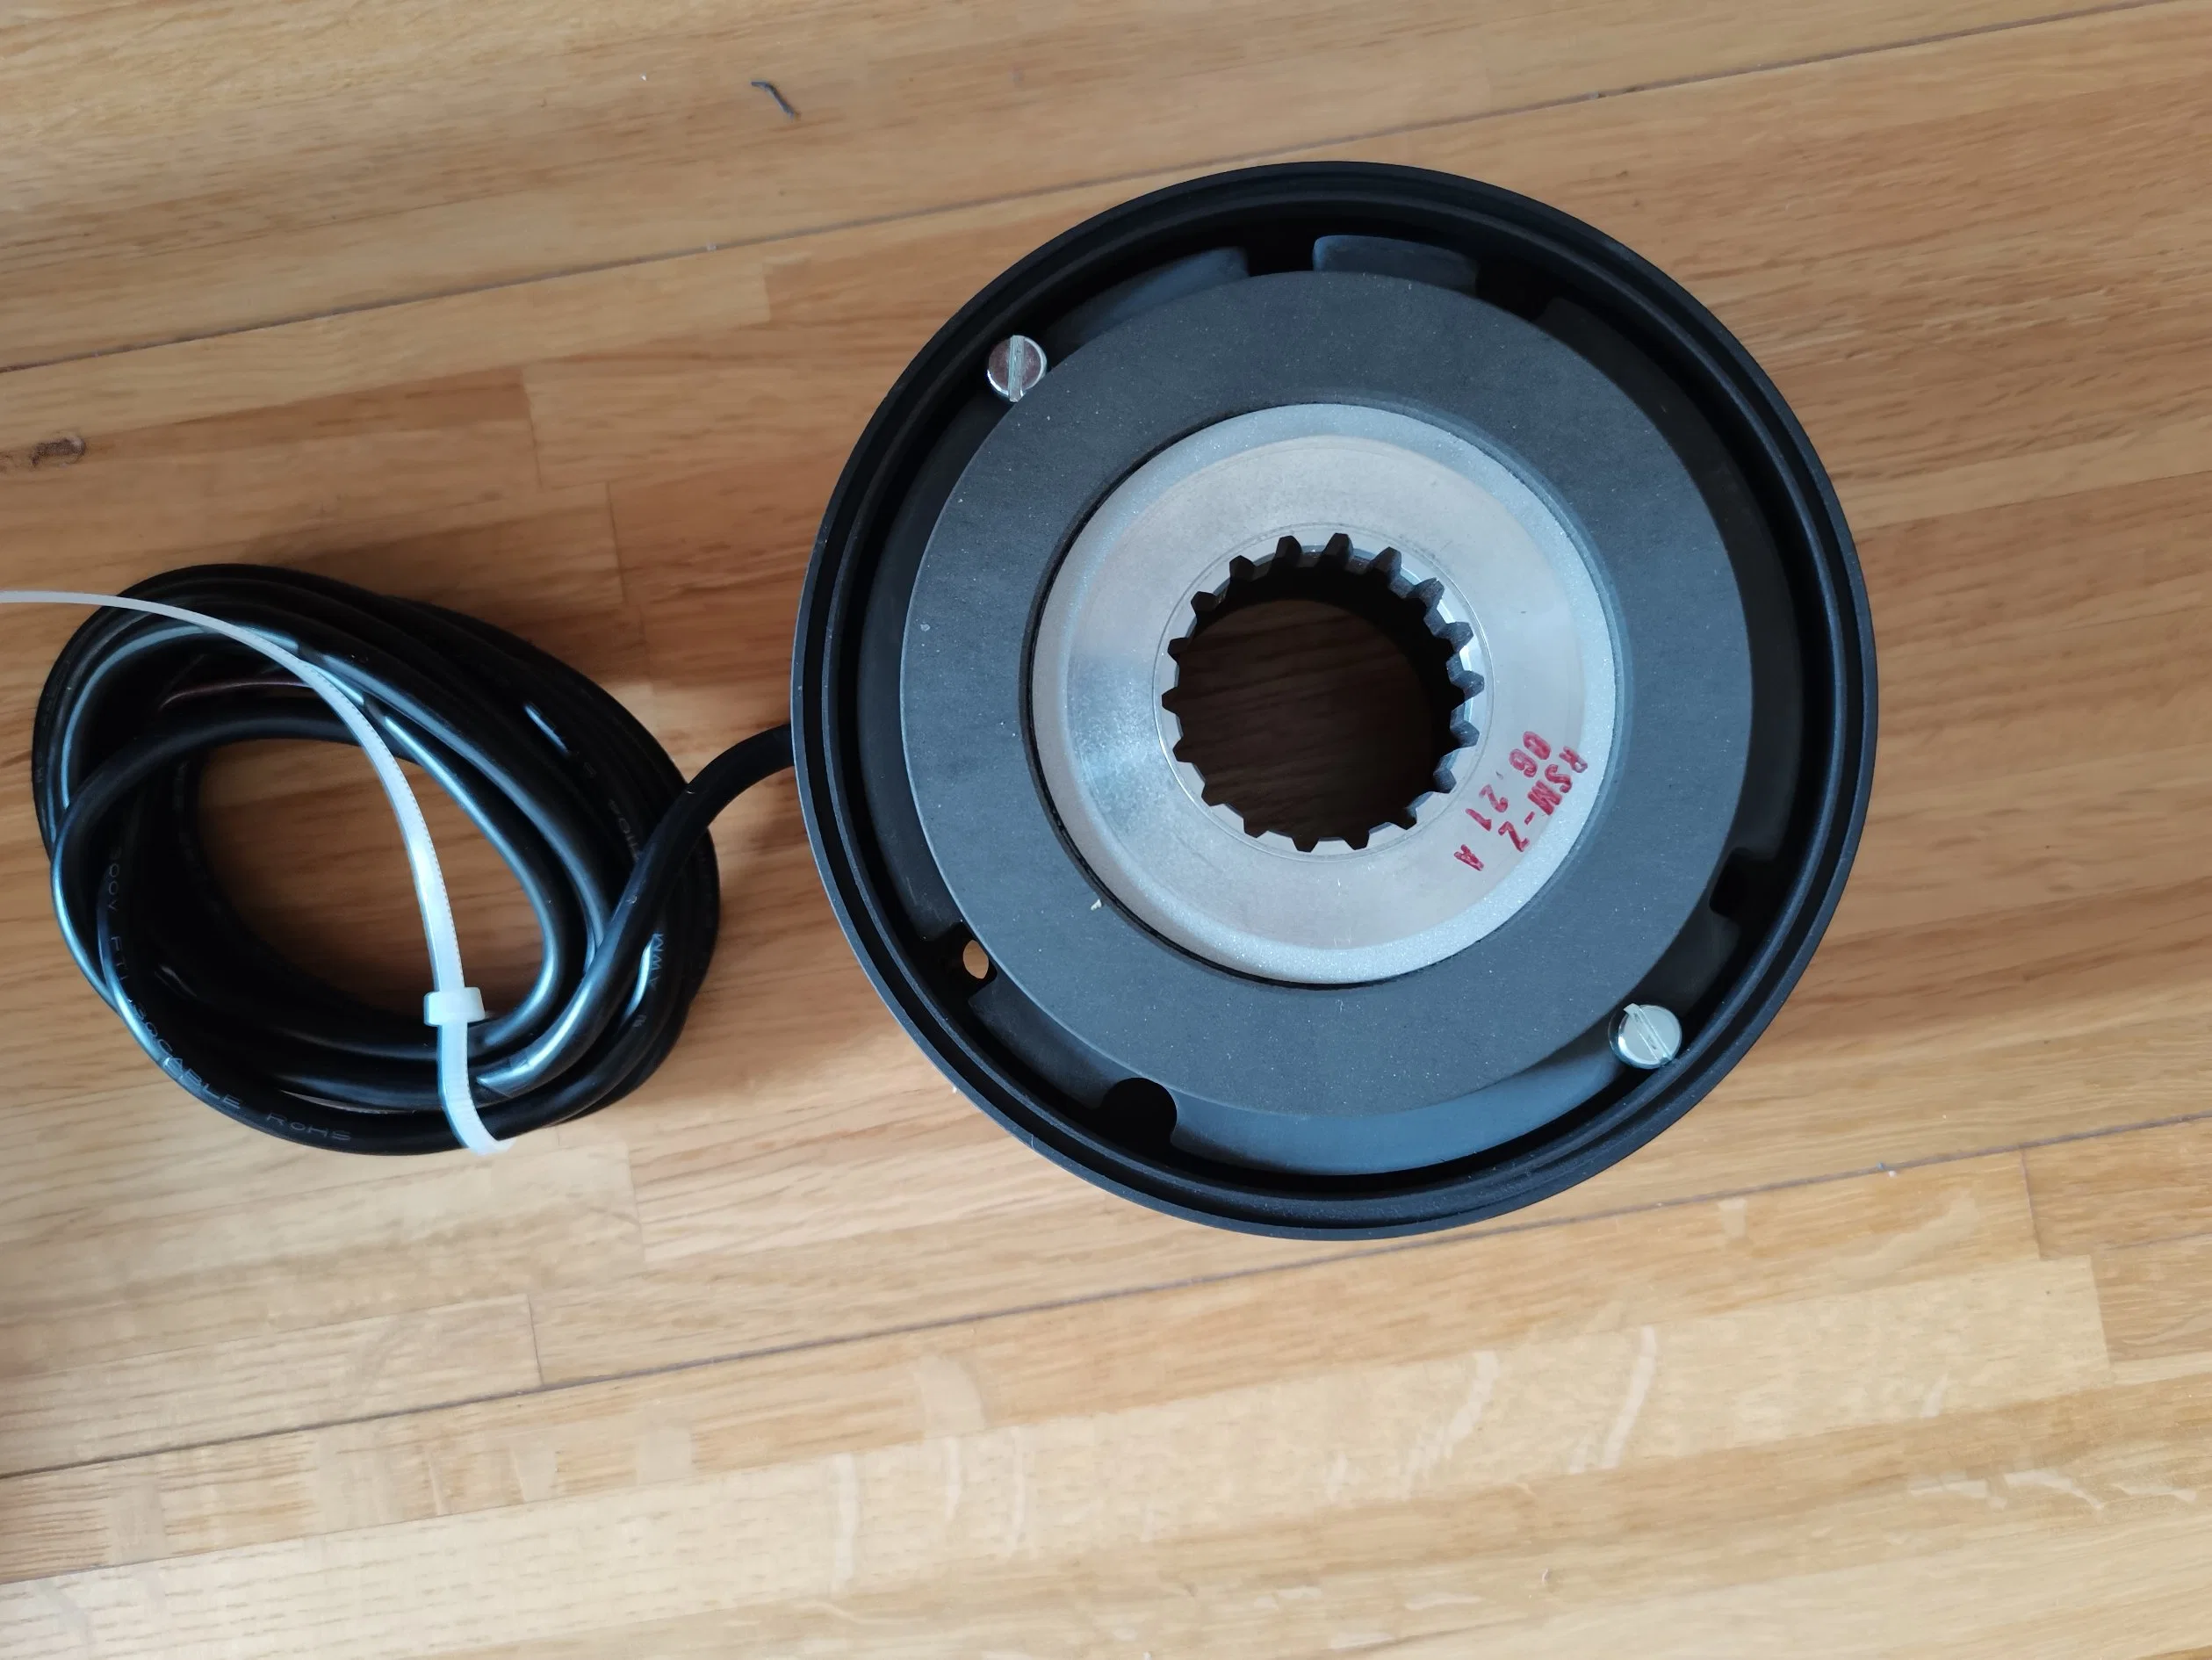
| OPERATING Max torque, Nm BRAKE Max airgap, mm | 4 | 8 | 16 | 32 | 60 | 80 | 150 | 260 | 400 | |
| 0.5 | 0.75 | 1.0 | 1.25 | |||||||
| HOLDING BRAKE | Max torque, Nm Max airgap, mm | 6 | 12 | 23 | 46 | 95 | 125 | 235 | 400 | 600 |
| 0.3 | 0.45 | 0.6 | 0.75 | |||||||
| Hand release clearance S+0.1 | 1.0 | 1.5 | 2.0 | 2.5 | ||||||
| Hand rel. adj. setting S + SLü | 1.2 | 1.8 | 2.4 | 3.0 | ||||||
| Torque reduction per detent position (Type E only) Nm | 0.2 | 0.35 | 0.8 | 1.3 1.7 1.6 | 3.6 5.6 | 6.2 | ||||
| Adjuster nut projection | 4.5 4.5 7.5 | 9.5 | 11.0 10.0 | 15.0 17.0 | 19.5 | |||||
| h1 max | mm | |||||||||
| Size | 06 08 10 12 14 16 18 20 25 | ||||||||
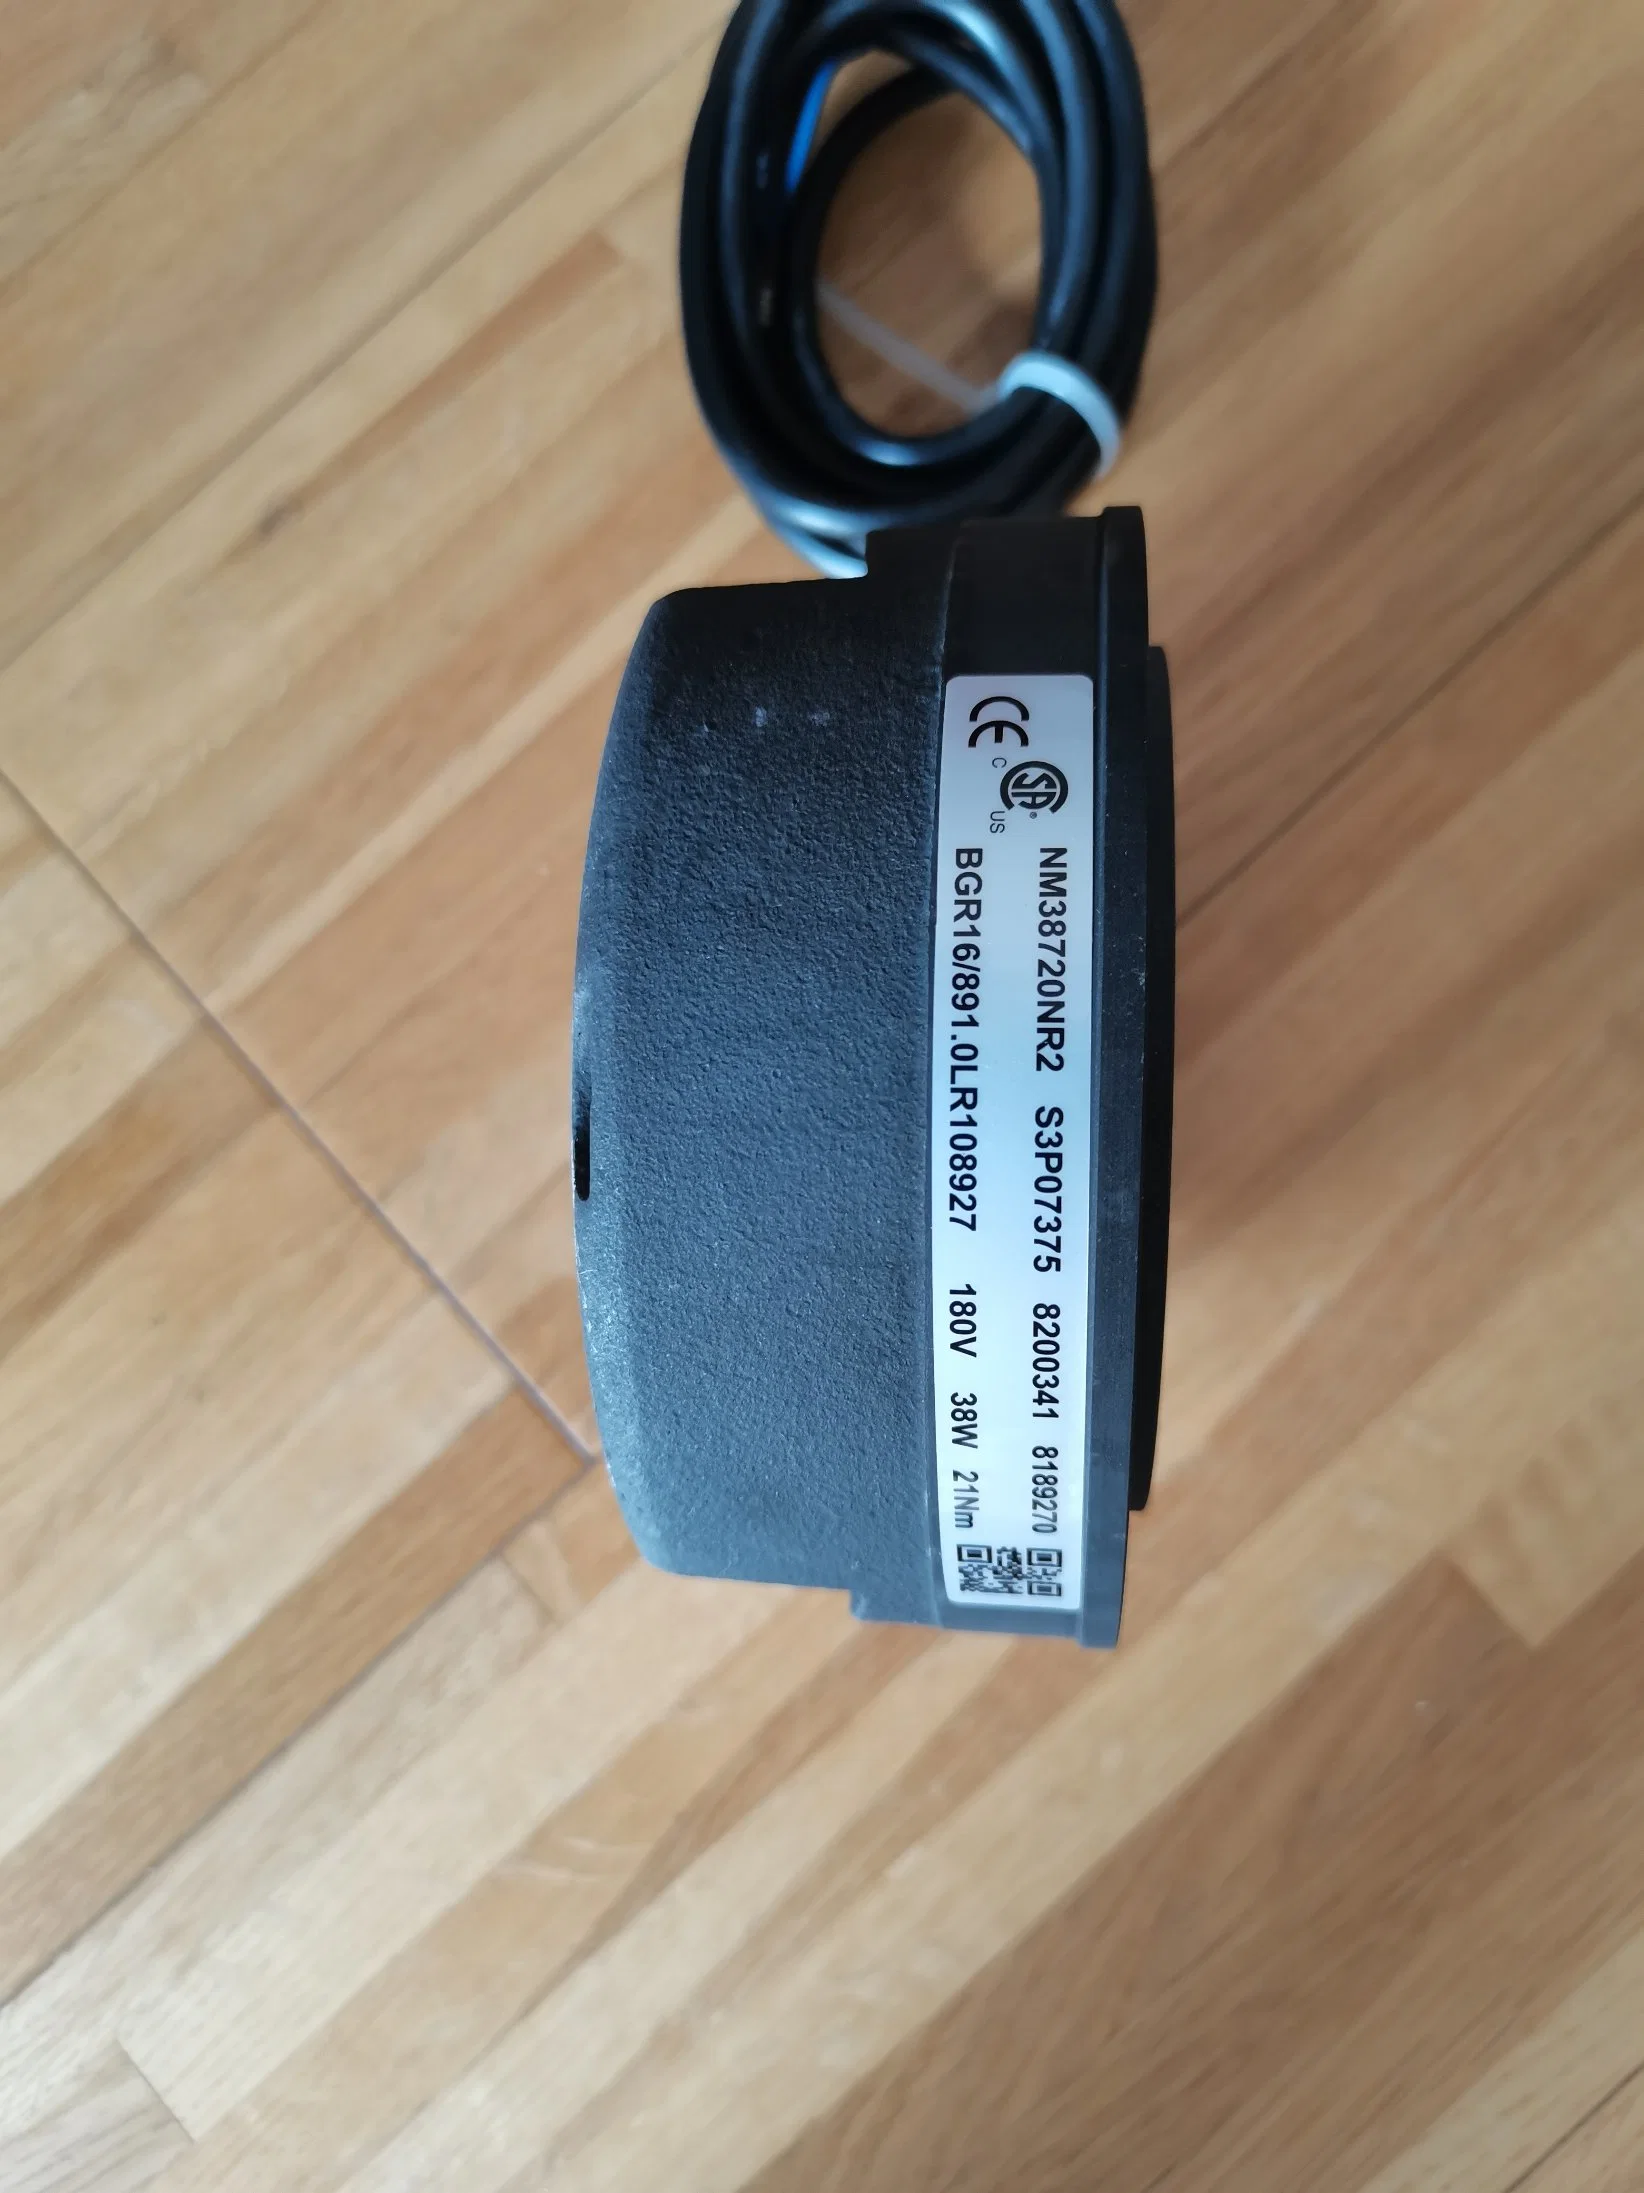
| Coil power (20ºC), W | 20 25 32 40 53 55 85 100 110 | ||||||||
| Nominal coil 24V Resistance, Ω) (at 20ºC) 103V 180V Values may vary ±8% 205V | 20 531 1620 2101 | 23 424 1296 1681 | 19.2 332 1013 1273 | 14.4 265 810 1051 | 11.5 200 611 793 | 10.5 190 589 751 | 6.8 125 387 494 | 5.8 106 324 420 | 5.2 97 295 382 |
| Shaft tolerance Over Up to | Tolerance | Lower limit | Upper limit | |
| 6 10 18 | 10 18 30 | k6 | +1 +1 +2 | +10 +12 +15 |
| 30 50 | m6 | +2 | +18 | |
| Circuit: | Options | With a rectifier that: complies does not with comply with standard standard | Spark suppressor in parallel to AC voltage | Mains filters | ||
| DC switching | < = 5 Switching operations/minute | 1 | * | |||
| 2 | * | * | ||||
| > 5 Switching operations/minute | 3 | * | * | |||
| 4 | * | * | ||||
| AC switching | < = 5 Switching operations/minute | 5 | * | |||
| 6 | * | * | ||||
| > 5 Switching operations/minute | 7 | * | ||||
| 8 | * | * | ||||
| Size | 06 08 10 12 14 16 18 20 25 | ||||
| For direct mounting or with friction plate | M4x40 M5x45 M6x55 M6x60 M8x70 M8x80 M8x90 M10x100 M10x110 | ||||
| For use with mounting flange | M4x35 M5x40 M6x50 M6x55 M8x65 M8x70 M8x80 M10x90 M10x100 | ||||
| Minimum clearance required behind flange, mm | 0.5 1.0 2.0 3.0 1.5 0.5 0.8 2.1 5.0 | ||||
| For mounting through flange | M4x45 M5x50 M6x65 M6x70 M8x80 M8x90 M8x100 M10x110 M10x120 | ||||
| Flange fixing screws DIN 6912 | 3xM4 3xM5 3xM6 3xM6 3xM8 3xM8 4xM8 4xM10 6xM10 | ||||
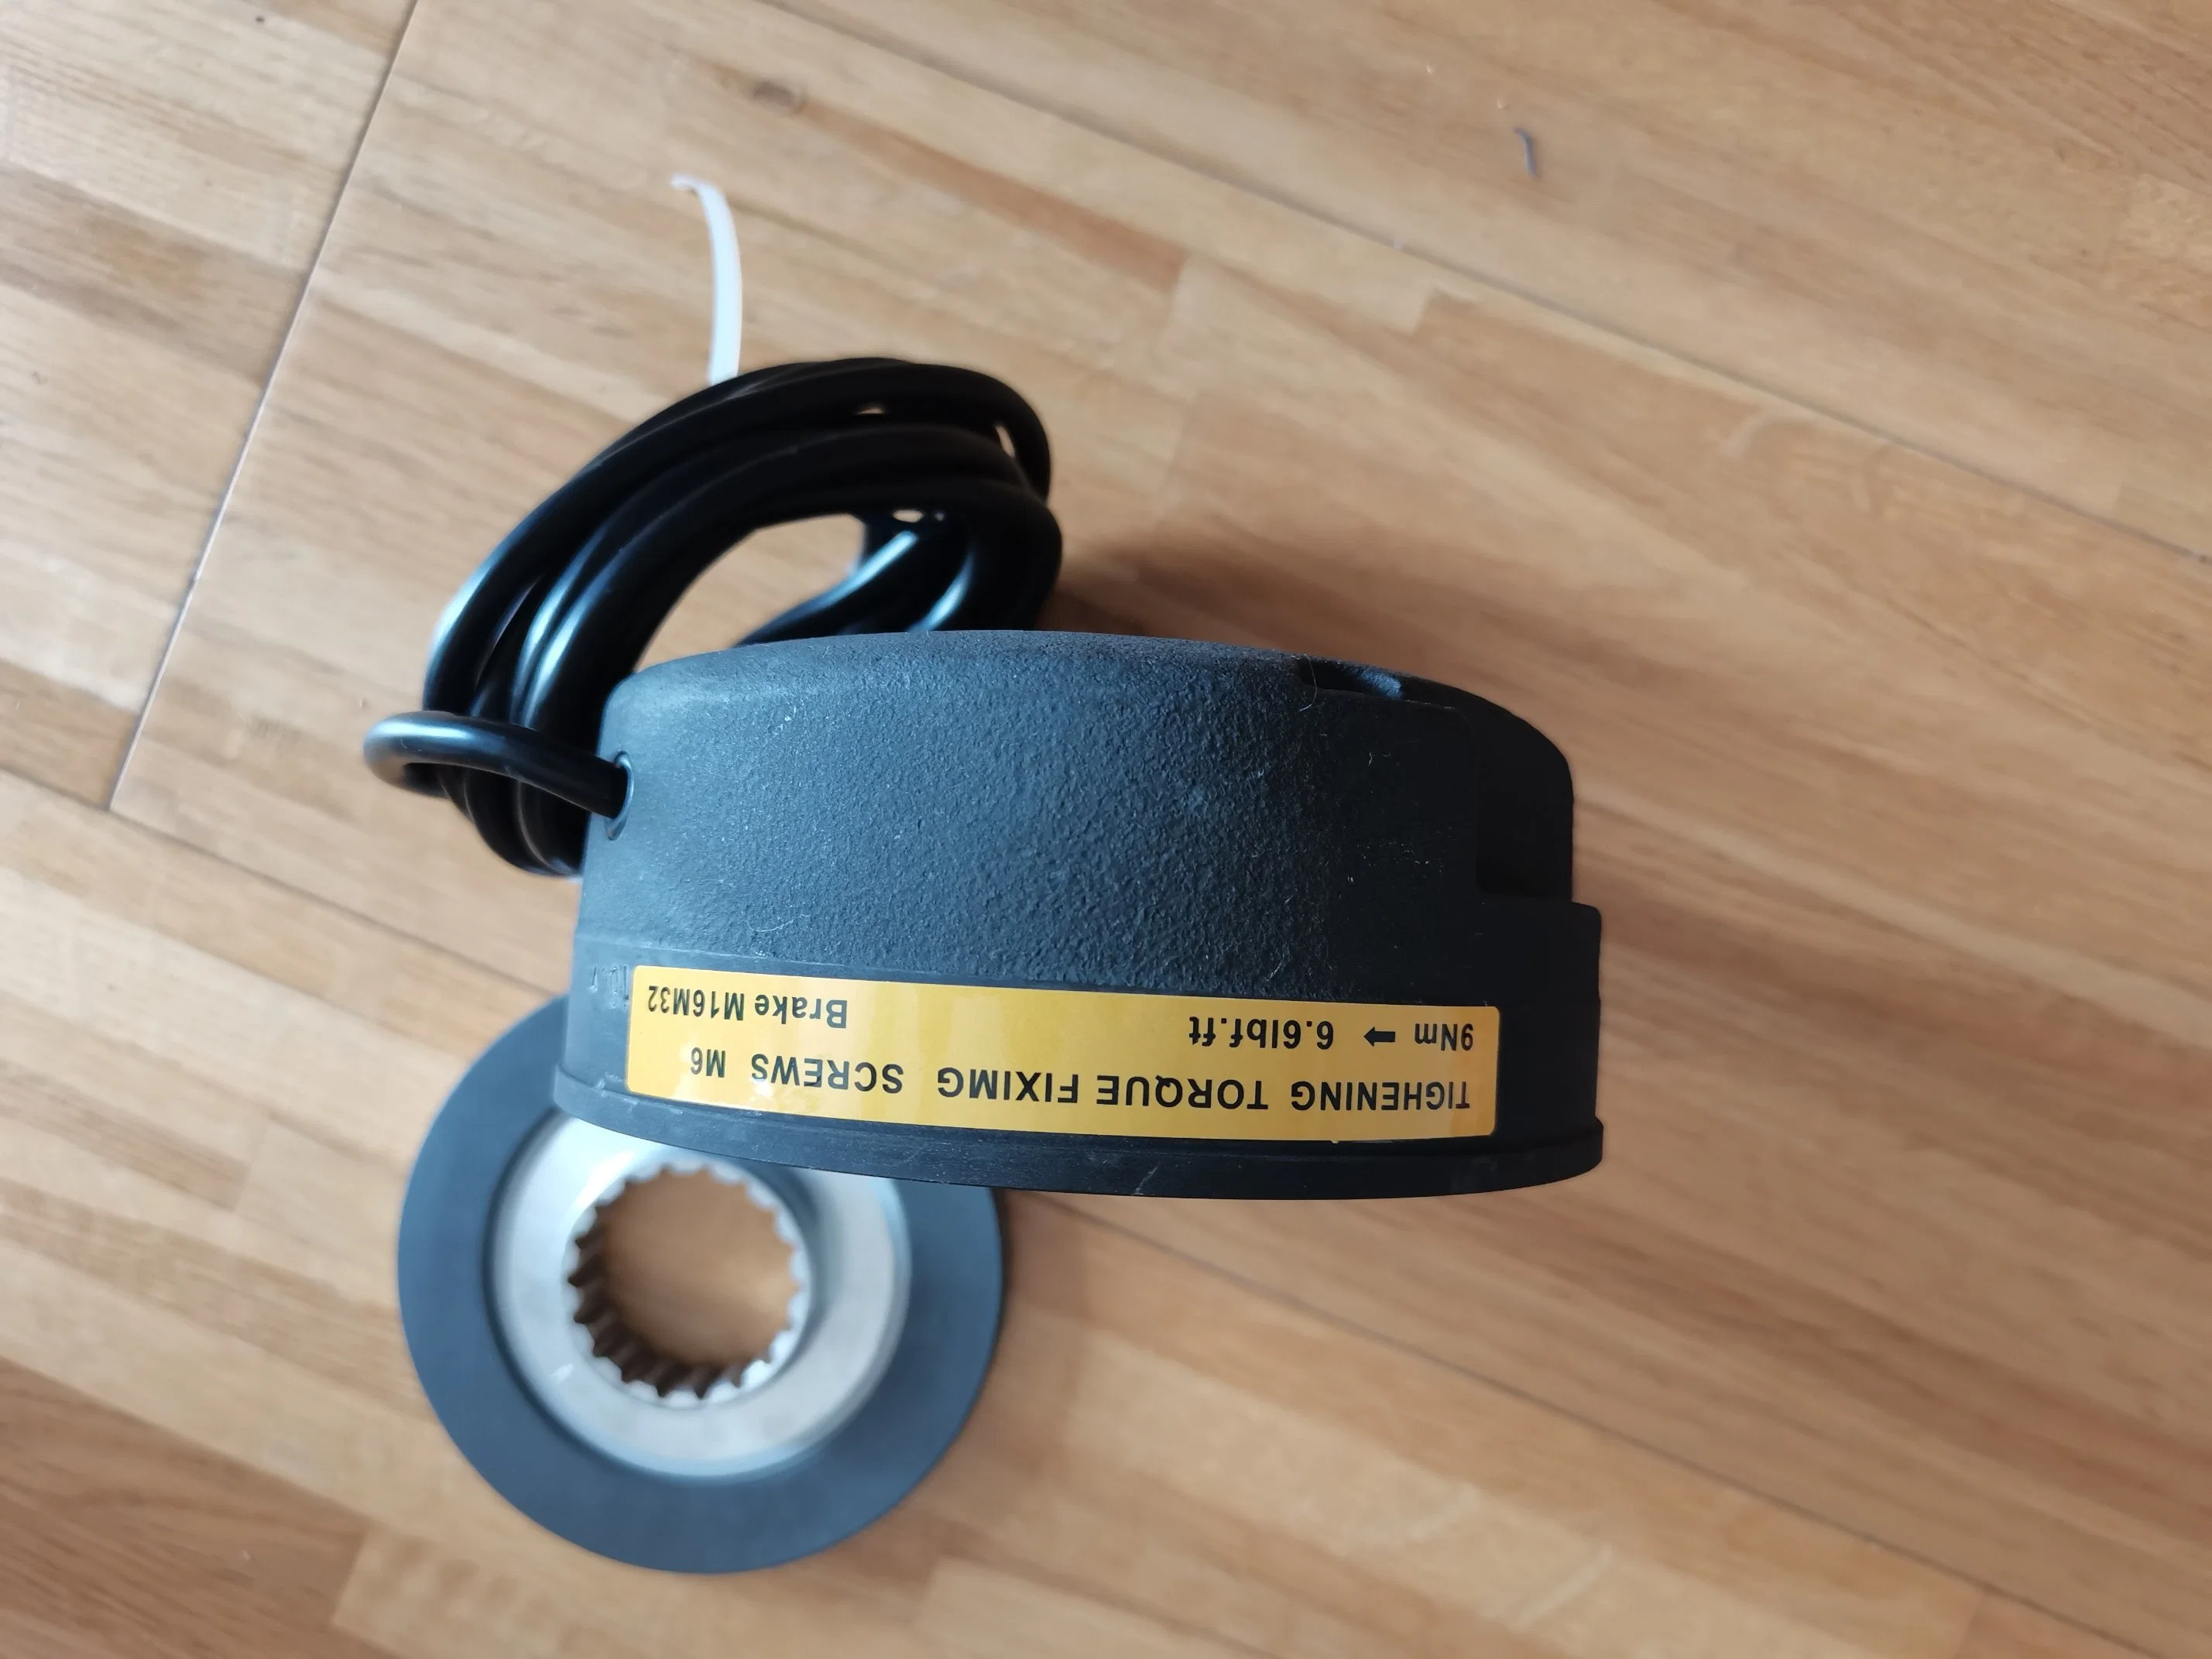
| Assembly bolts tightening torque, Nm | 2.8 | 5.5 | 9.5 | 23.0 | 46.0 |
| Brake size | 06 | 08 | 10 | 12 | 14 | 16 | 18 | 20 | 25 |
| Airgap setting SLü | 0.2 | 0.3 | 0.4 | 0.5 | |||||
| Assembly bolts tightening torque, Nm | 2.8 | 5.5 | 9.5 | 23.0 | 46.0 | ||||