Outdoor Custom Pop up Folding Tents with 600d Oxford

Min.Order: 1
Product origin: Qinhuangdao, Hebei, China
Infringement complaint: complaintComplaint
US$ 360 ~ 420

Description
Product Description
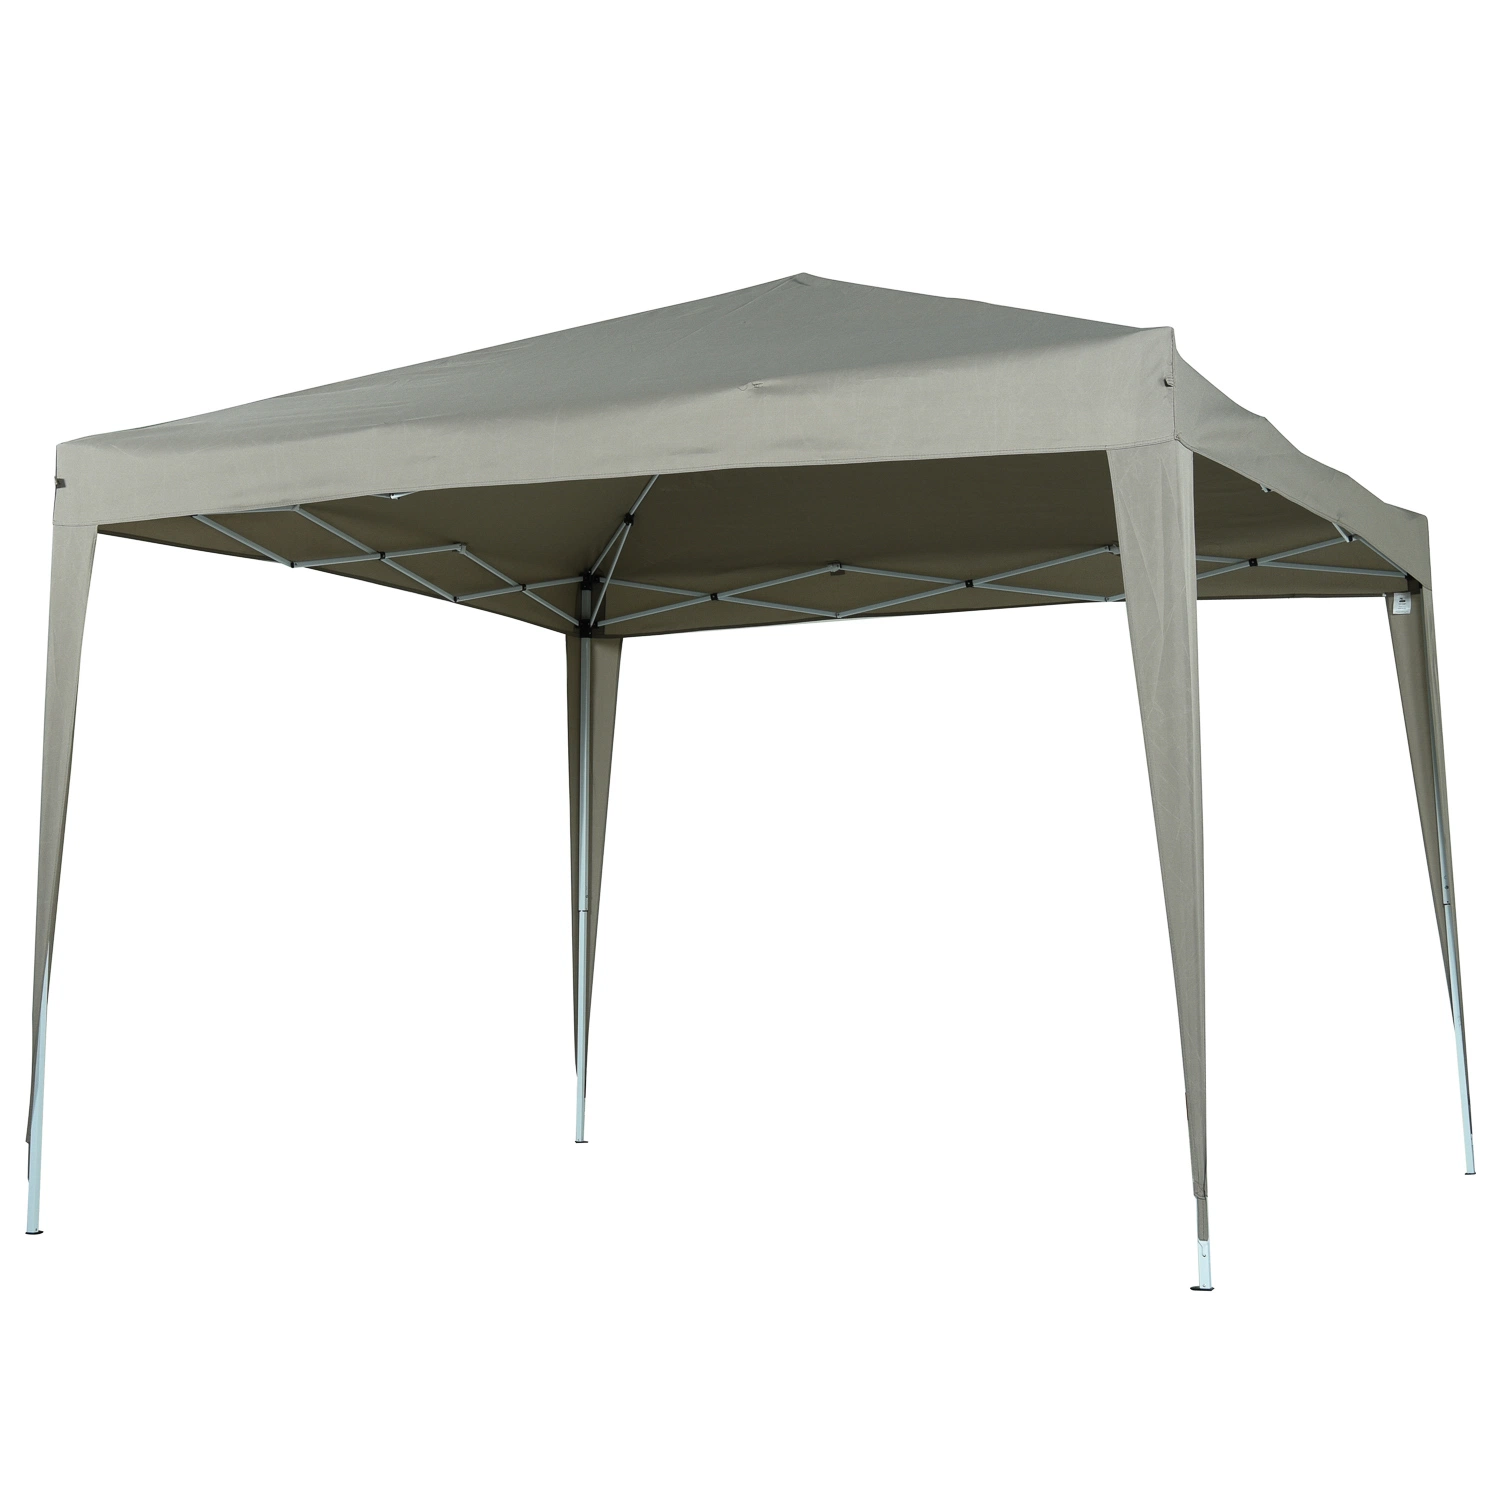
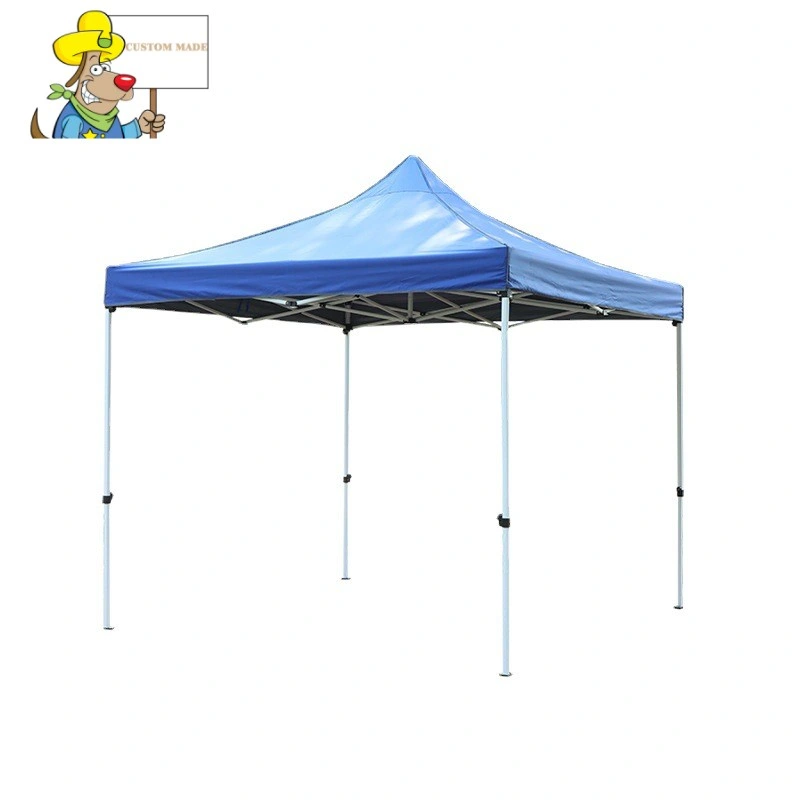
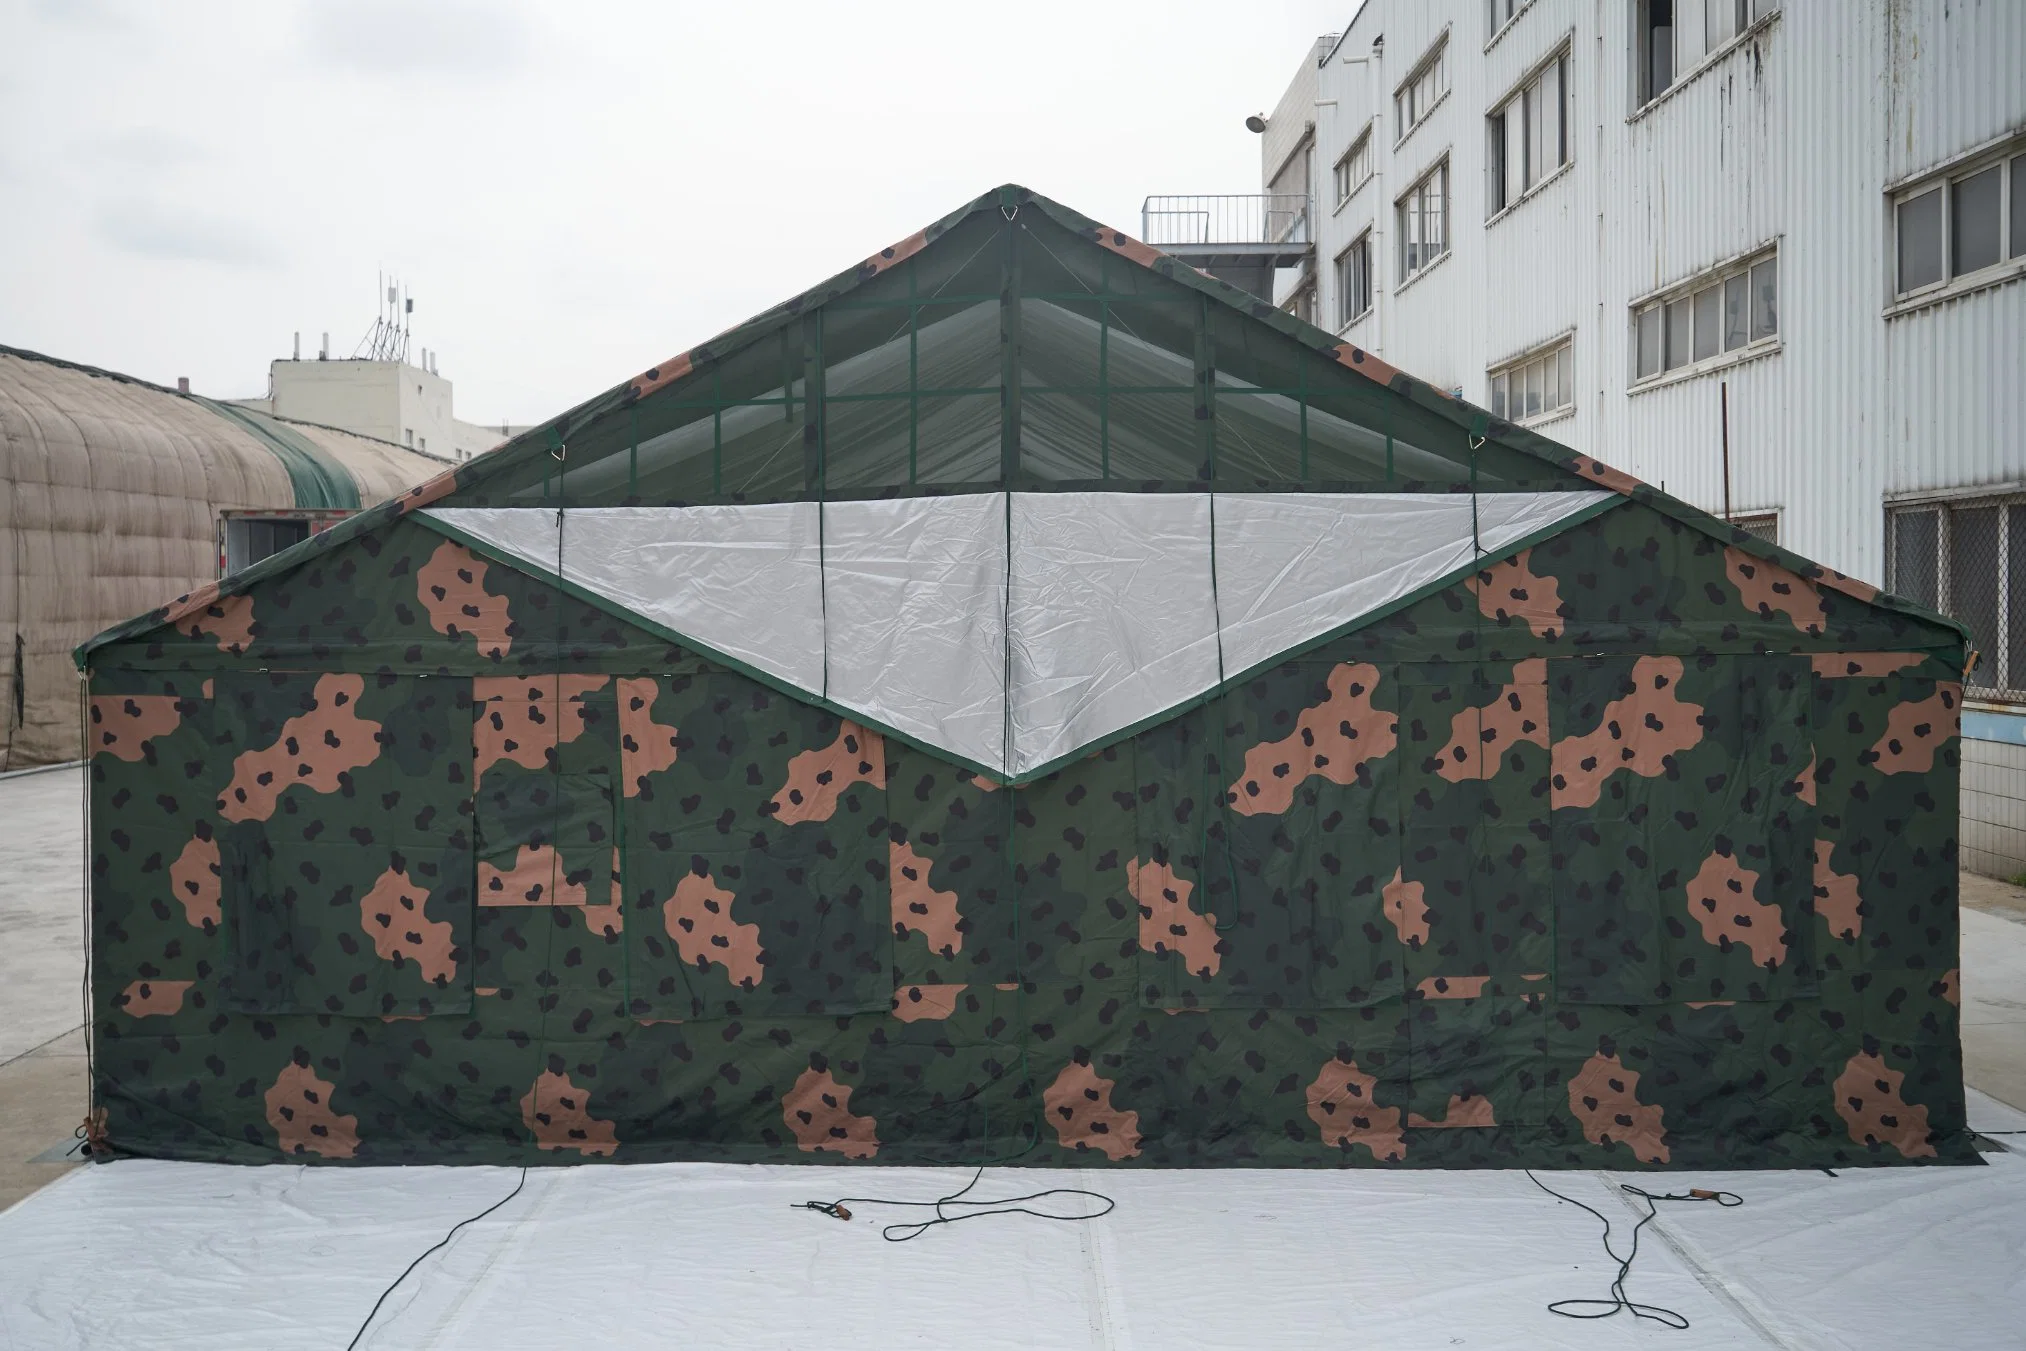
The tent is a double-break-face straight-wall
frame structure, and the tent frame is all
plug-in structure, and there are floor poles
around the bottom of the column. It can work
safely under the most unfavorable load
combination of its own weight, 8 cm of snow
and 8 winds.
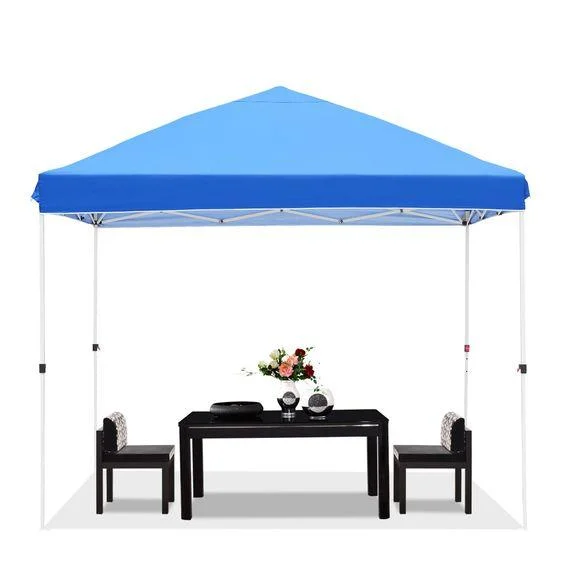
It can simultaneously meet the basic
functional requirements of 75 people for
dining and 75 people for five-day main and
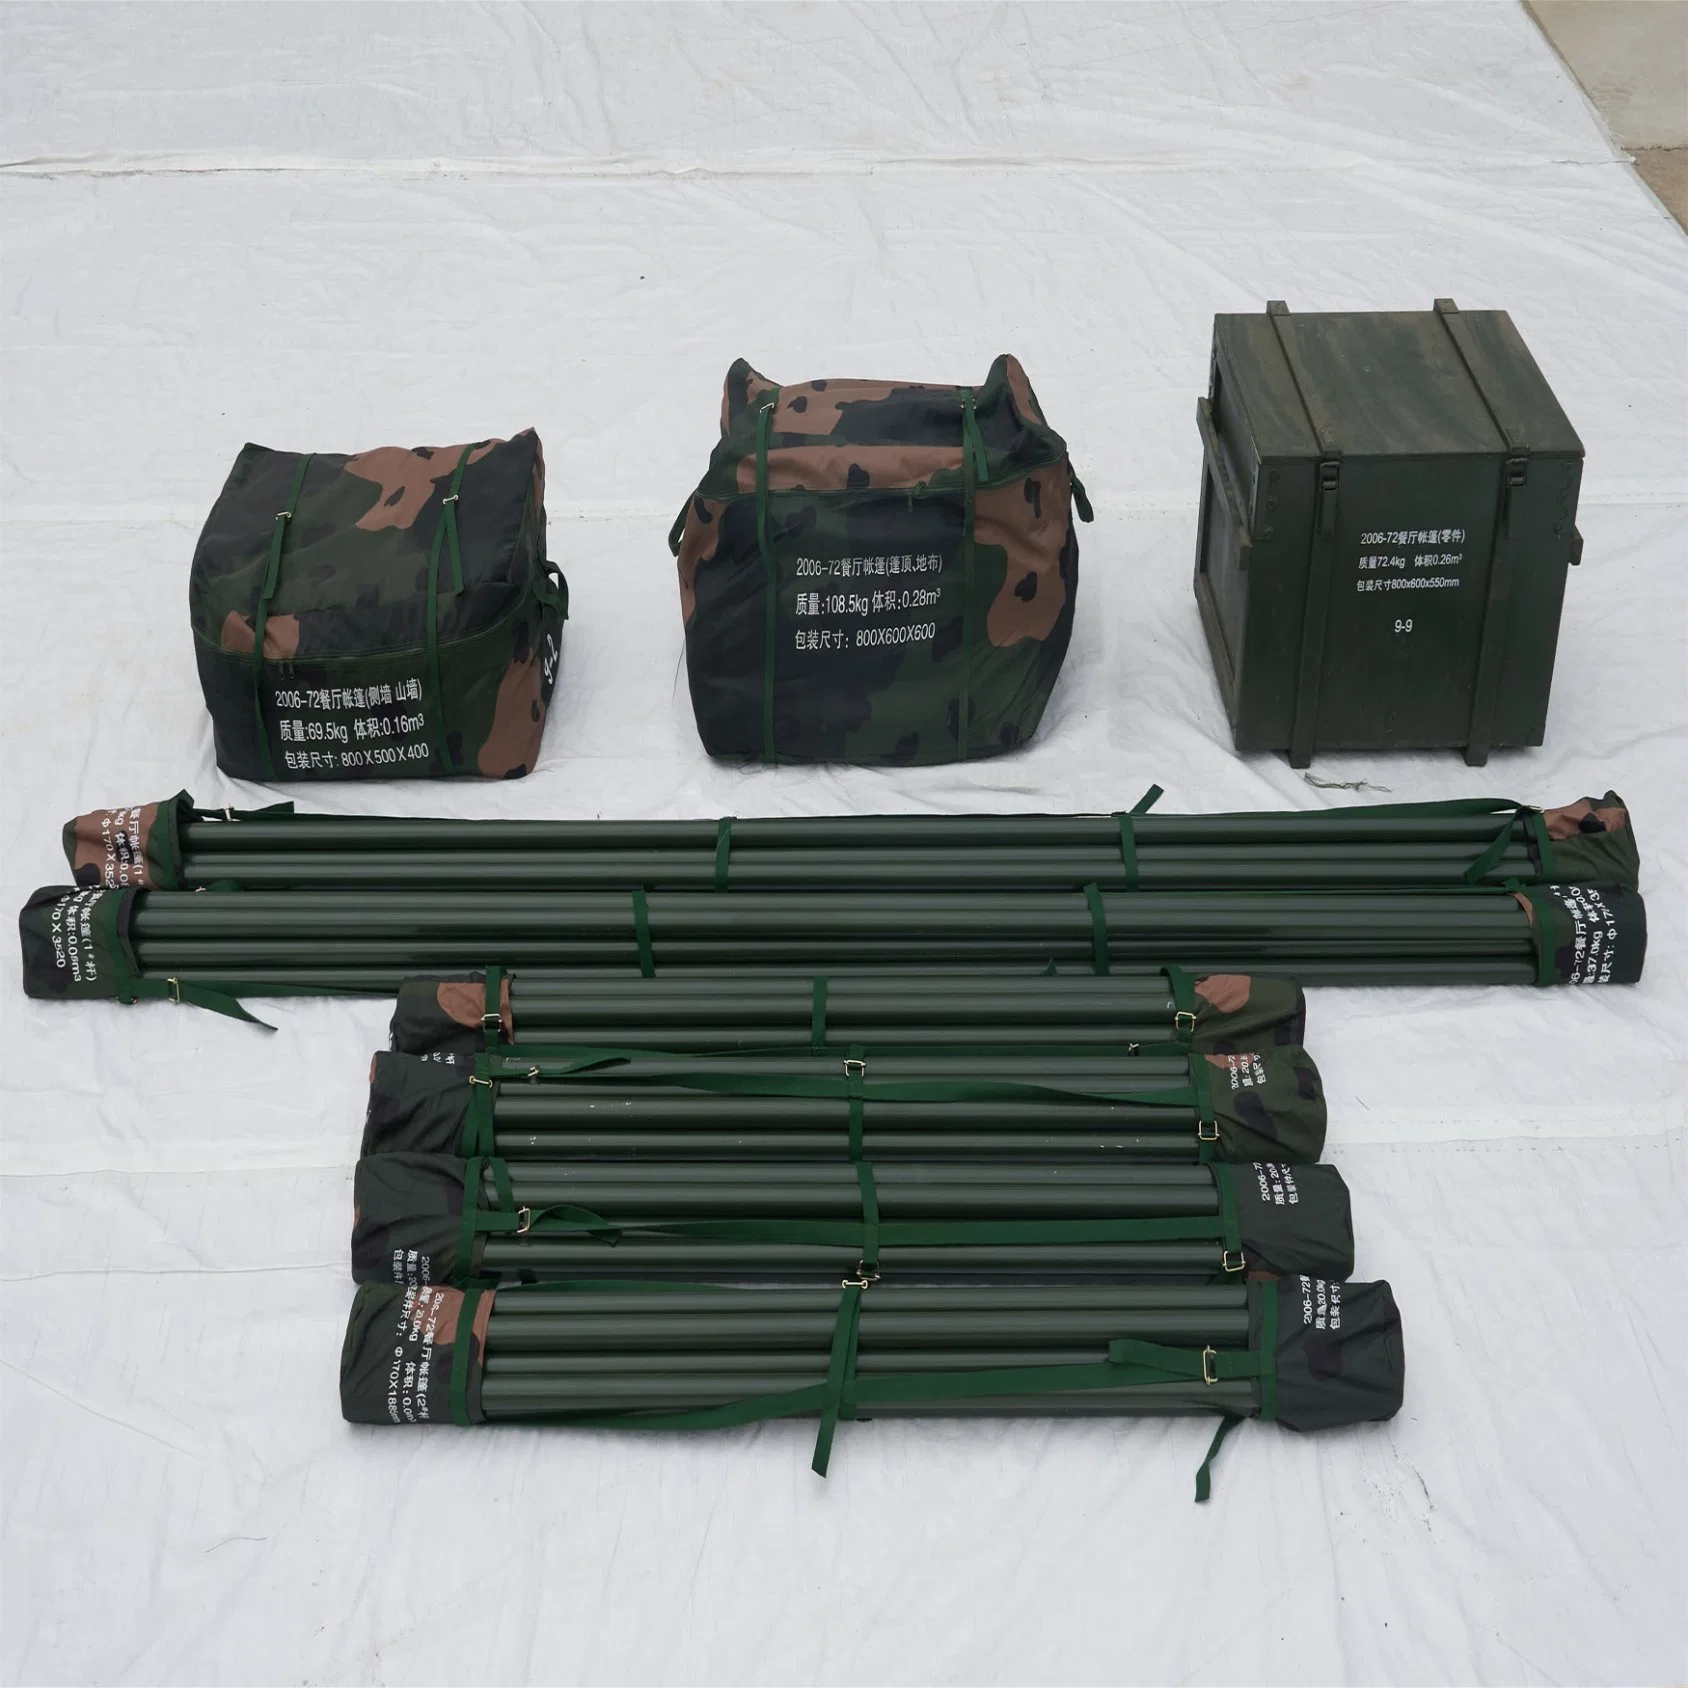
non-staple food storage.
Instruction Manual for
70 Men Tent


Instruction Manual for 70 Men Tent
  1. Applicable Conditions:
Temporary office, accommodation and other condition for senior officers mainly in outdoor.
  1. Main Performance Description:
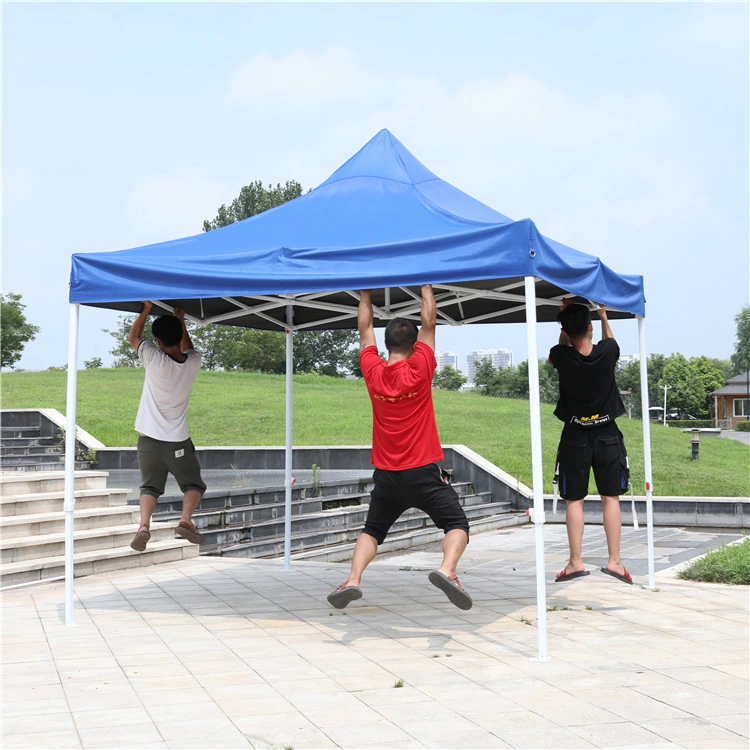
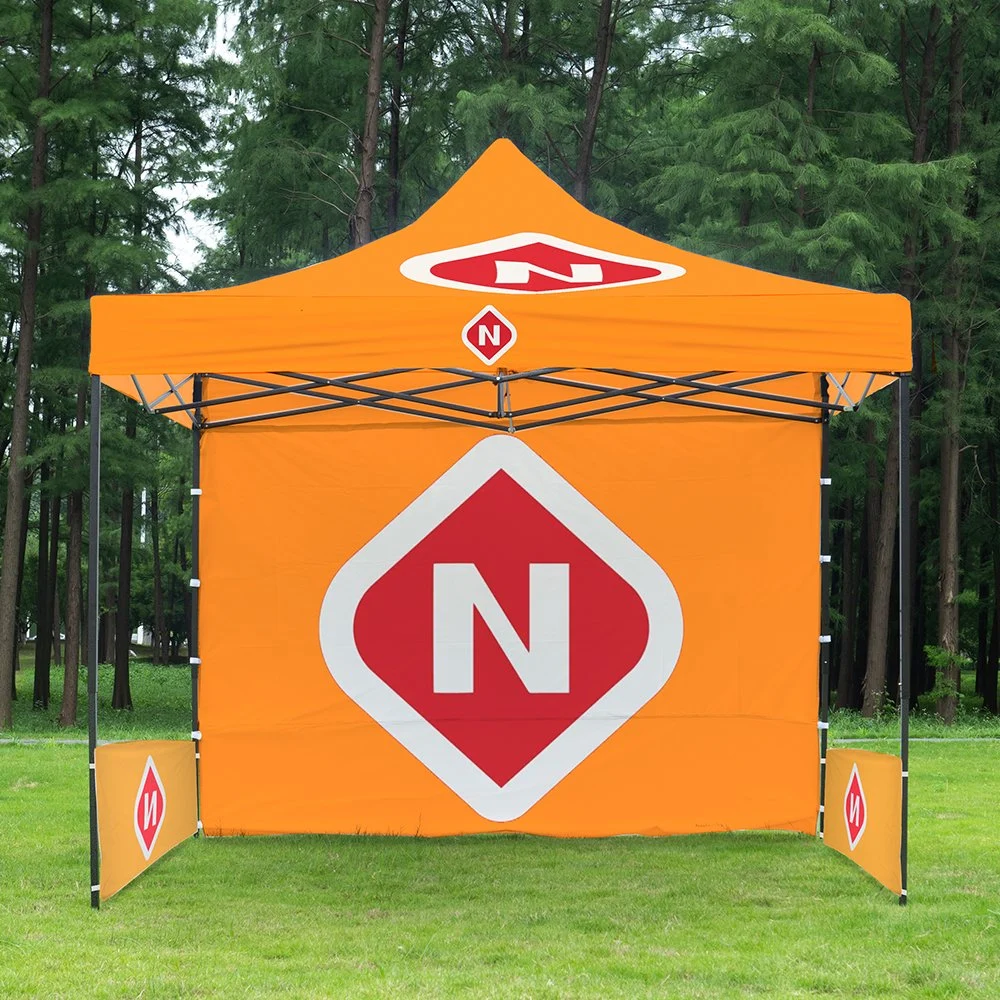
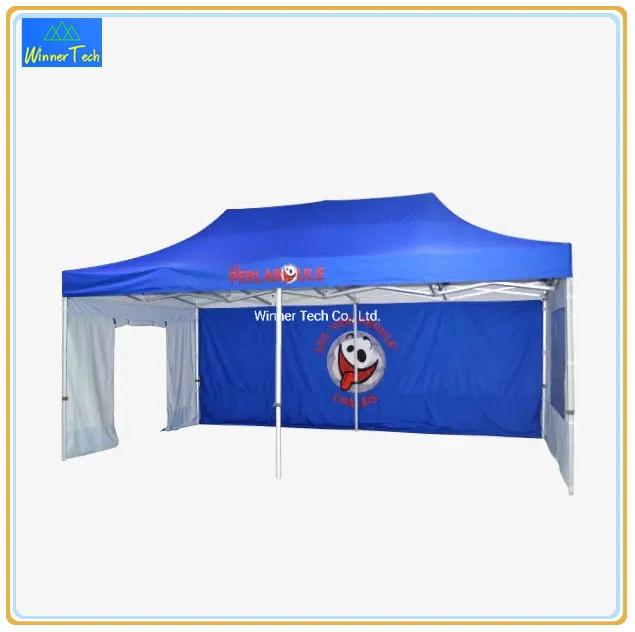
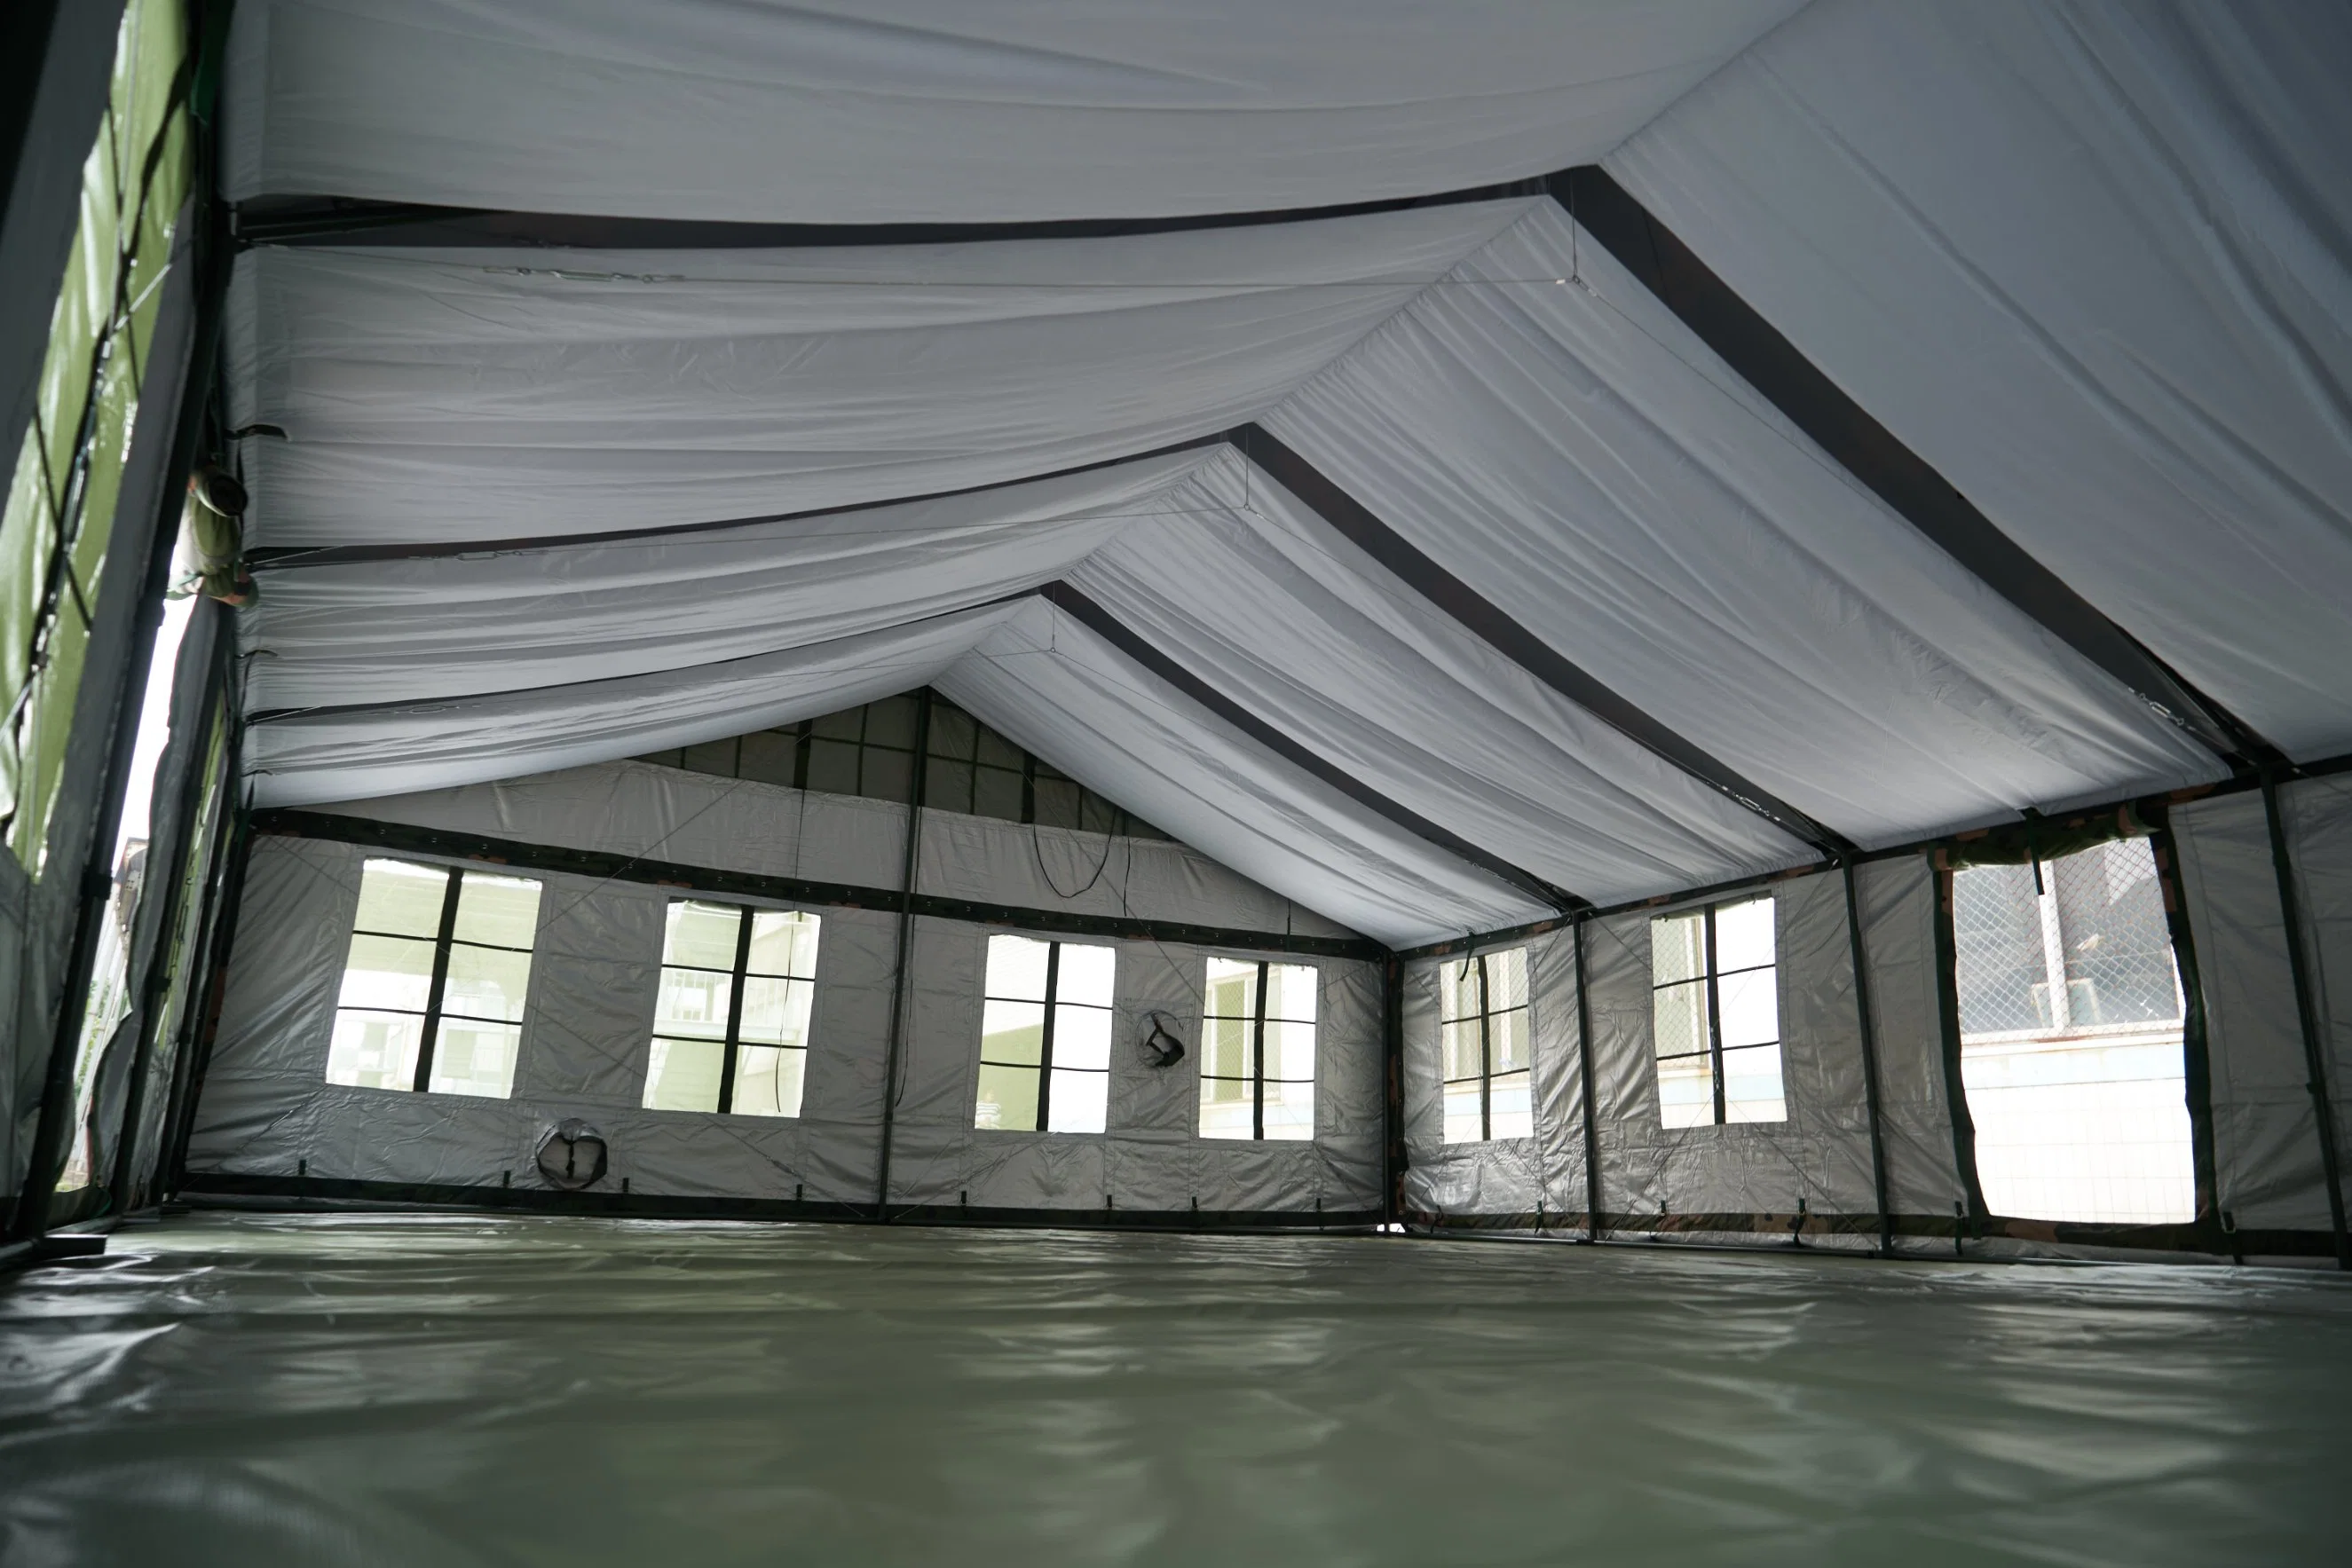
1. The tent is a double-slope frame structure. Overall view of the 10 men tent after installation  as shown in the Diagram 1. Frame structure view of the 10 men tent as shown in the Diagram 2.

Diagram 1: Overall view of 10 men tent after installation

Diagram 2: Schematic diagram of support structure of 10 men tent
 
  1. Floor area:35m2.Specifications :7m(Length)*5m(Width)*3.2m(Ridge Height) *1.8m(Eave Height ).
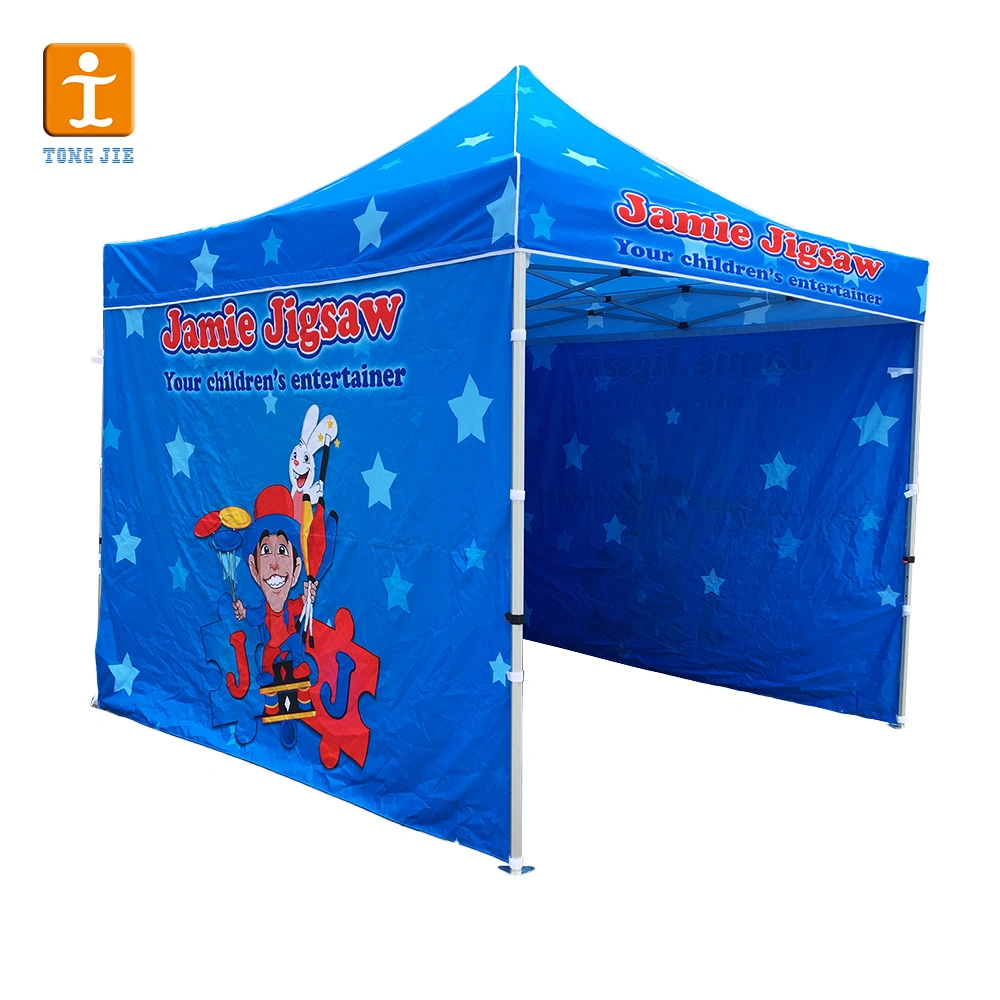
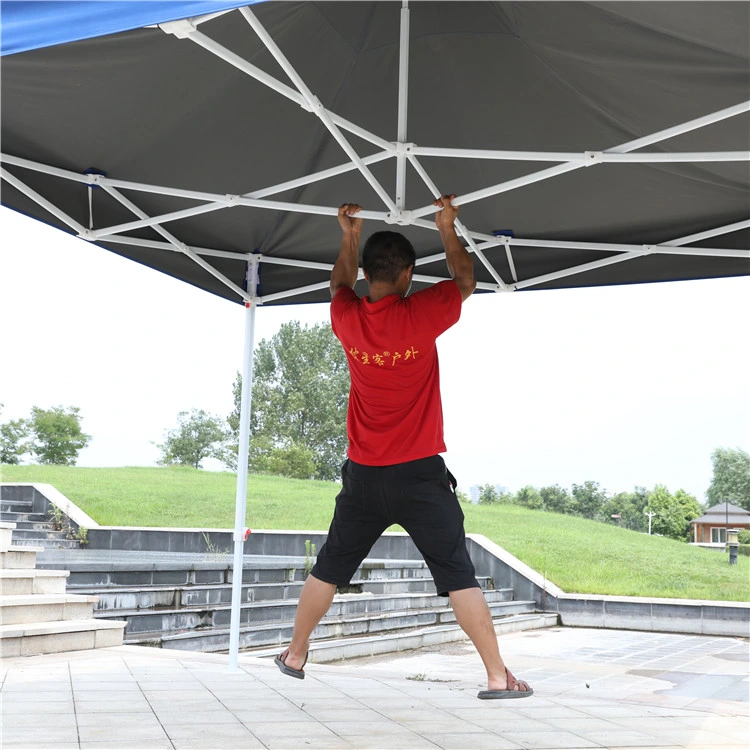
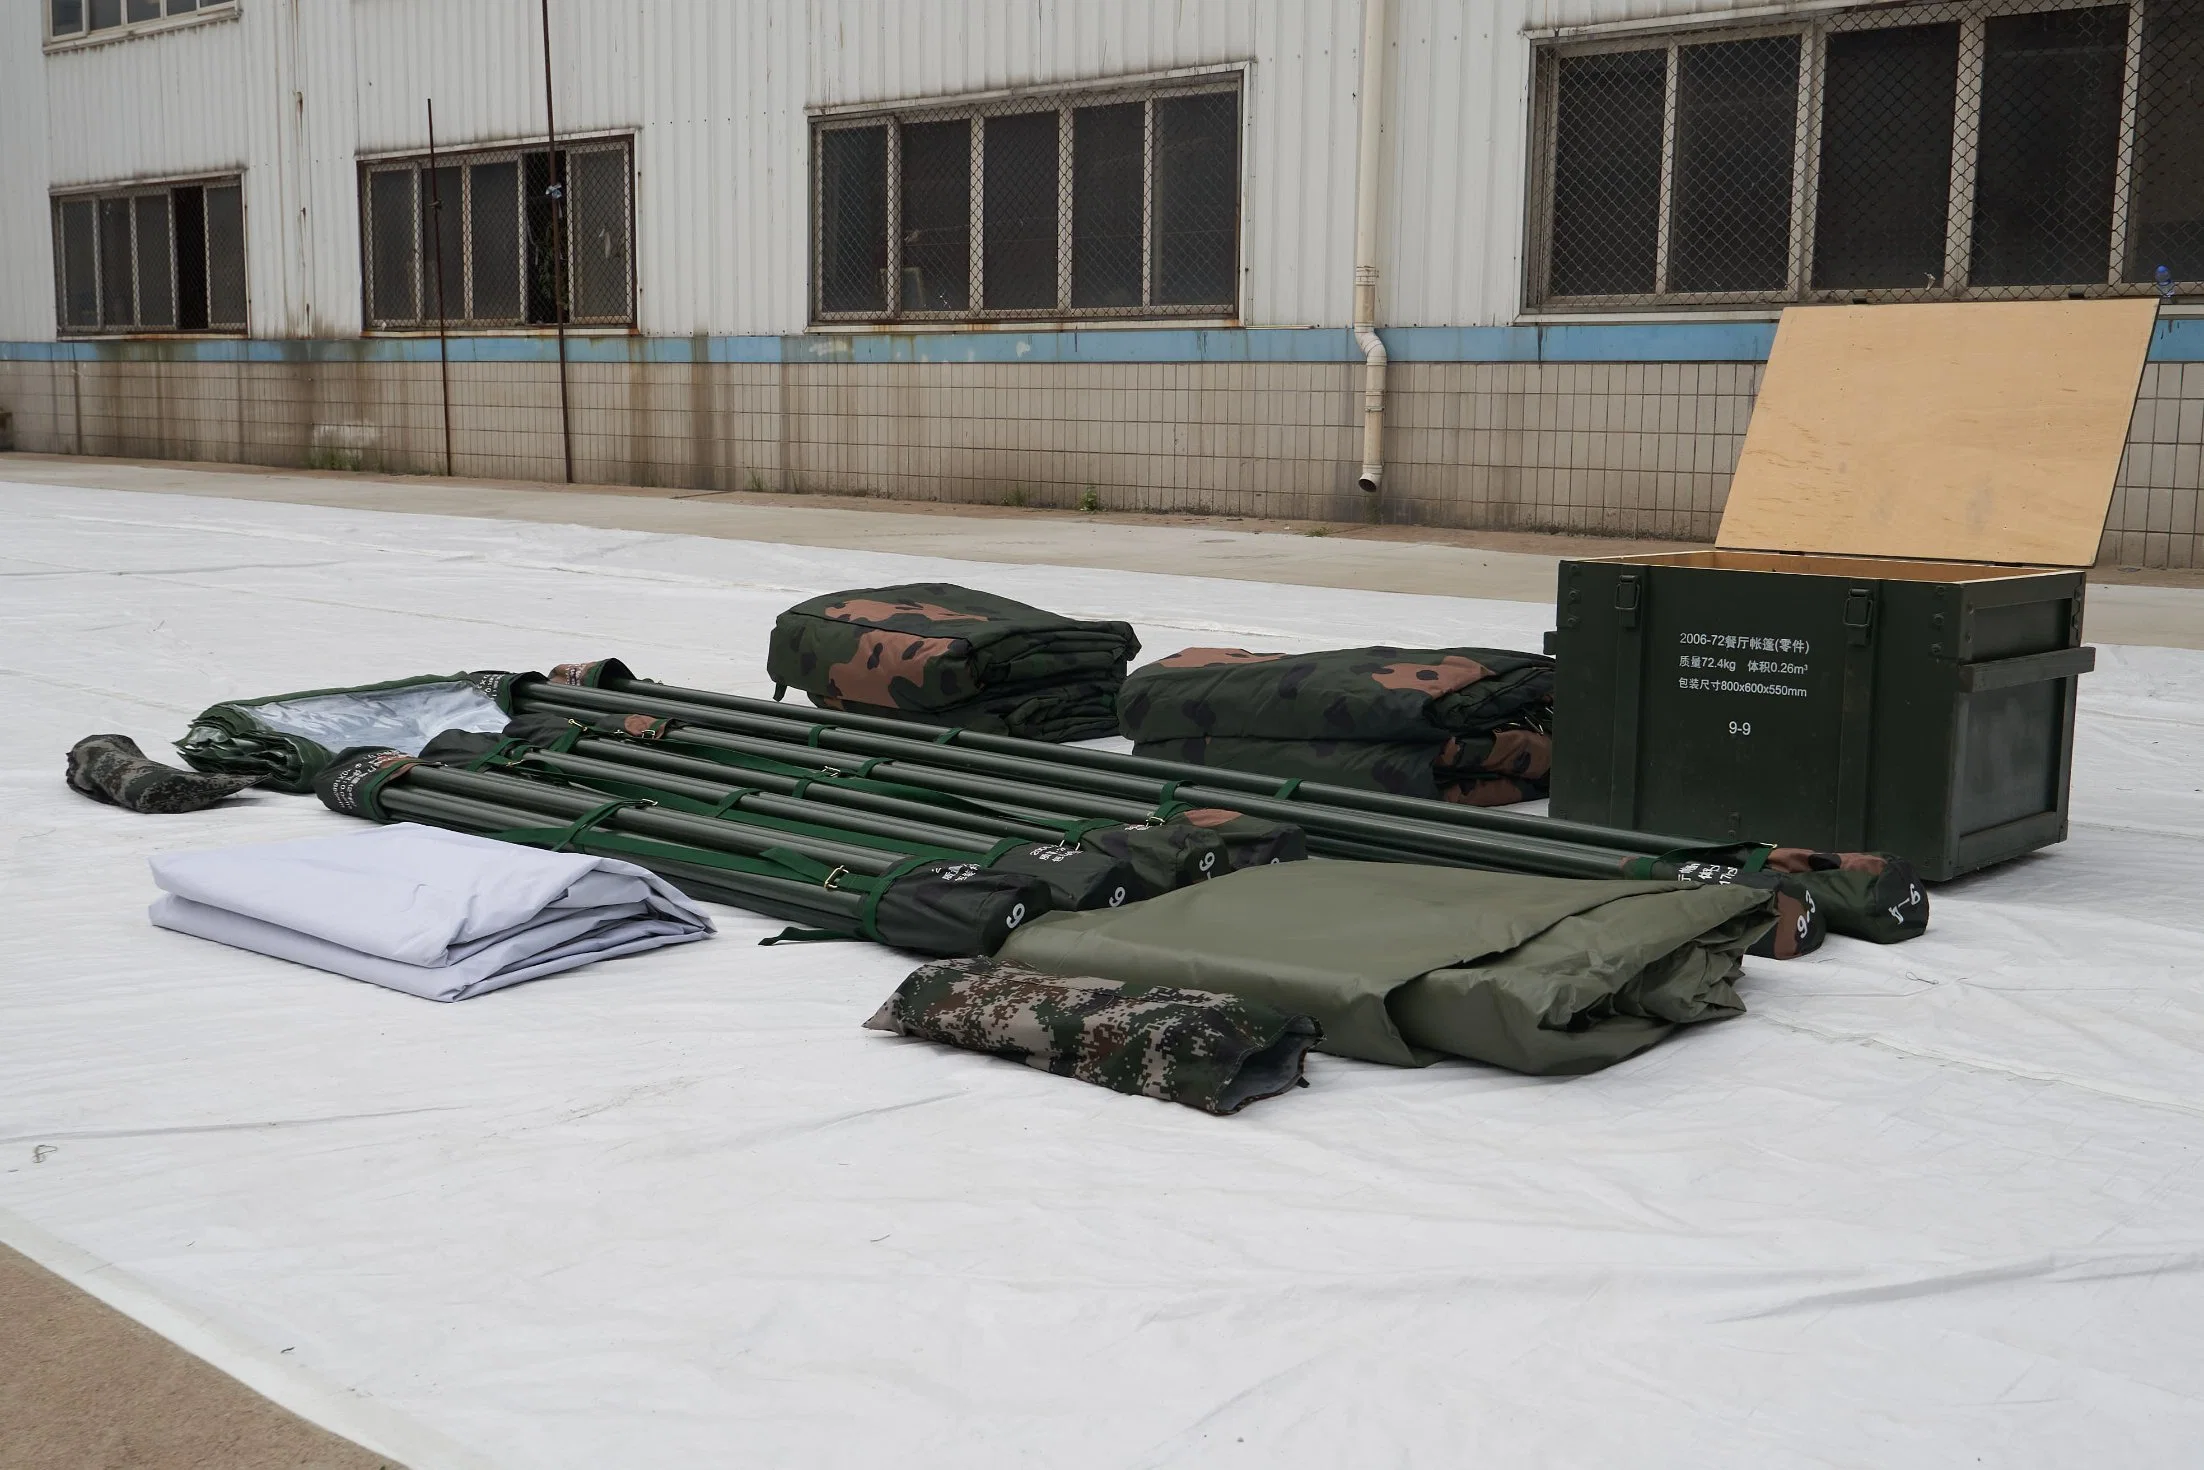
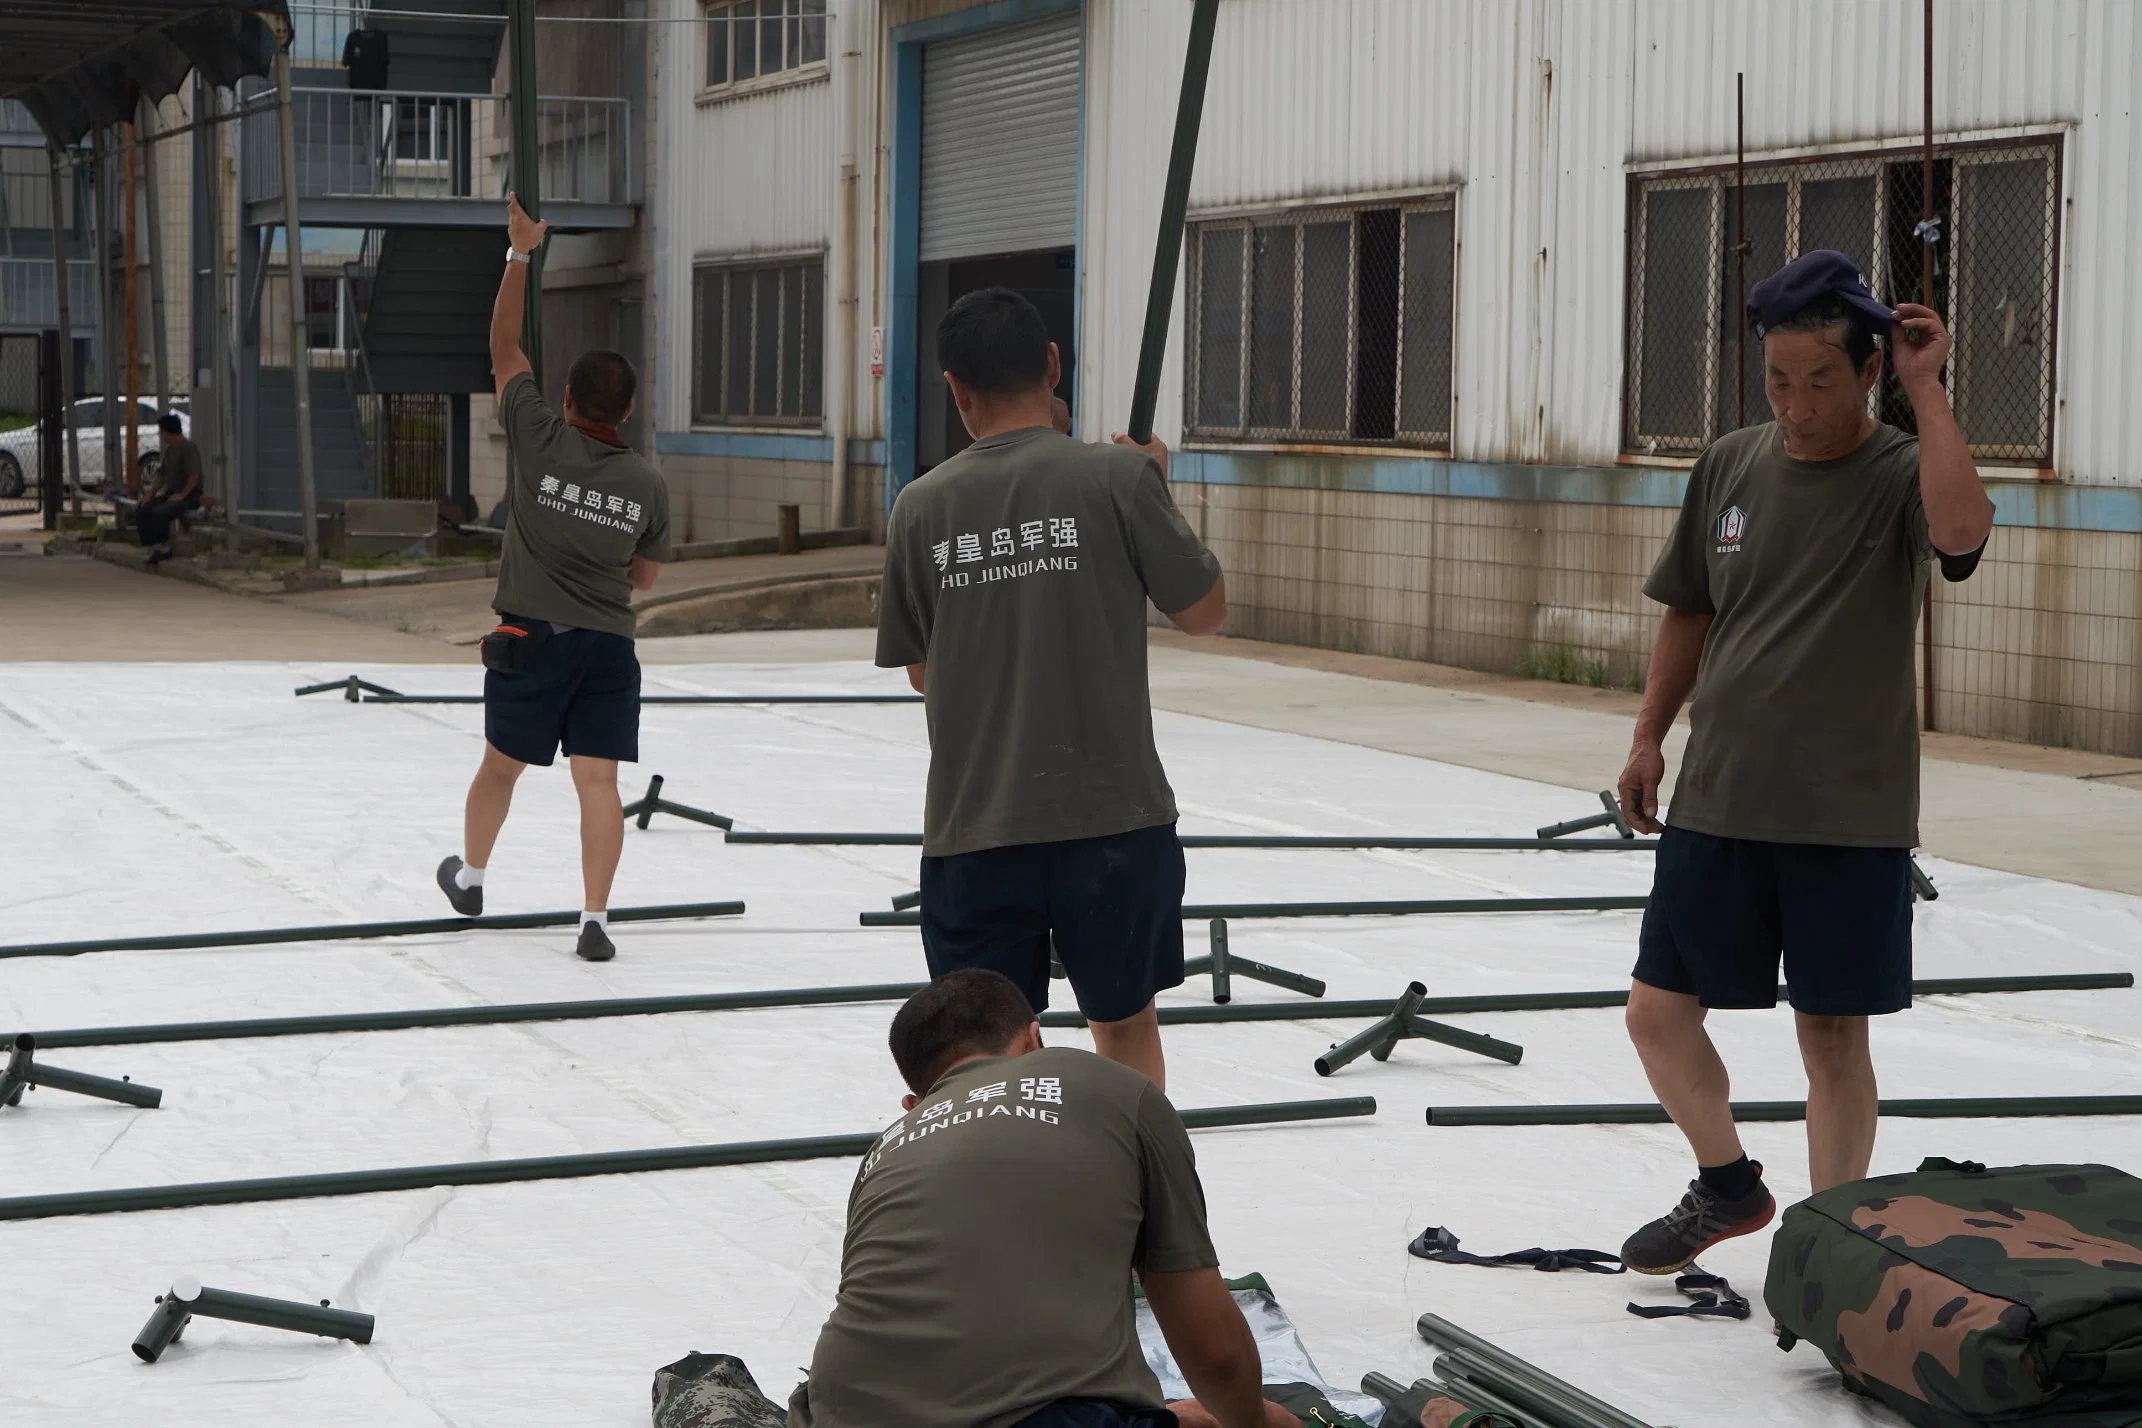
3. Outer tent( rain fly ) is made of 650gsm PVC , which has excellent performance in tensile strength, tear resistance, ageing resistance, rain proof and other aspects.The thermal insulation layer of the tent is made of aluminum foil bubble foam PVC, and the lining is made of 150D army green Oxford cloth. It has a good effect of preventing heat radiation and ventilation and heat insulation in summer, and it also has better windproof and thermal insulation performance in winter. the tent has a long service lifetime, over 2 years in the normal condition.
4. The tent windows are designed with polyester mesh. It has the function of preventing wind, dust, mosquitoes and flies from infestation, thus greatly improving the sanitary conditions inside the tarpaulin.
5. Design of tent structure is reasonable, safe and reliable. It can withstand level-8 gale, and 8 cm  accumulated snow load.
6. The tent has a simple structure and easy to set up. Setting up or Disassemble (strike) time is  15 minutes with 8 people.
Detailed Photos

Certifications

Installation Instructions

Company Profile

After Sales Service

Global Customers

 
ClassifyItemQtyUnitNo. of packageNote
 Body partCanopy1PCS1bag6-1
 
Guy lines, board12SETS
Footprint1PCS
Packaging bag for canopy and Footprint1PCS
Instruction Manual and  Certificate 1SETS
Gable2PCS1bag6-2
Wall2PCS
Packing bag for gable and wall1PCS
Frame partSide poles8PCS1bag6-3
Upright poles8PCS1bag6-4
Cross-bar19PCS1bag6-5
 End frame ridge point
 3 -way pipe
2PCS1box6-6
End frame eaves
3 -way pipe (left)
2PCS
End frame eaves
3 -way pipe  (right)
2PCS
Mid-frame ridge point 4-way pipe2PCS
 Mid- frame eaves 4-way pipe4PCS
Pole base
right angle tee (3 -way)
4PCS
Pole base
T-shape tee (3 -way)
4PCS
End frame ground rod connecting pipes2PCS
Side A-frame steel cable2SESTS
Middle A-frame steel cable2SETS
Diagonal cross steel cable6SETS
Stake12PCS
Hammer1PCS
  1. Packaging:
After classifying and packaging all parts and components, each tent will be packed in 6 packages, including 2 packages for canopy and accessories and 4 packages for brackets. The items and quantity of each package as shown in Table 1 Packing list .

Table 1 Packing list of 70men tent


IV. Setting up, dismantling and packing
(I) Setting up (erection)
1. Find a flat and hidden area to pitch your tent and do this by removing debris ,snows and stones on the ground.
2. Unpack all the packages and account for the items and quantity of parts.
3. Take out and place your footprint where you will pitch the tent.
4. Take out eight side beams , two pcs end frame ridge 3 - way pipes, two pcs Mid-frame ridge point 4-way pipes to connect them as four A-frames in triangular shape.Then , take two groups of Side A-frame steel cables and two groups of Middle A-frame steel cable to installed them on the top frame, which is 2.3 meters apart and parallel to the ground, as shown in Diagram 3.

Diagram 3
 
  1. Four people hold to stabilize four top frame , and let other four people insert separately  9 pcs cross-bars into the corresponding positions of end frame ridge point 3 -way pipes, Mid-frame ridge point 4 -way pipes, End frame eaves 3 -way pipes, Mid frame eaves 4 -way pipes . By this time , people can let it go since the top frame is already stable .And install 6 sets Diagonal cross steel cables on the Top Frame as shown in Diagram 4.Fasten them in the reasonable tightness ,prevent from the Top Frame is bend.

Diagram 4
 
  1. Take 10 cross-bars and 4 pics Pole base right angle tee (3-way ), 4 pics Pole base T shape tee (3-way), and 2 pics End frame ground rod connecting pipes to form a rectangle as shown in Diagram 5.
 

Diagram 5

7. Put the canopy on the A- frame (installed already ), and adjust the position according to the ridge line and the axis of the middle A- frame.Then take out 8pcs column, 12pcs stakes and put it in the correct place, finally use hammer to nail quickly the stake into the ground in turn .
8. Each person hold on an column separately , lift the top frame and quickly insert the column into pipes of A- Frame eave and pipes of ground , adjust the position to the correct place, and make all column into one line. Then hang the guy lines on the stakes and tight them properly (the guy line should be pulled symmetrically, Pull line from the single side of the tent is not acceptable from damaging tent)
9. Assemble the gables , side wall, and smooth the tent out, tie the internal tie. Adjust the position of the stretching thread in the canopy and tighten them .
10. Fasten the bellows accessories at the corners of the tent. Take the diagram 6 as reference.

Diagram 6
 
  1. Press some soil on a cloth and build a simple drainage ditch together  
12. Adjust the cover, the position of the column and the tightness of the guy lines , roll up the door curtain, smooth the tent out, and the erection of whole tent is completed.


(II) Dismantling and packing
1. The steps of dismantling and setting up process are in reverse order.
2. Fold the cover according to the sizes in the packing . Bind the tent frame accord with the tent parts classification packing list  
3. Account for the parts in each package accord with the packing list. And put them into the bag in sequence after accounting . Finally , bind and put them into packing boxes after tiding up.

V. Notes.
1. Do not drag casually the tent on the ground during the erection and dismantling ,to avoid soiling the tent and undue tearing and breakage happens.
2. Pay attention to the protection of the tent and keep the cleanness of outer and inner of it .
3. After the rainy, snowy and strong wind, check the canopy and its ground surrounding immediately to confirm the condition of there is water, snows, and loose off the rope .Clean them to ensure that the tent is always in a normal status . 
4. Tents in damp can be stored for a long time.They must be dried in time before being packaged for storage.  
5. All parts of the tent shall not used for other places , and do not to use the purlins and other stress frame part of tent to pry or lift the goods.
6. All packing bags and hammers should be properly preserved and no missing, so they can be reused next time.

Product Tag:
Related categories:
Scroll to Top