Complaint

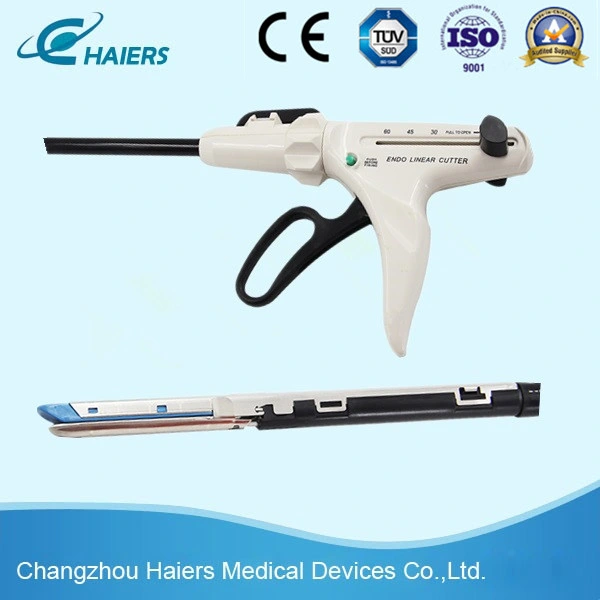
| TYPE | Suture length(mm) | Cartridge length(mm) | Staple height (Inner) | Staple height (Middle) | Staple Height (Outer) |
| HASQJ/Z -30 | 30 | 120 | 3.5 | 3.5 | 4.0 |
| HASQJ/Z -45 | 45 | 180 | 3.5 | 3.5 | 4.0 |
| HASQJ/Z -60 | 60 | 240 | 3.5 | 3.5 | 4.0 |
| HASQJ/Z -30H | 30 | 120 | 4.0 | 4.5 | 5.0 |
| HASQJ/Z -45H | 45 | 180 | 4.0 | 4.5 | 5.0 |
| HASQJ/Z -60H | 60 | 240 | 4.0 | 4.5 | 5.0 |
Attention: 1) Install units when it is switched on, cannot turn off.
2) Don't remove insurance board before the units is not installed,otherwise the reloading head can not normally open after cut.
3) Make sure the reset handle of part is fully send back. After install units,clasp the free handle once to close the jaw, then push back the reset handle to make the jaw open up.
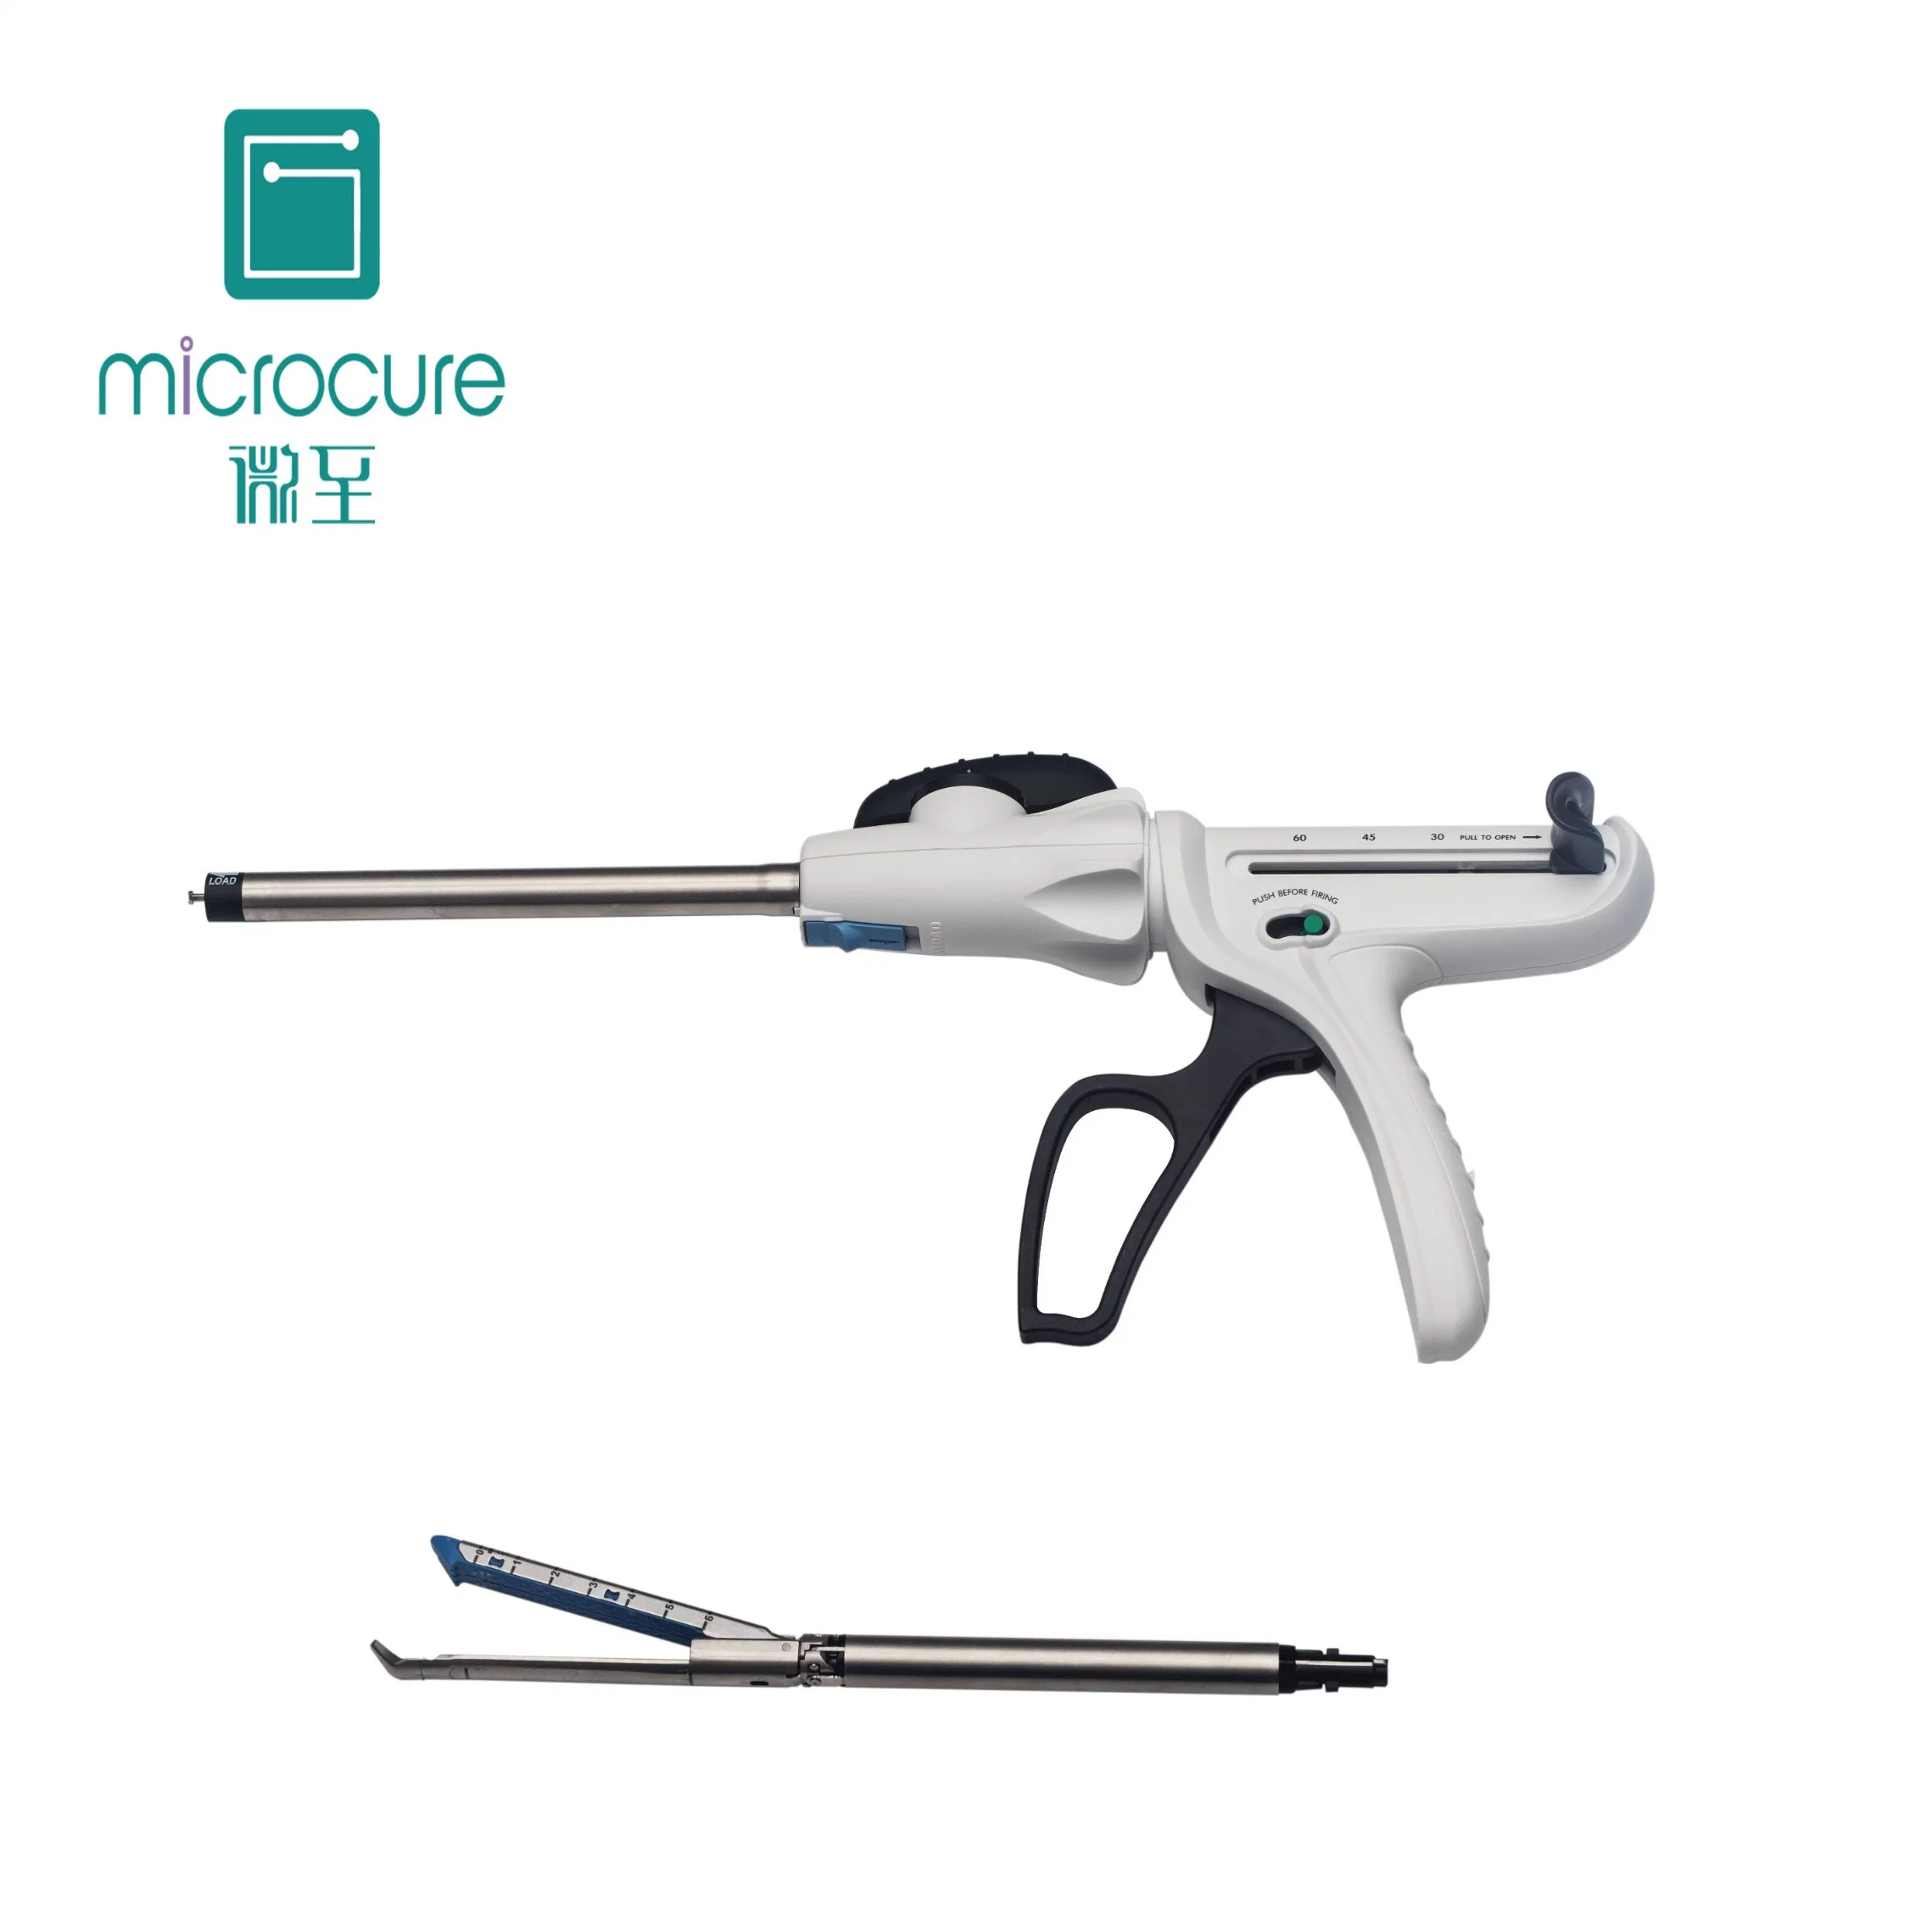
3.Unload units. Unload suture units from the part of stiching instrument. Pull back the locking cards. Rotate units 45 degrees clockwise and pull forward the part.
Attention: 1) Rotary knob must in the middle.
2) Make sure the reset handle of part is fully return.
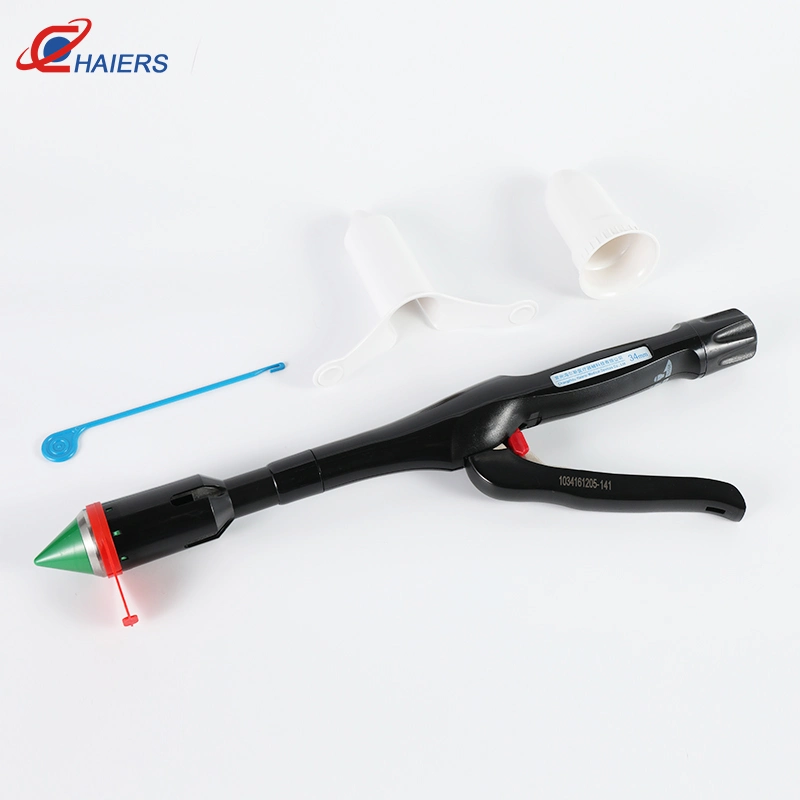
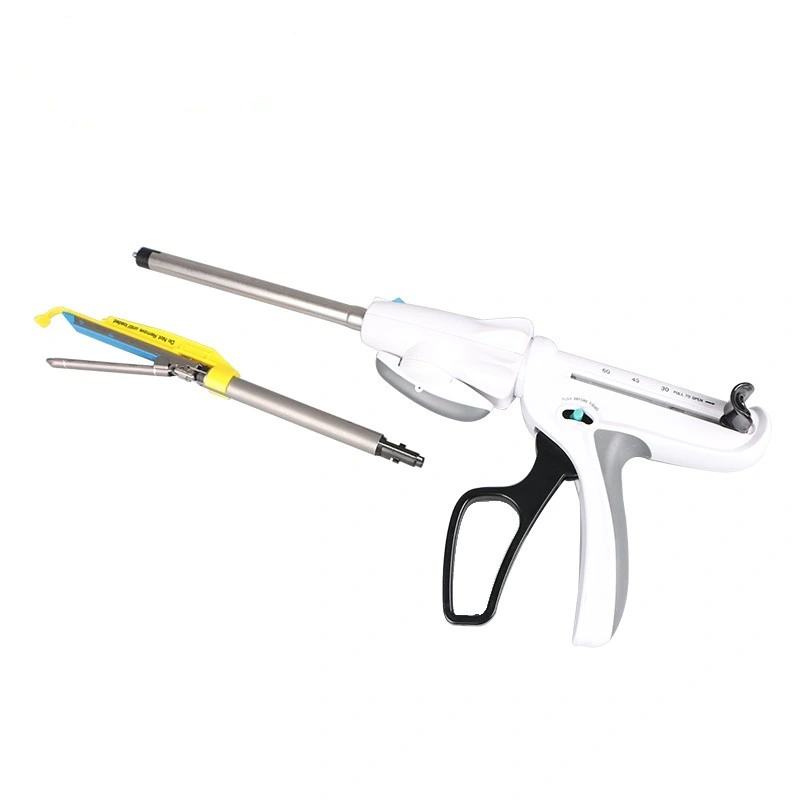
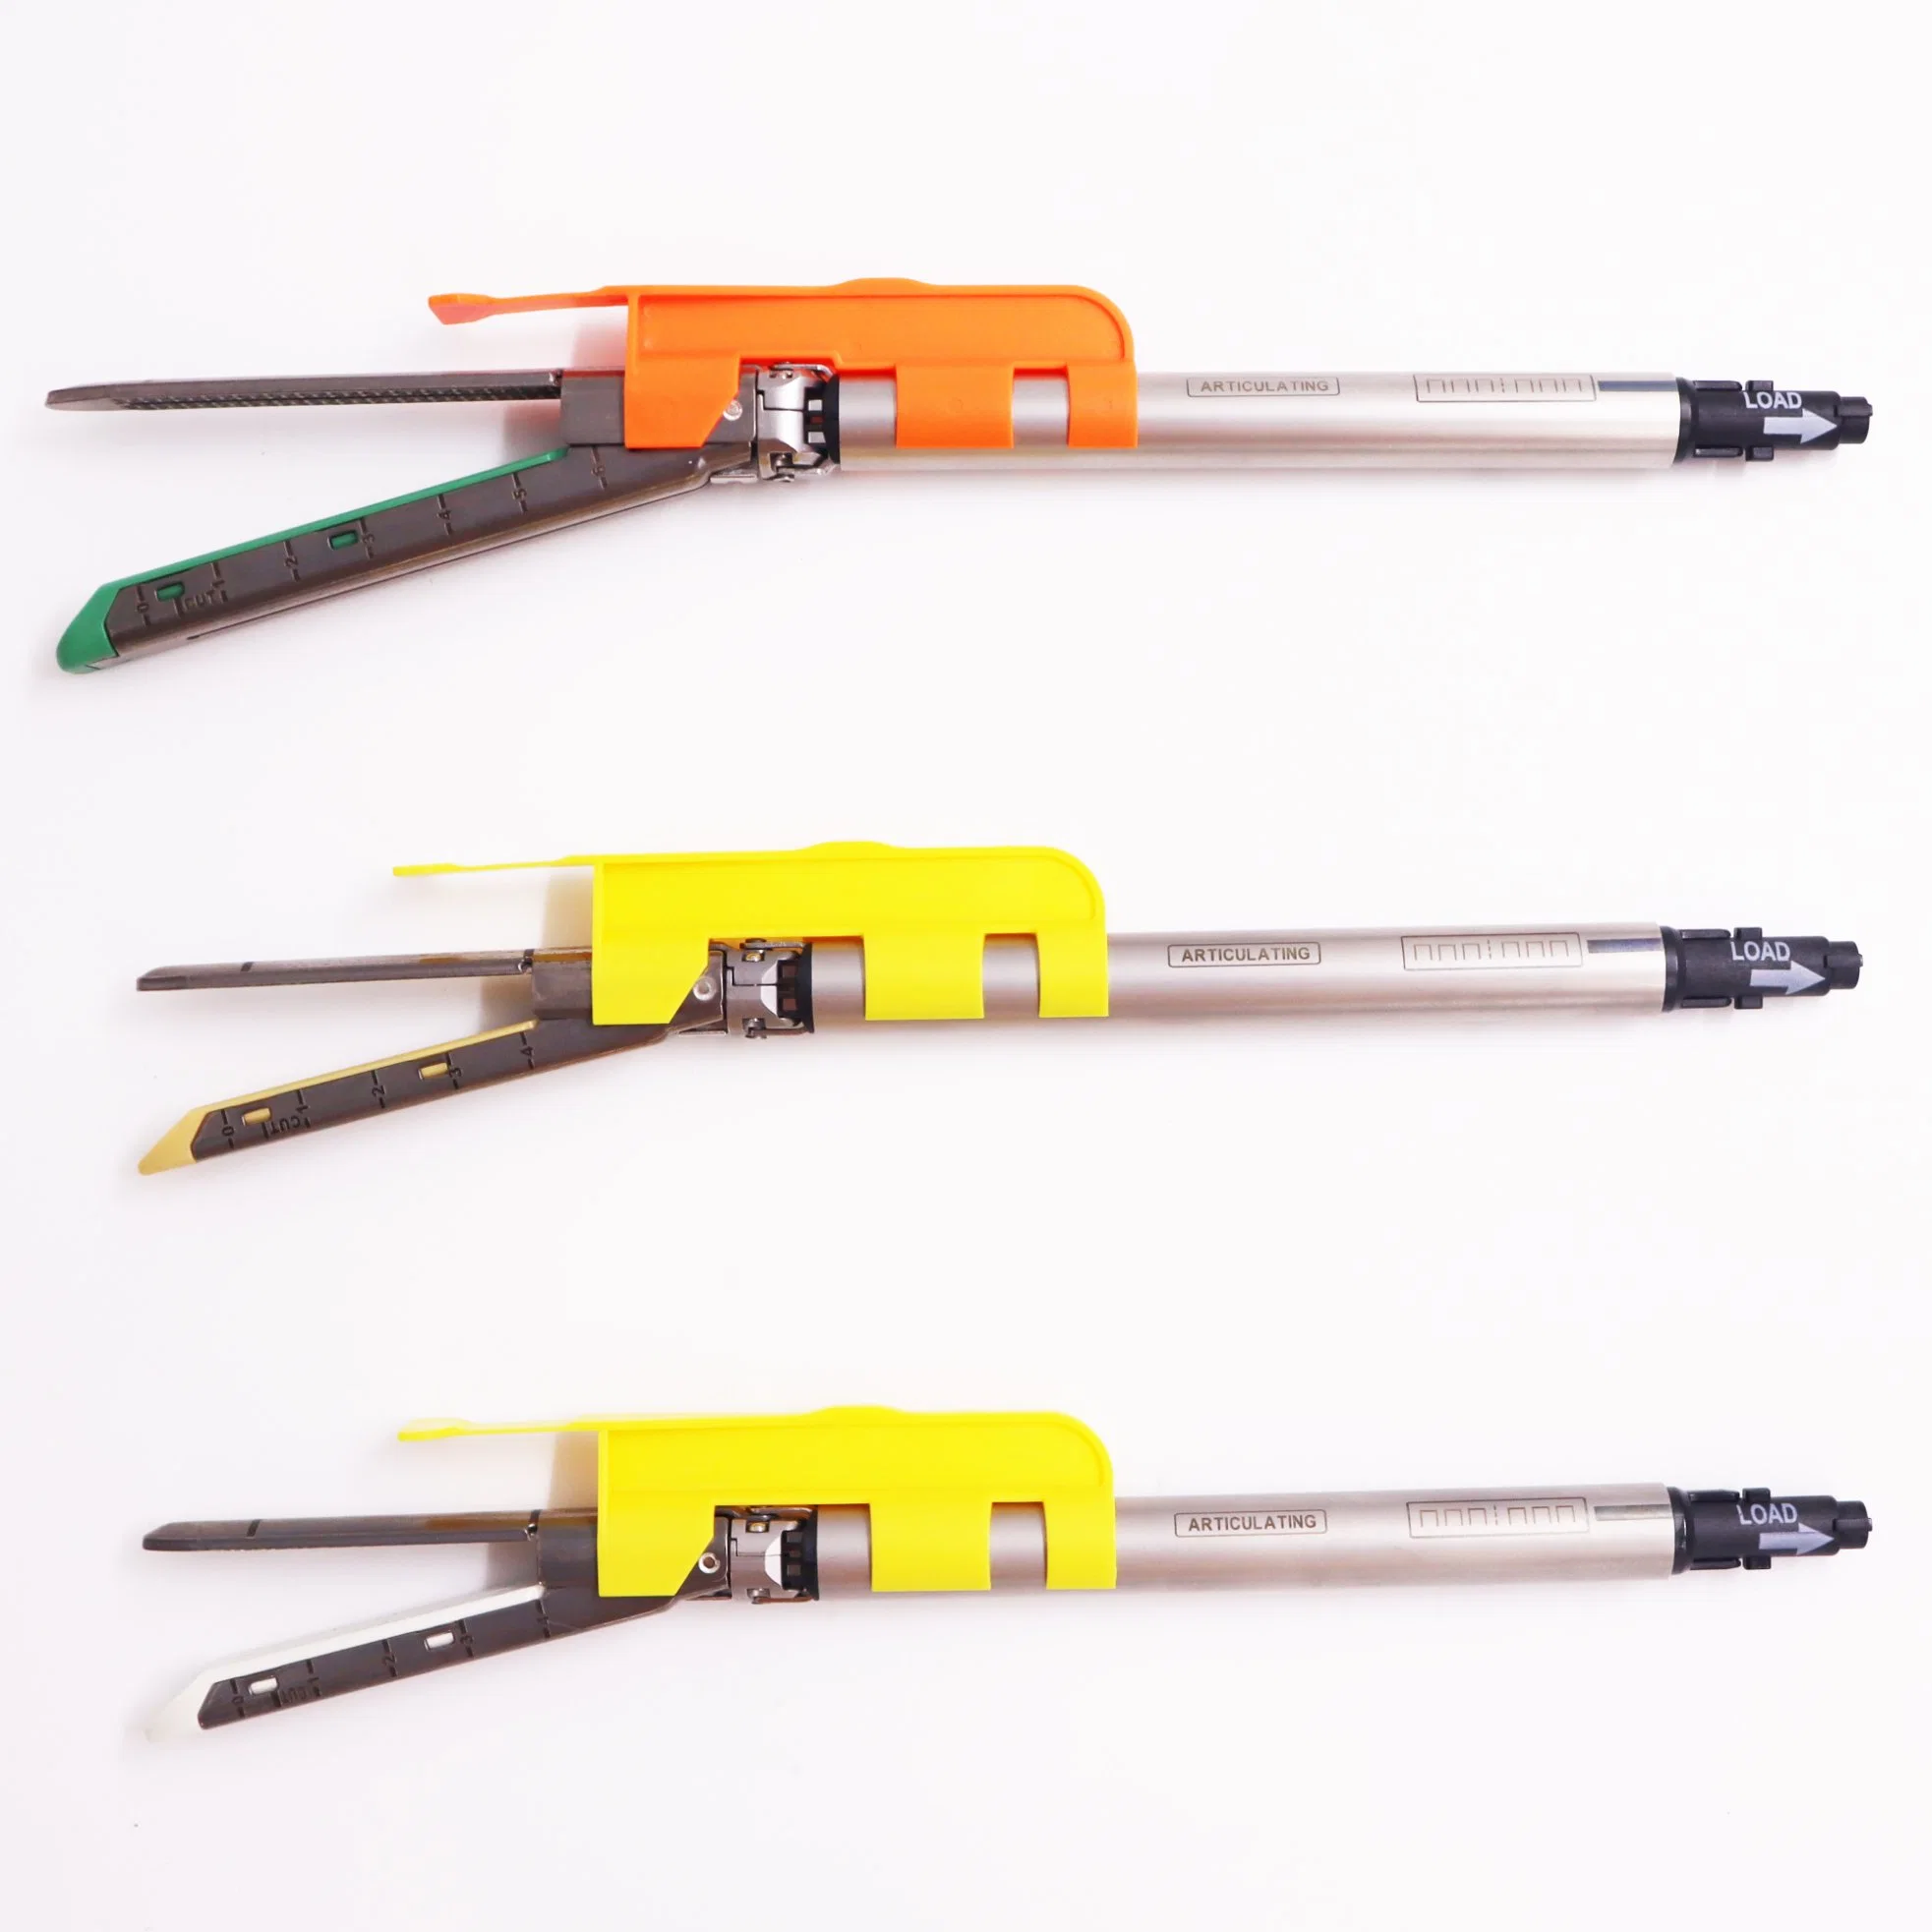
4.Using instrument. Depending on the different nailing suture units, choose the different trocar as a converter: the nail height is 3.5,3.5,4.5 ,select trocar of12mm or larger trocar.The nail height is 4.0,4.5,5.0 ,select trocar of15mm.
1)Before the instrument insert the trocar.First take down the insurance panel from the units.Second clasp the free handle to close the jaw.Third,instrument insert into a suitable size or larger trocar.
2)Pull the reset handle is fully return.Open the instrument jaws.Put into the body cavity immediately.
Attention: I. Nail retainer must be completely exposed when you open the suture units jaws of the body cavity.(Over the trocar)
II. Do not clasp the free handle when return the reset handle.
III. To make sure no obstacle sandwich.
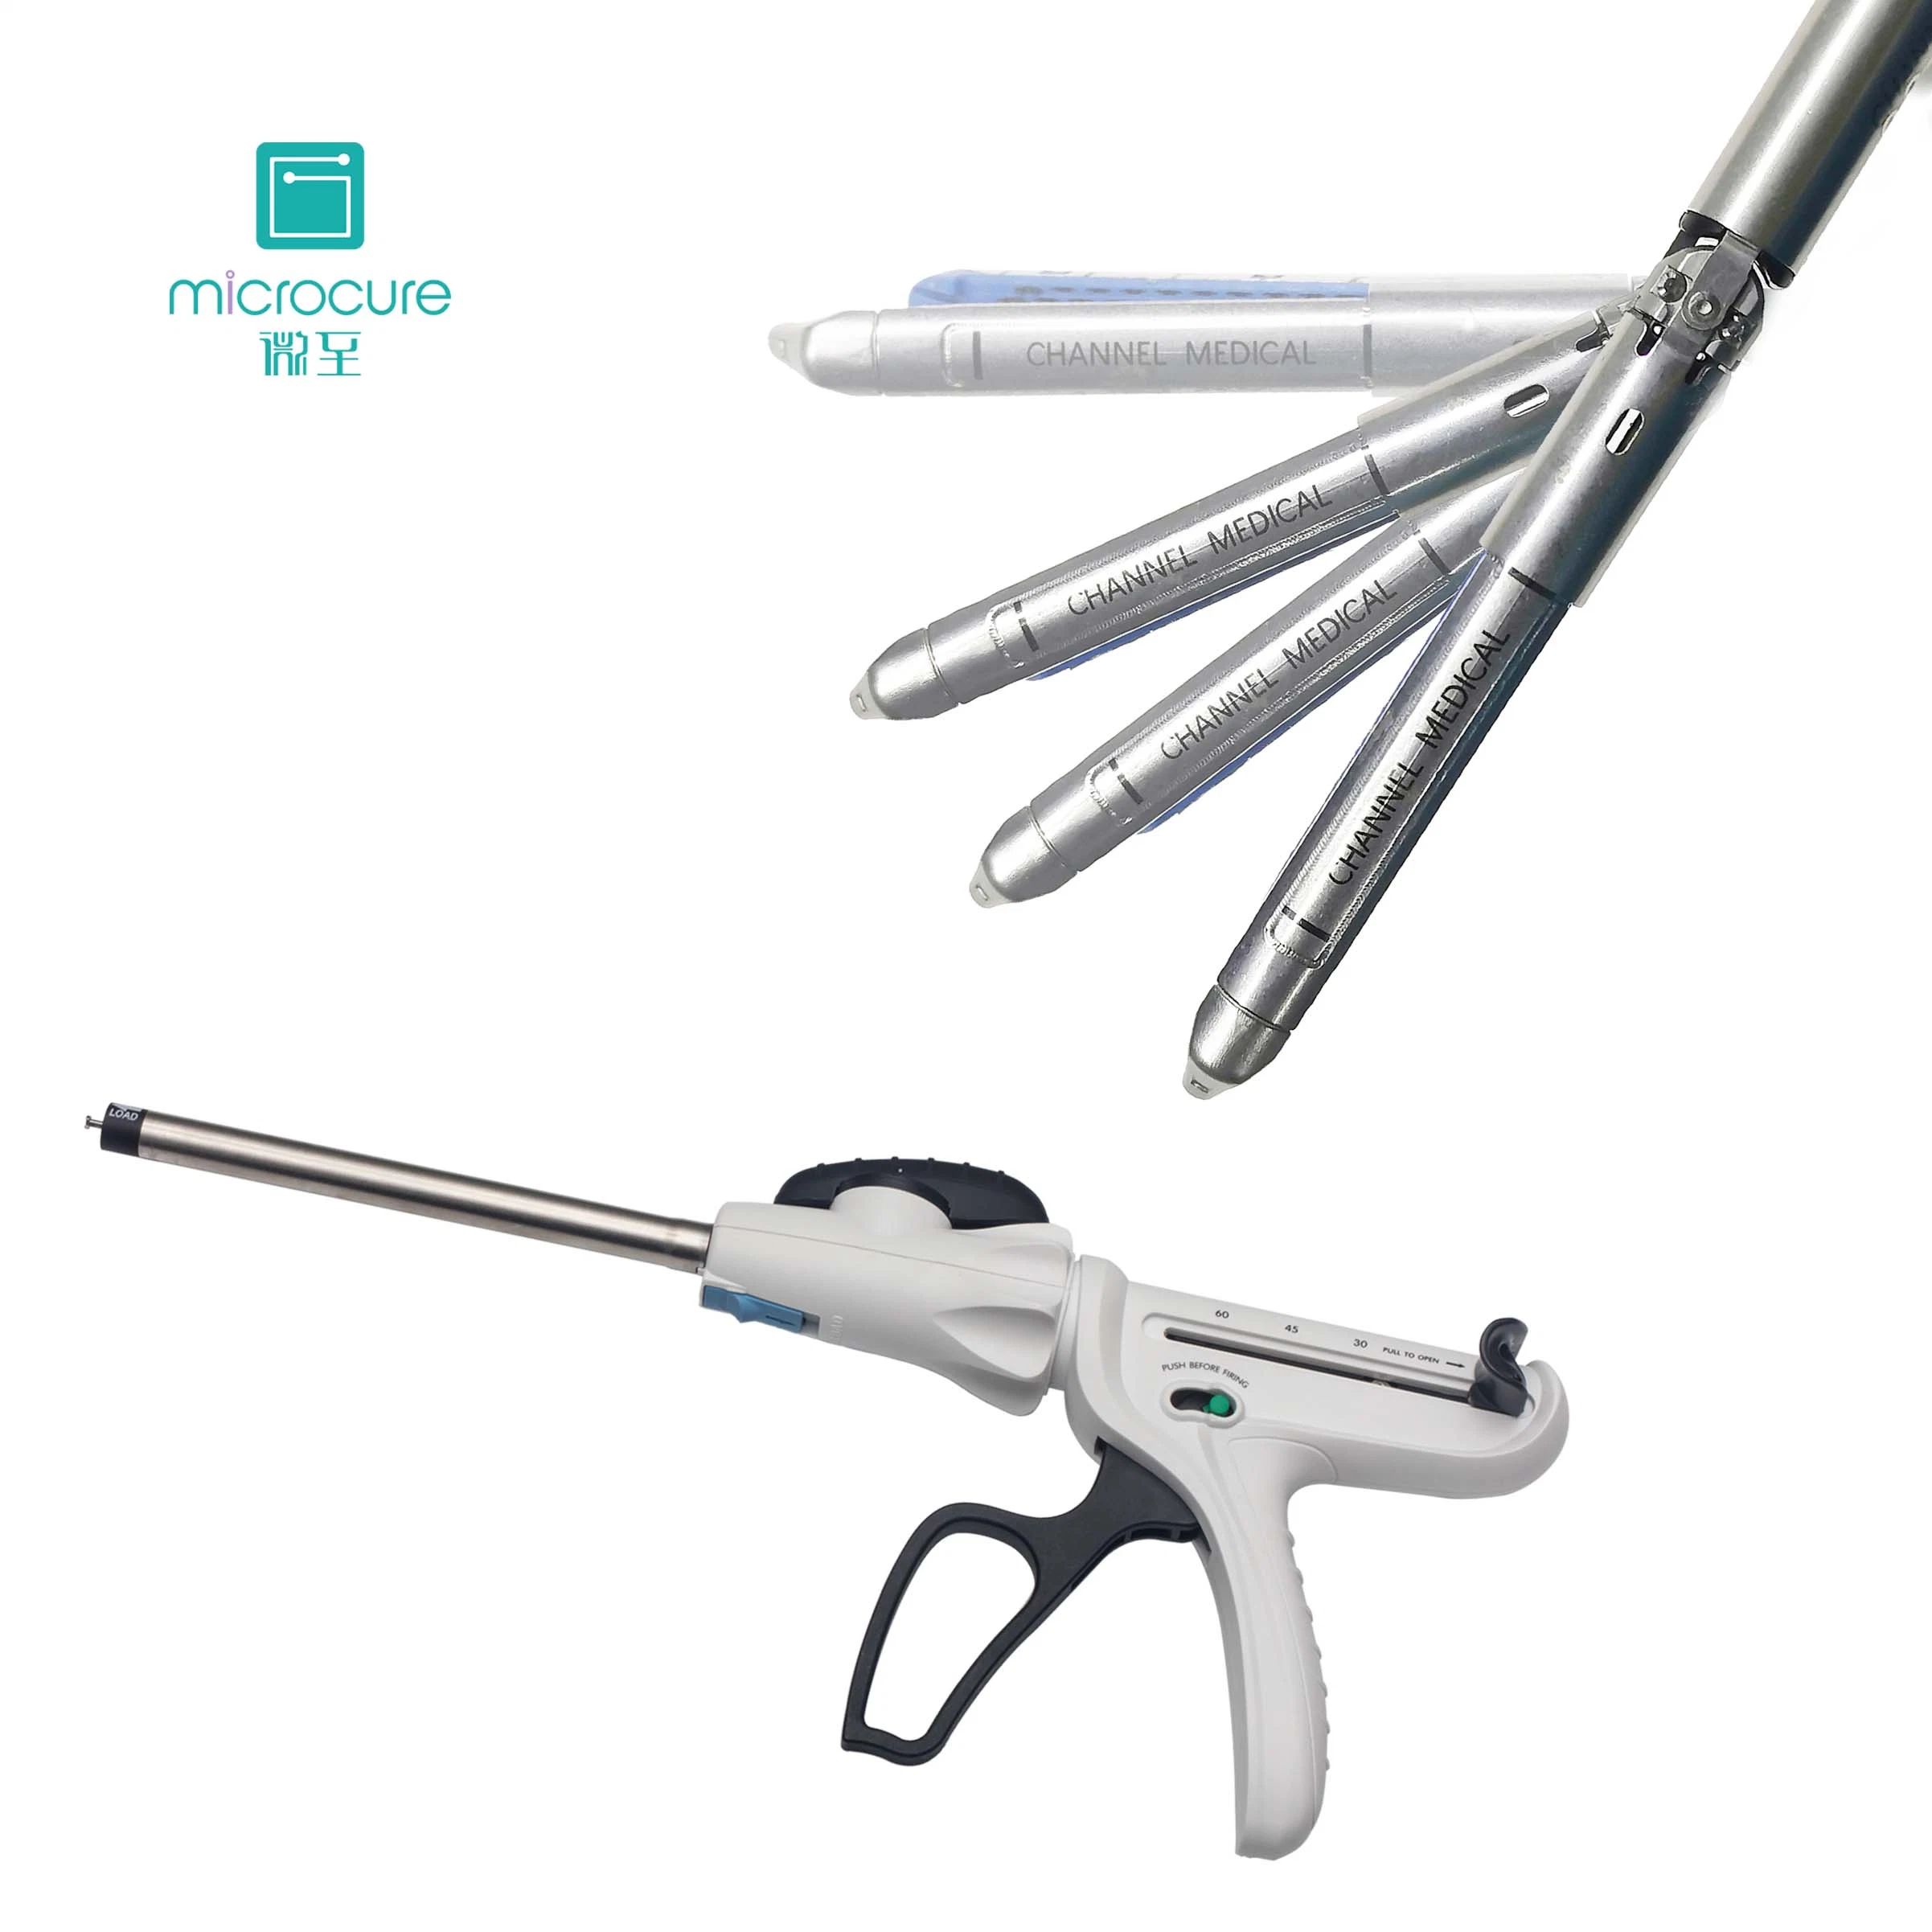
3)Turn the adjusting housing.Suture.Enable the suture units 3600 axial rotation.Turn the knob around.Enable rotary suture units 45 degrees swing.
4) Clasp the free handle to close the jaw,thereby cutting off the tissue,the instrument will not cut the tissue before the green lockpin is not pressed.
Attention: I.The product has self-locking mechanism with empty units.Empty cartridge can not be percussed twice.
II. Allow to open the jaw before the reset handle is fully return.The jaw can reposition.
5) Push the insurance button to percuss the instrument.Gradually clasping the free handle.The locking plate arrive at the end of units clip groove,clasp the free handle,complete percussing.
6) After percussing the instrument entirely,First pull the reset handle return to open the jaw,the instrument is then slowly withdrawn from the body cavity.After instrument completely exit,unload suture units.
Attention: I. Do not put the instrument insert or remove the casing while the instrument in the hole
II. At the same stage surgery,instrument can replace units and percuss 25 times.
V. Attention
1. The product is disposable. It can be used after open the sterilized packing. It is forbidden to use if the package is damaged.
2.The product is disposable and is sterilized by EO. The packing is sterile and sealed. There is "sterile" on the packing box and also on it. The date of sterilization and the caveat which said it is forbidden to use if the package is damaged are also on the packing box. Sterilization period of validity is three years.
3.This instruction is only for general introducing and it can not be the instruction of the operation. The operator should take correlative medical literature
4. Dispose the instrument after use.
VI. Storage
The product shall be stored in a well-ventilated room where no corrosive gases exist and relative humidity is not more than 80%.
VII. Package
The inner packing is sterilized and sealed plastic bliaster. The medium packing is colorful box and each colorful box contains one piece of instrument. The outer packing is carton.