
 Complaint

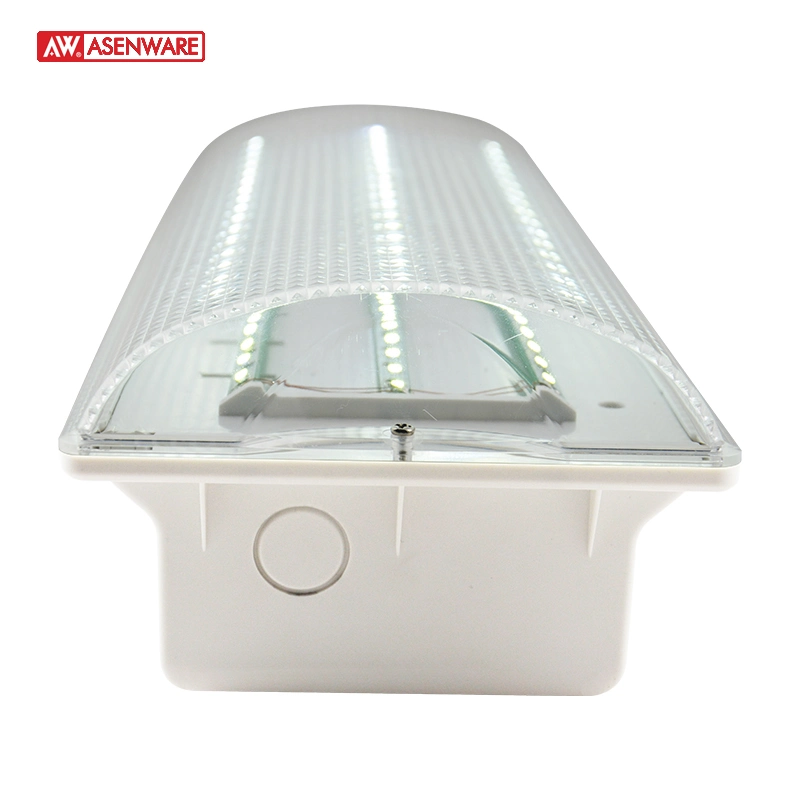
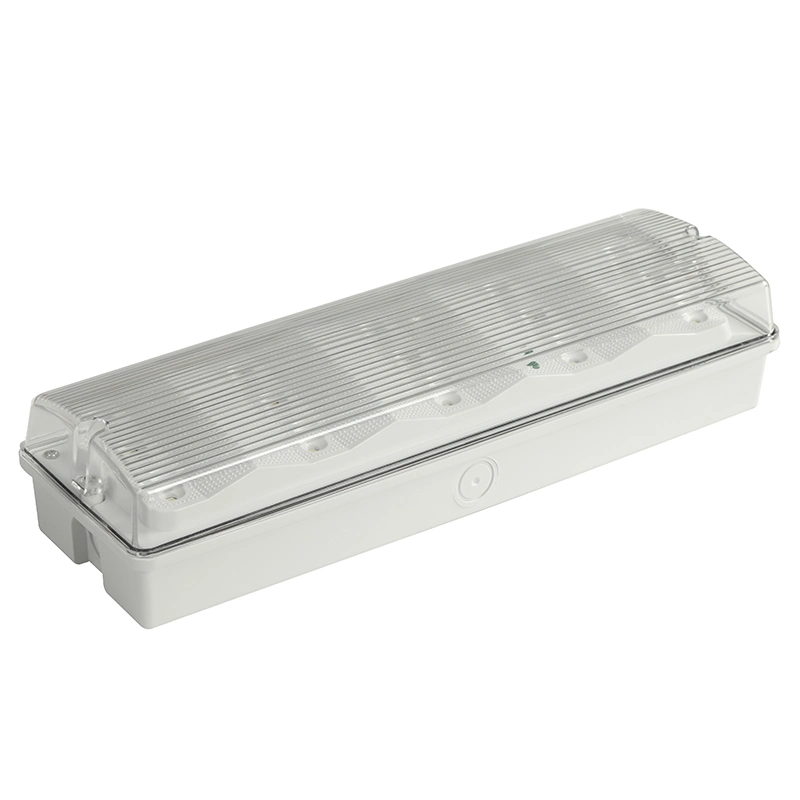
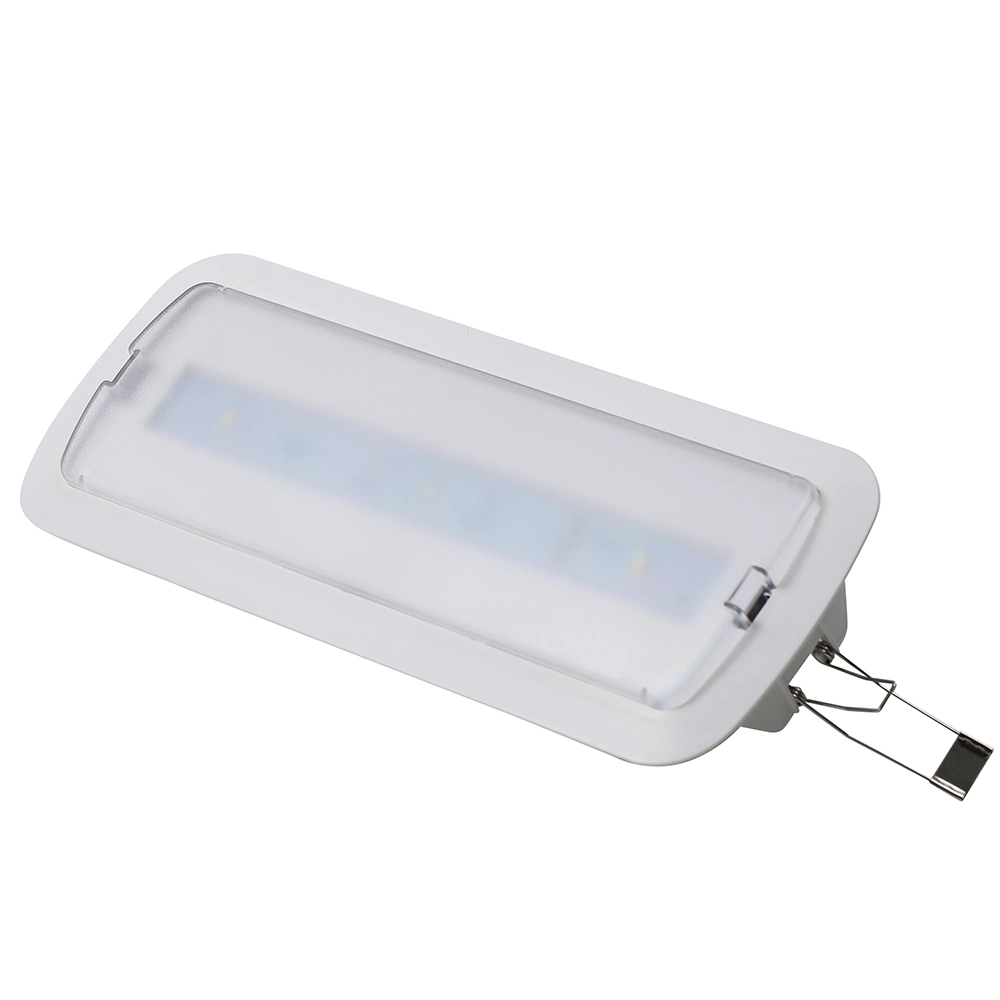
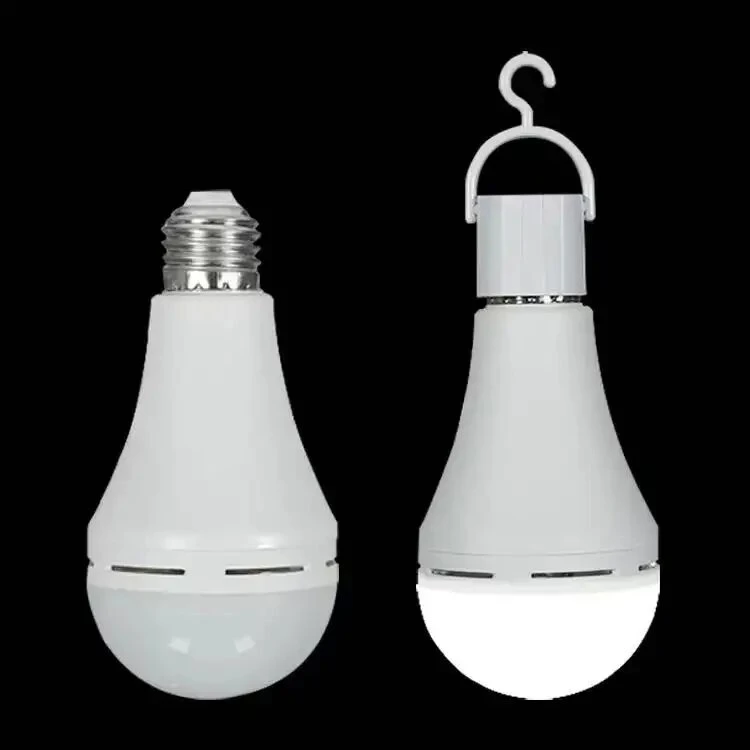
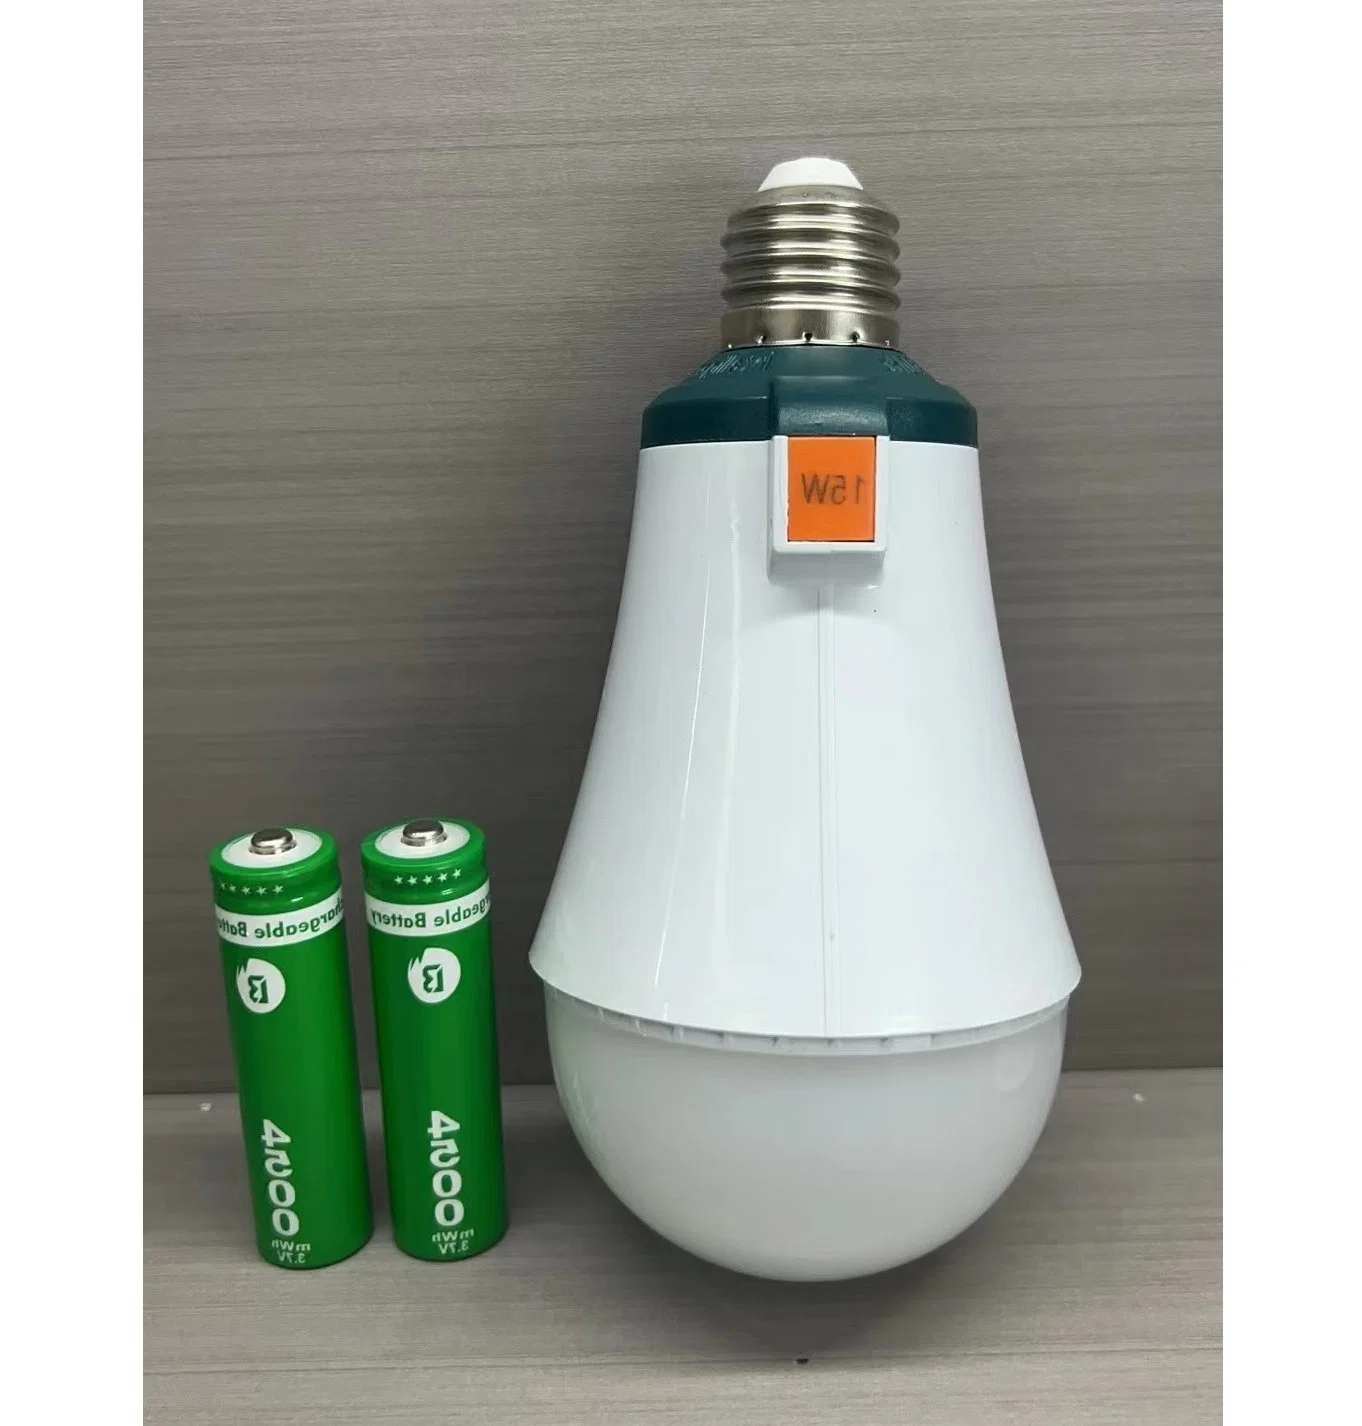
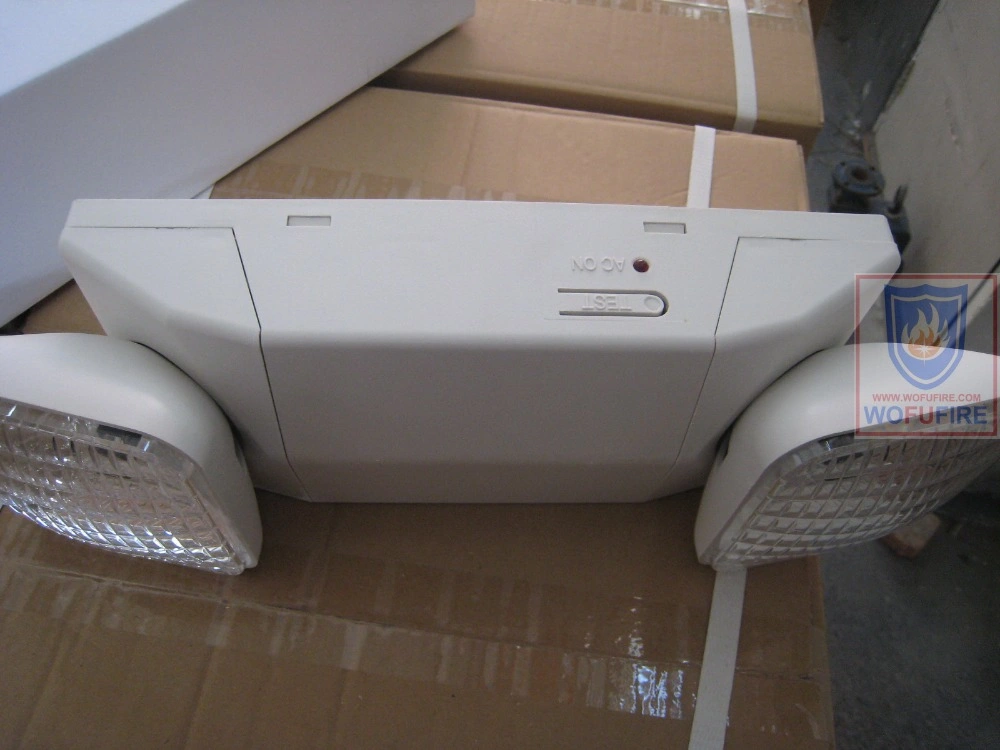
| led rechargeable emergency light |
1.Main specification:
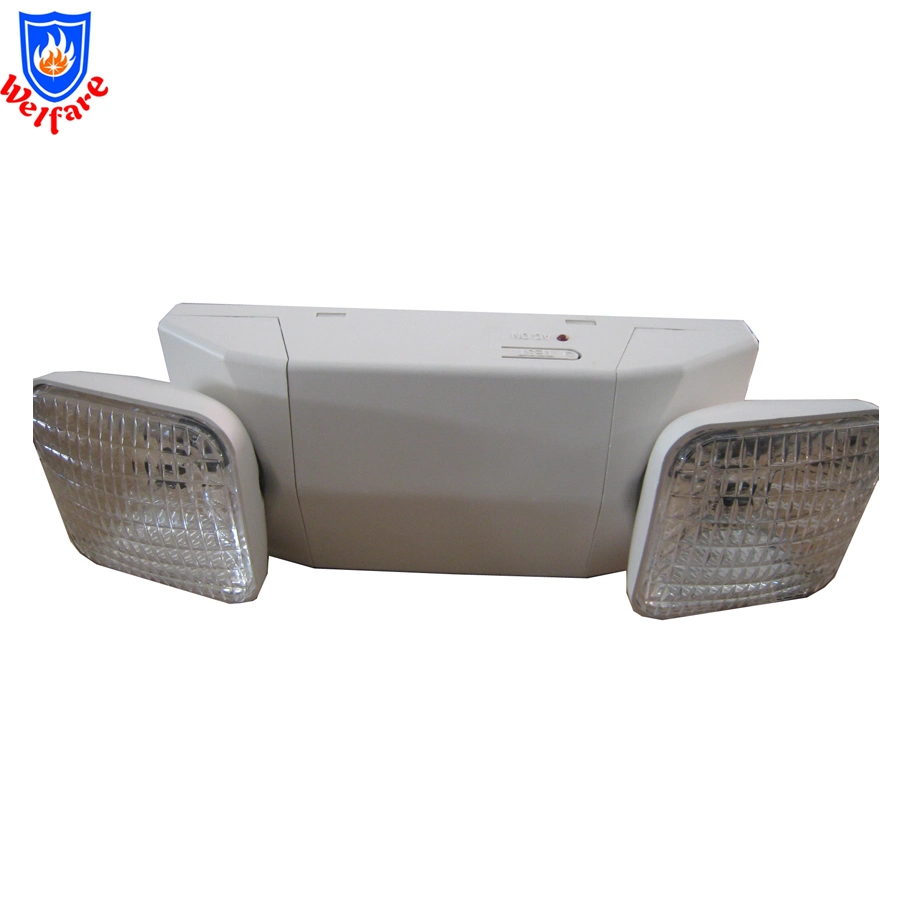
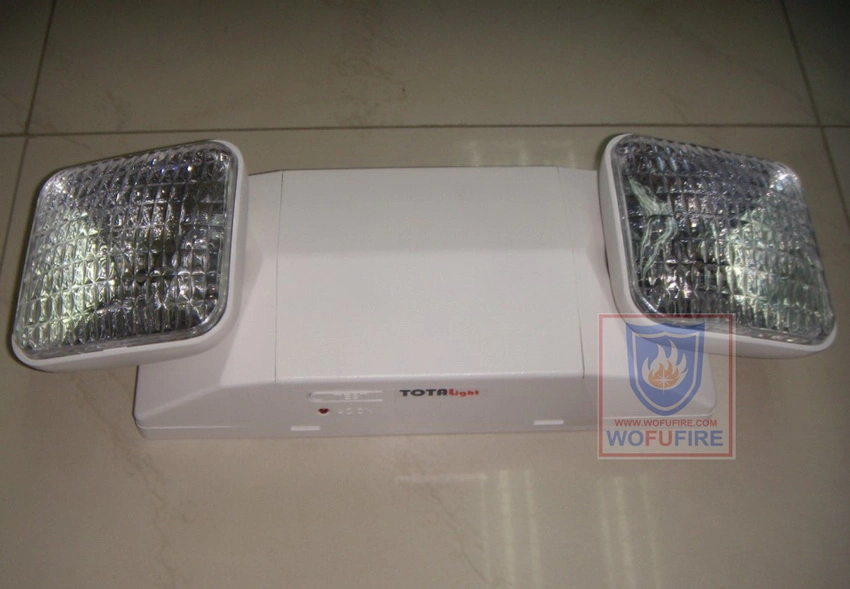
Wall or Ceiling mounted type
Voltage :220V/110V
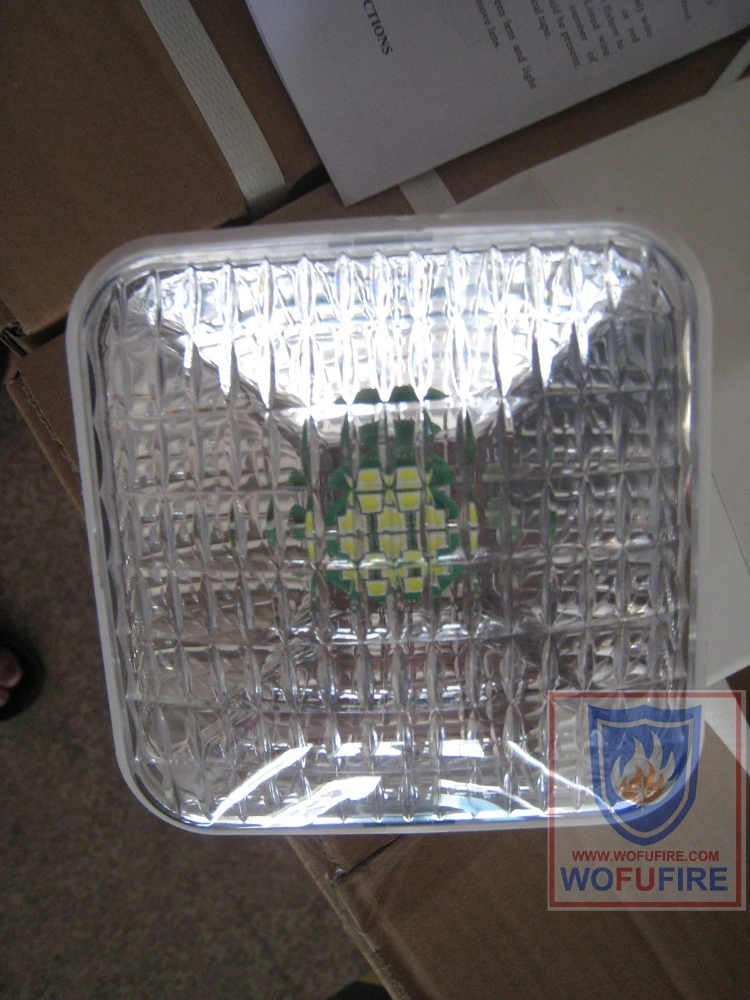
Light source ;10LED 2PCSX2W
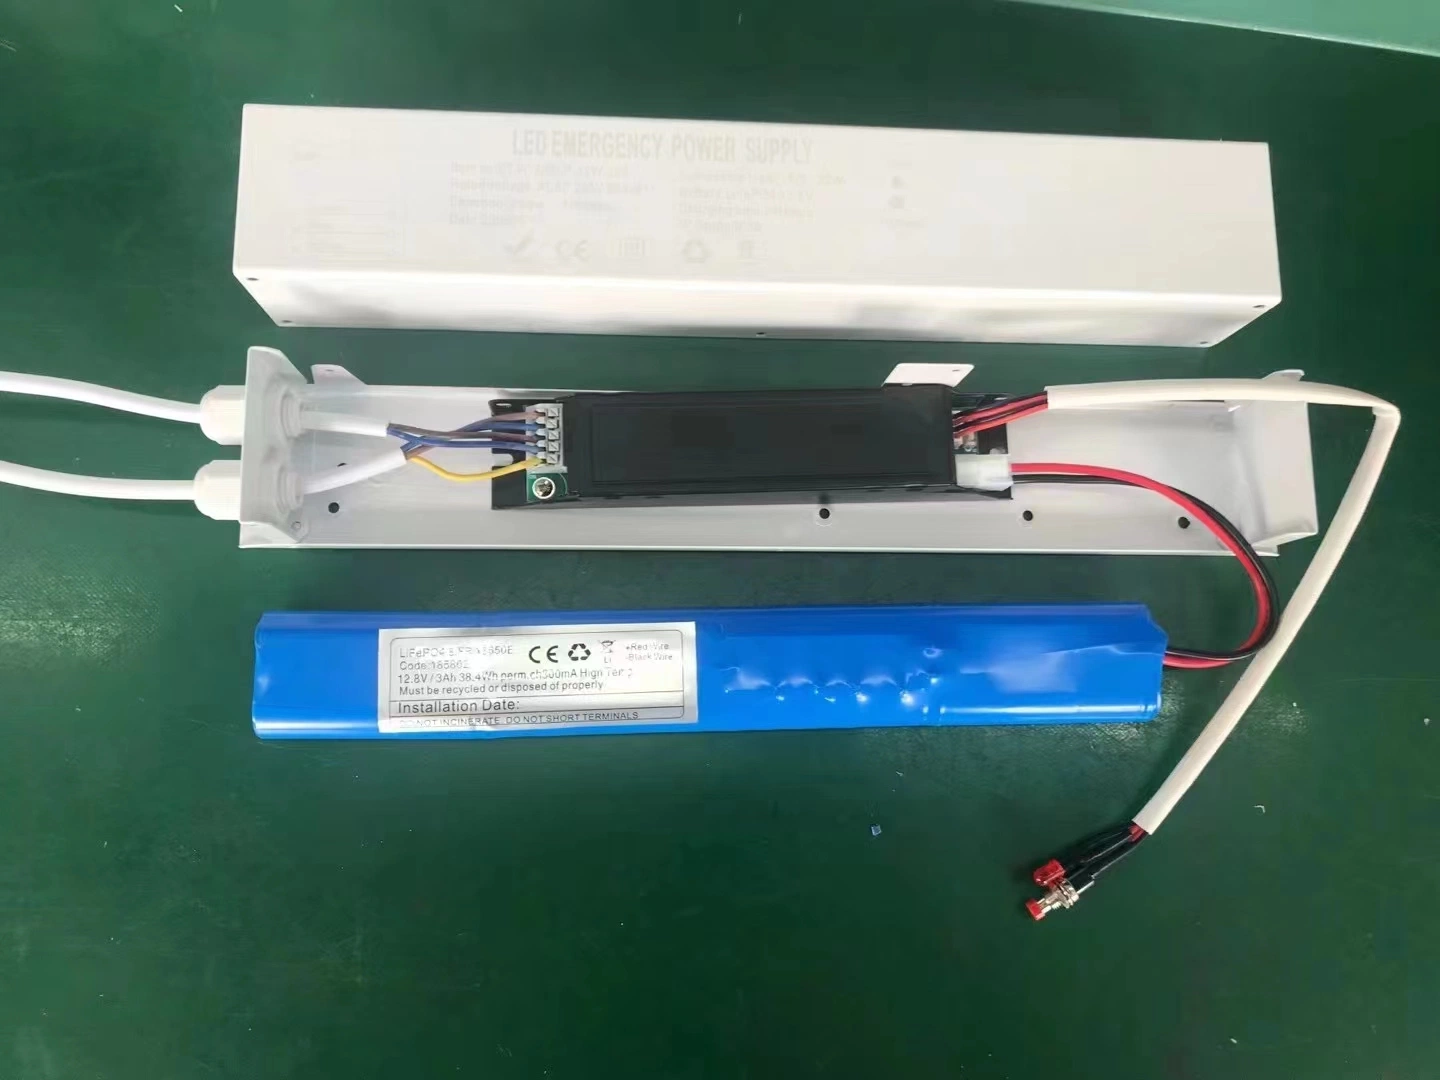
Lead Acid Battery 6A 4 AH
Emergency Duration :>5 Hours
24Hours recaharge time , after 300 minutes discharging
Test Switch And charge Rate indicator
Low Voltage Batter Disconection
Products size 30.2*13.2*11.7CM
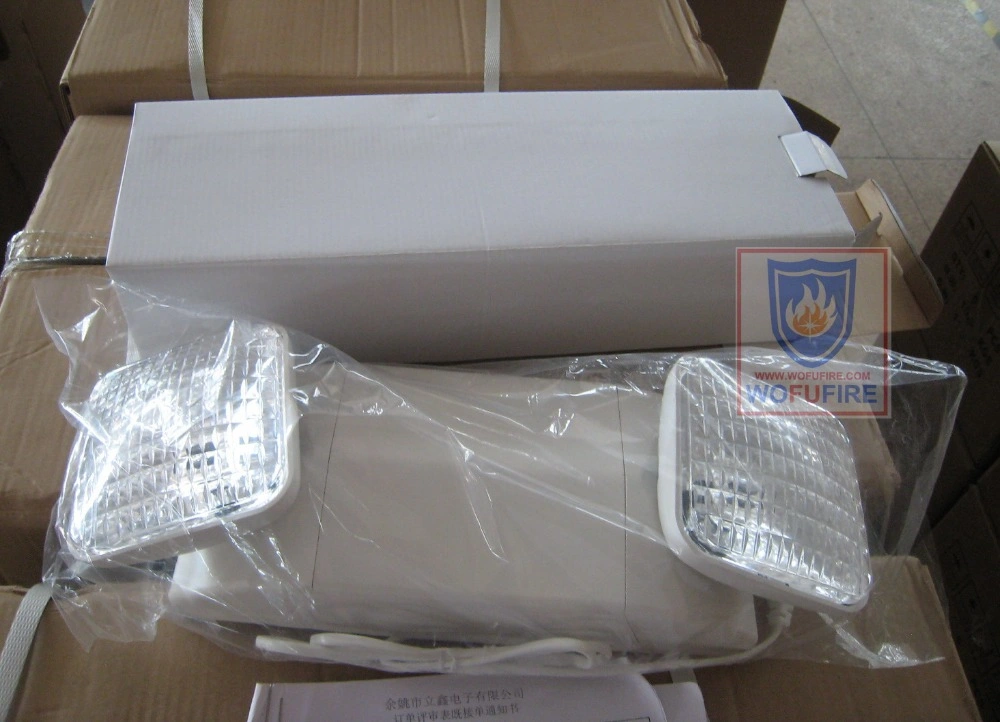
2.UNPACK THE FIXTURE,Check the contents of the box.You should receive:
1- Mounting plate
2- Fixture
3- Light heads assembly
4- Hardware package
NOTE:First turn off electricity.
3.Wall Mounting
1. Remove mounting plate from fixture by prying with screwdriver(See Fig.1)
2. Insert screwdriver to make appropriate keyhole slots open on mounting plate.
3. Pass white (neutral) and either black 120V or orange 277V hot,wire leads through center hole of mounting plate,make electrical connection in junction box, see electrical connection below.You may use hanging hook to hang fixture while making connection. Cap off unused hot lead.
4. Mount mounting plate to junction box with screw provided 8#32×1"long.
5. Connect red lead to battery positive terminal.(See Fig.2)
6. Snap on fixture to mounting plate.
7. Restore power and press test button.Bettery powered builds will come on. AC light will turn off.
4.Ceiling Mounting
1. Remove mounting plate from fixture by prying with screwdriver gently. (See Fig.1)
2. Open top cover and knockout on the top of fixture.
3. Secure the mounting plate to tube with nut.
4. Pass white (neutral) and either black 120V or orange 277V hot,wire leads through center hole of mounting plate,make electrical connection in junction box, see electrical connection below.You may use hanging hook to hang fixture while making connection. Cap off unused hot lead.
5. Connect red lead to battery positive terminal.(See Fig.2)
6. Snap on fixture to mounting plate.
7. Restore power and press test button.Bettery powered builds will come on. AC light will turn off.
5.ELECTRICAL CONNECTIONS
Connect white wire lead from fixture to white(neutral) wire supply feed from circuit. Connect black 120V or orange 277V(depending on supply voltage)wire lead from fixture to black(hot) wire from supply circuit.Use U.L. Listed wire connectors suitable for the size,type,and number of conductors.No loose strands or loose wire should be present. Secure wire connectors with U.L listed electrical tape.
Reclamping
1. Insert screwdriver into the slot between lens and light head body and then push gently to remove lens.
2. Install led.
CAUTION:DO NOT EXCEED RECOMMENDED MAXIMUM WATTAGE.(3.2V2W)
6.Packing details:
| QTY/CTN | N.W./CTN | G.W./CTN | CBM/CTN | CTN SIZE |
| 6pcs | 10.5kgs | 11.5kgs | 0.045m3 | 31*34*43cm |